
Express 4500 V8-6.0L (2010)
7. Install the front evaporator tube to the condenser.
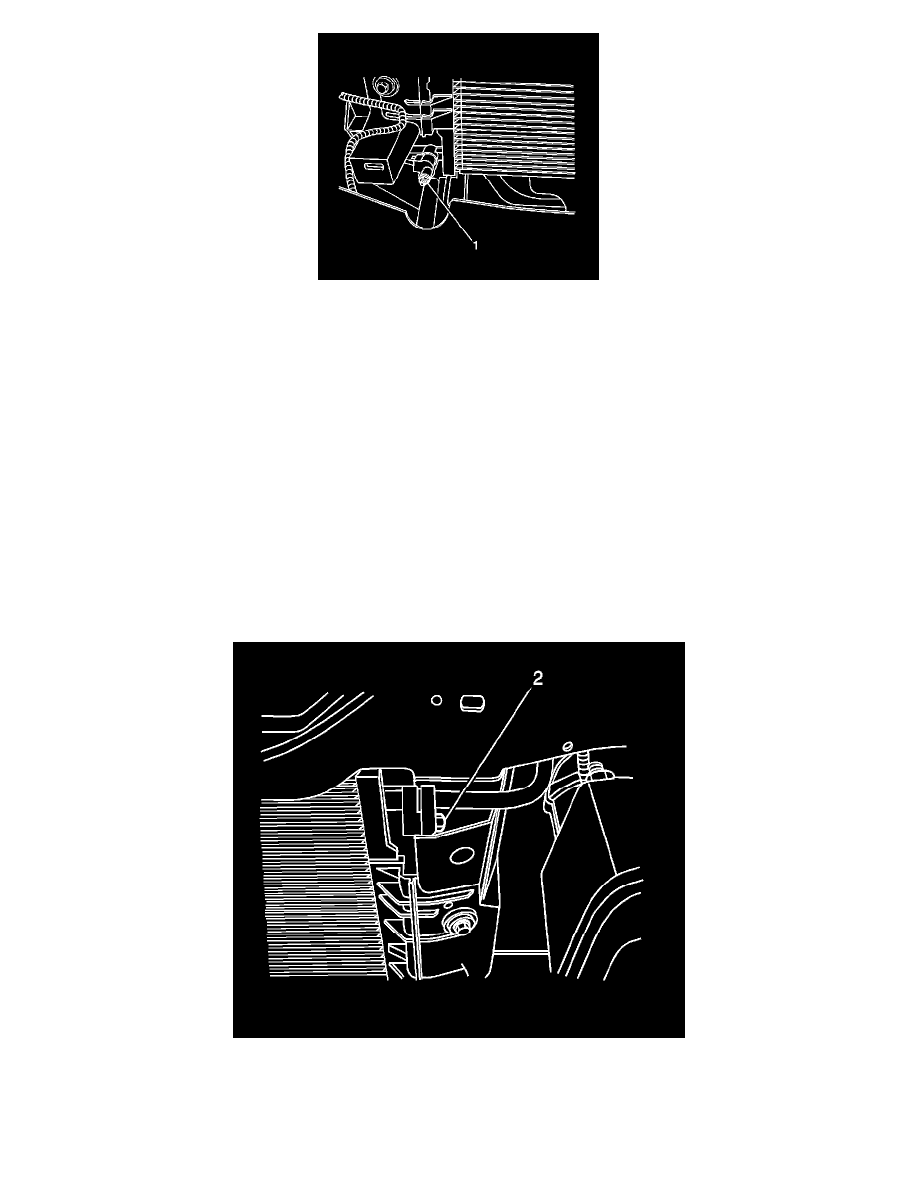
8. Install the front evaporator tube nut (1) to the condenser and tighten to 16 Nm (12 lb ft).
9. Install the grille. Refer to Grille Replacement (Uplevel) (See: Body and Frame/Grille/Service and Repair/Grille Replacement (Uplevel))Grille
Replacement (Base) (See: Body and Frame/Grille/Service and Repair/Grille Replacement (Base)).
10. Install the coolant recover reservoir. Refer to Coolant Recovery Reservoir Replacement (See: Engine, Cooling and Exhaust/Cooling
System/Coolant Reservoir/Service and Repair/Coolant Recovery Reservoir Replacement).
11. Evacuate and recharge the A/C system. Refer to Refrigerant Recovery and Recharging (See: Service and Repair/Refrigerant Recovery and
Recharging).
12. Leak test the fittings of the components using the J 39400-A.
Discharge Hose Replacement
Discharge Hose Replacement (4.8L, 5.3L, 6.0L)
Special Tools
J 39400-A Halogen Leak Detector
Removal Procedure
1. Recover the refrigerant. Refer to Refrigerant Recovery and Recharging (See: Service and Repair/Refrigerant Recovery and Recharging).
2. Remove the coolant recovery reservoir. Refer to Coolant Recovery Reservoir Replacement (See: Engine, Cooling and Exhaust/Cooling
System/Coolant Reservoir/Service and Repair/Coolant Recovery Reservoir Replacement).
3. Remove the grille. Refer to Grille Replacement (Uplevel) (See: Body and Frame/Grille/Service and Repair/Grille Replacement (Uplevel))Grille
Replacement (Base) (See: Body and Frame/Grille/Service and Repair/Grille Replacement (Base)).