
Express 4500 V8-6.0L (2010)
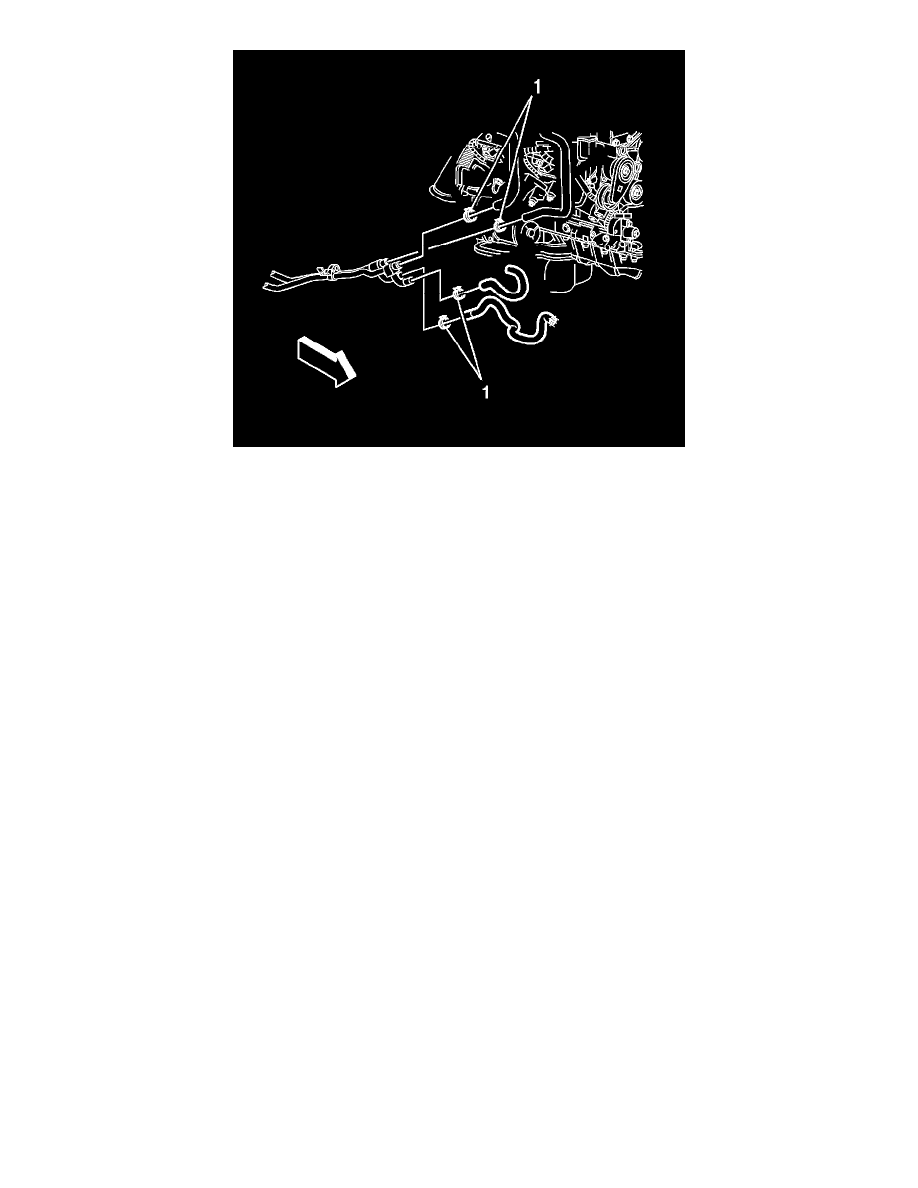
5. Install auxiliary heater hose clamps (1).
6. Install rear auxiliary heater hose clamp (1).
7. Slowly and carefully lower the passenger side of the body onto the frame.
8. Install passenger side body mount bolts and tighten to 140 Nm (103 lb ft).
9. Tighten driver side body mount bolts and tighten to 140 Nm (103 lb ft).
10. Install the passenger side wheel house splash shield. Refer to Wheelhouse Splash Shield Replacement (See: Body and Frame/Fender/Rear
Fender/Rear Fender Liner/Service and Repair/Wheelhouse Splash Shield Replacement)
11. Lower the vehicle. Refer to Lifting and Jacking the Vehicle (See: Maintenance/Vehicle Lifting/Service and Repair)
12. Install the accumulator. Refer to Air Conditioning Accumulator Replacement (See: Accumulator HVAC/Service and Repair)
13. Install the engine cooling fan. Refer to Fan Replacement (See: Engine, Cooling and Exhaust/Cooling System/Radiator Cooling Fan/Service and
Repair/Fan Replacement).
Auxiliary Air Conditioning Evaporator and Auxiliary Heater Hose Replacement - Intermediate
Auxiliary Air Conditioning Evaporator and Auxiliary Heater Hose Replacement - Intermediate (Gasoline)