
Express 4500 V8-6.0L (2010)
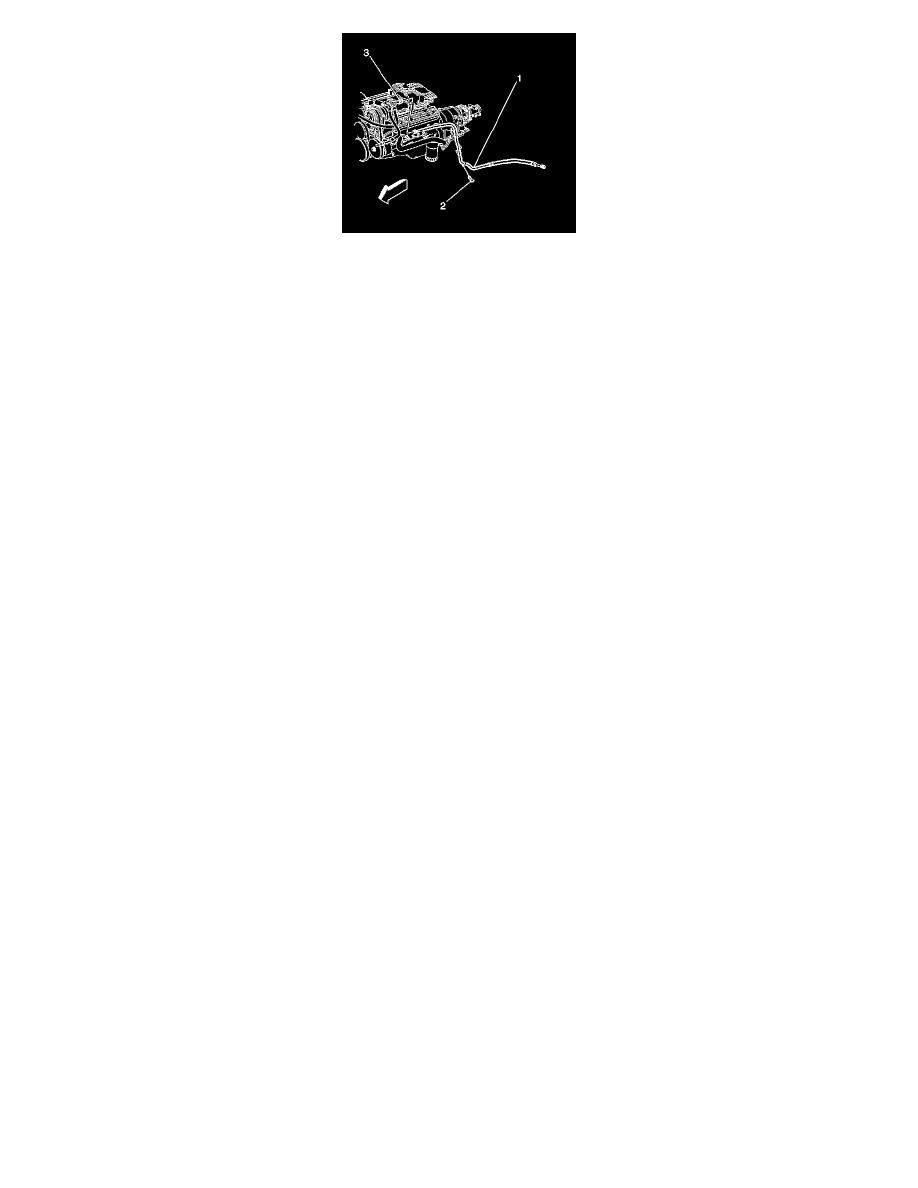
3. Install the bolt retaining the hose (1) to the transmission bracket and tighten to 5 Nm (44 lb in).
4. Lower the vehicle.
5. Install the auxiliary evaporator outlet tube to the compressor hose and tighten the fitting to 48 Nm (35 lb ft).
6. Install the engine cover. Refer to Engine Cover Replacement (See: Body and Frame/Access Cover/Service and Repair).
7. Evacuate and recharge the A/C system. Refer to Refrigerant Recovery and Recharging (See: Heating and Air Conditioning/Service and
Repair/Refrigerant Recovery and Recharging).
8. Leak test the fittings of the components using the J 39400-A.
Auxiliary Air Conditioning Evaporator Tube with Auxiliary Heater Inlet and Outlet Pipe
Replacement
Auxiliary Air Conditioning Evaporator Tube with Auxiliary Heater Inlet and Outlet Pipe Replacement
Special Tools
J 38185 Hose Clamp Pliers
Removal Procedure
1. Remove the engine cooling fan. Refer to Fan Replacement (See: Engine, Cooling and Exhaust/Cooling System/Radiator Cooling Fan/Service and
Repair/Fan Replacement).
2. Remove the accumulator. Refer to Air Conditioning Accumulator Replacement (See: Heating and Air Conditioning/Accumulator HVAC/Service
and Repair)
3. Remove the passenger side wheel house splash shield. Refer to Wheelhouse Splash Shield Replacement (See: Body and Frame/Fender/Rear
Fender/Rear Fender Liner/Service and Repair/Wheelhouse Splash Shield Replacement)
4. Loosen but DO NOT remove driver side body mount bolts.
5. Remove passenger side body mount bolts.
6. Slowly lift the passenger side of the body off the frame, and support.