
G 1500 1/2 Ton Van V6-4.3L VIN W (1997)
CAUTION: When you are deploying an inflator module for disposal, perform the deployment procedures in the order listed:
^
Wear safety glasses throughout the procedures.
^
Make sure the area around the inflator module is clear of all people and loose or flammable objects.
^
Short the deployment harness wires as instructed.
^
Connect the deployment harness to the inflator module before you connect it to the power source.
^
Connect the deployment harness to the power source to immediately deploy the air bag.
Failure to follow the procedures in the order listed may result in personal injury.
22. Twist together one connector wire lead to one deployment wire (1). The connection must be mechanically secure (Figure 32).
Figure 30
Figure 31
23. Bend flat the twisted connection that you made in the previous step. Secure the connection by wrap ping tightly with electrical tape (2). This will
also insulate the connection (Figure 32).
24. Twist together, bend and tape the remaining connector wire lead to the remaining deployment wire (3) (Figure 32).
25. Connect the deployment harness to the inflatable restraint I/P module, yellow 2-way connector.
26. Route the deployment harness out the passenger side of the vehicle (Figure 33).
27. Be sure to clear the inside of the vehicle and the area surrounding the vehicle of any people. Clear the vehicle of all loose or flammable objects.
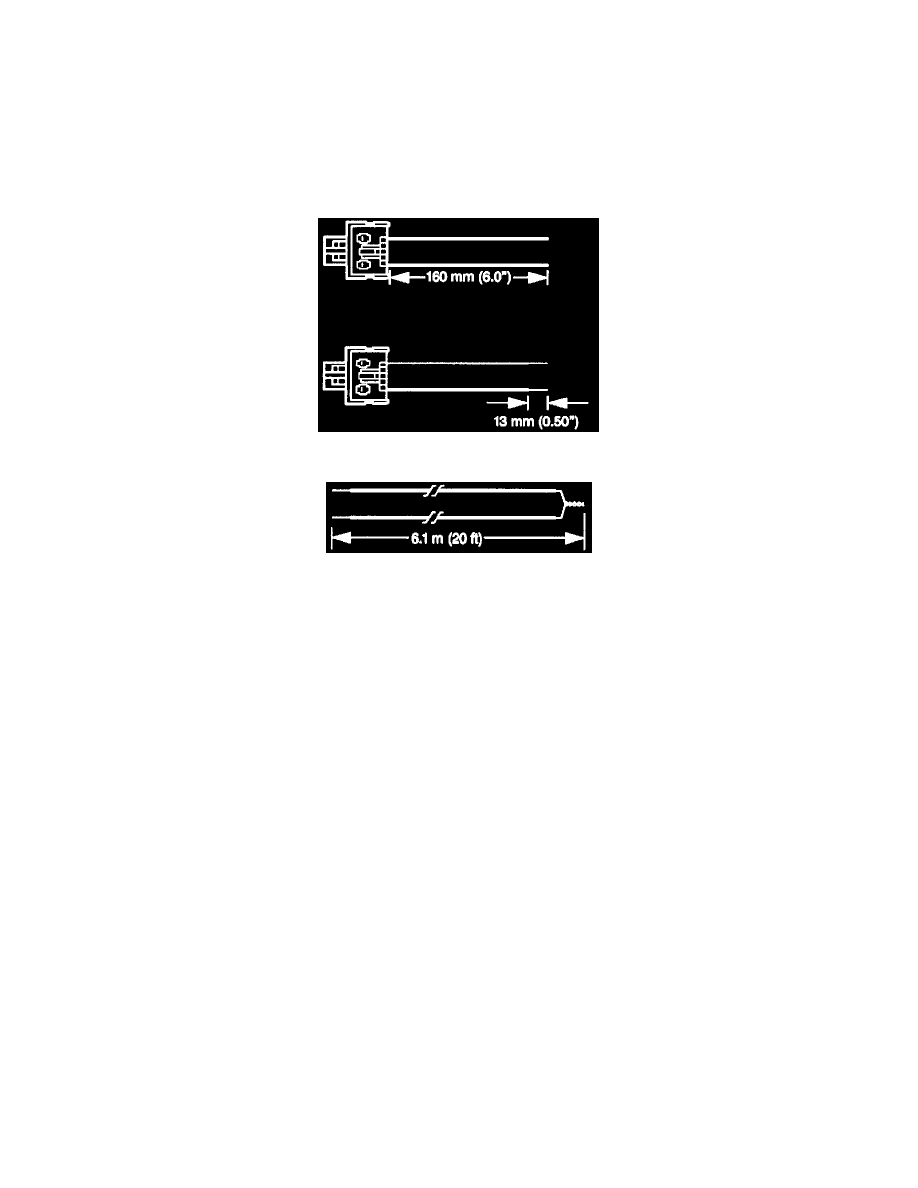
28. Stretch the driver and passenger deployment harnesses to their full length (Figures 29 and 33).
29. Completely cover windshield area and front door window openings with a drop cloth, blanket or similar item. This reduces the possibility at injury
due to possible fragmentation of the vehicle's glass or interior.