
G 2500 3/4 Ton Van V8-6.5L DSL Turbo VIN F (1997)
Crankshaft: Testing and Inspection
-
Tools Required
-
J 7872 Magnetic Base Dial Indicator, Or Equivalent
WARNING: Wear safety glasses to avoid injury when using compressed air or any cleaning solvent. Bodily injury may occur if fumes are
inhaled or if skin is exposed to chemicals.
1. Clean the crankshaft with clean solvent using the following procedure:
-
Do not scratch the bearing journals.
-
Blow all of the sludge from the oil passages with compressed air.
-
Remove the clutch pilot bearing located in the end of the crankshaft (manual transmission only).
2. Wipe the crankshaft bearing inserts free of oil with a soft cloth.
3. Inspect the crankshaft for cracks using the Magnaflux Spot-check dye method or the equivalent.
4. Inspect the crankshaft bearing journals and thrust surfaces for the following conditions:
-
Scoring
-
Nicks
-
Damage caused by lack of lubrication
5. Inspect the crankshaft bearing inserts and thrust surfaces for the following conditions:
-
Scoring
-
Nicks
-
Damage caused by lack of lubrication
-
The lower bearing inserts (except the front bearing) will show greater wear and the most distress from fatigue. If the lower insert is worn or
damaged, replace both the upper and the lower inserts as a set.
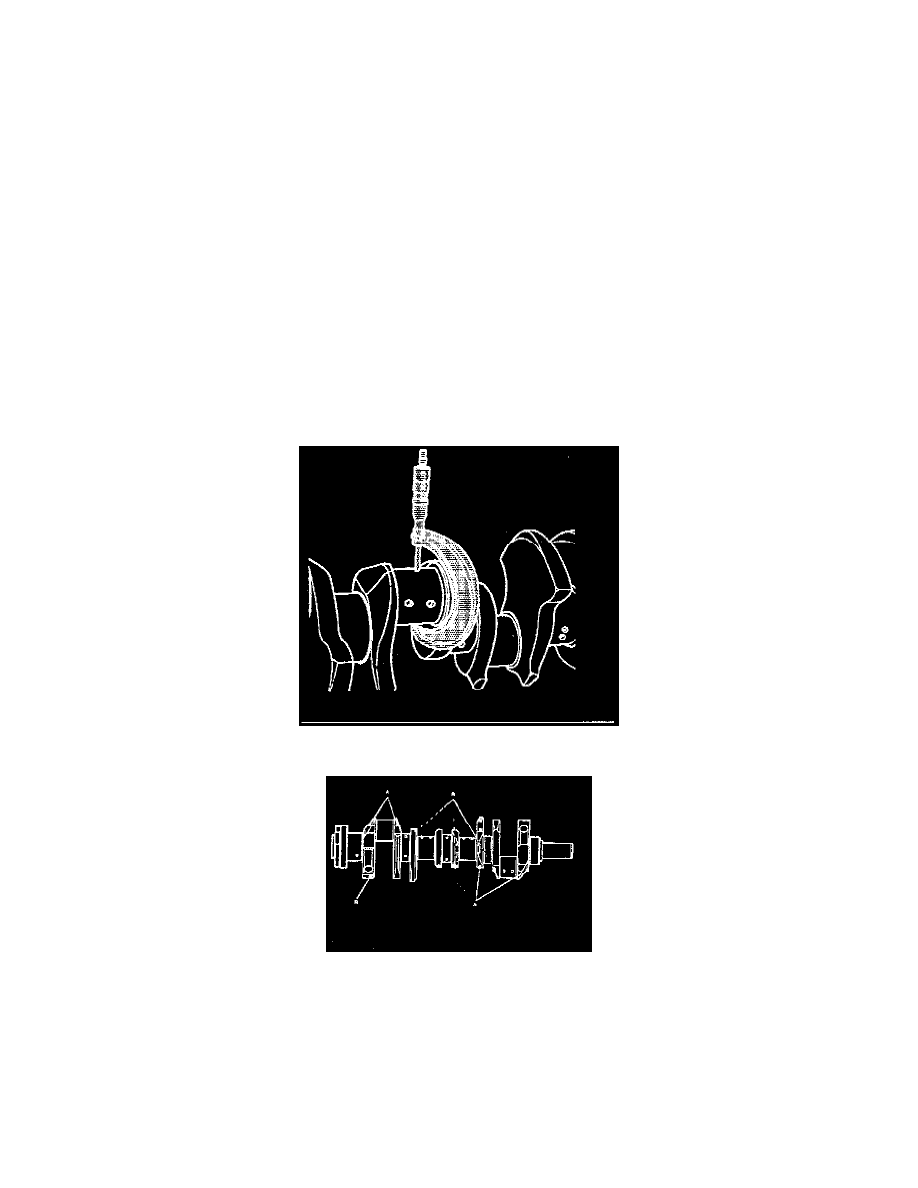
6. Measure the crankshaft journal diameter with a micrometer in several places, approximately 90° apart. Average the measurements.
7. The connecting rod and the crankshaft bearing journal sizes are color coded with paint markings. Main bearing journal markings are blue,
orange/red, or white. Rod bearing journal markings are yellow or green.