
G 2500 3/4 Ton Van V8-6.5L DSL Turbo VIN F (1997)
Section 3 A/C Line
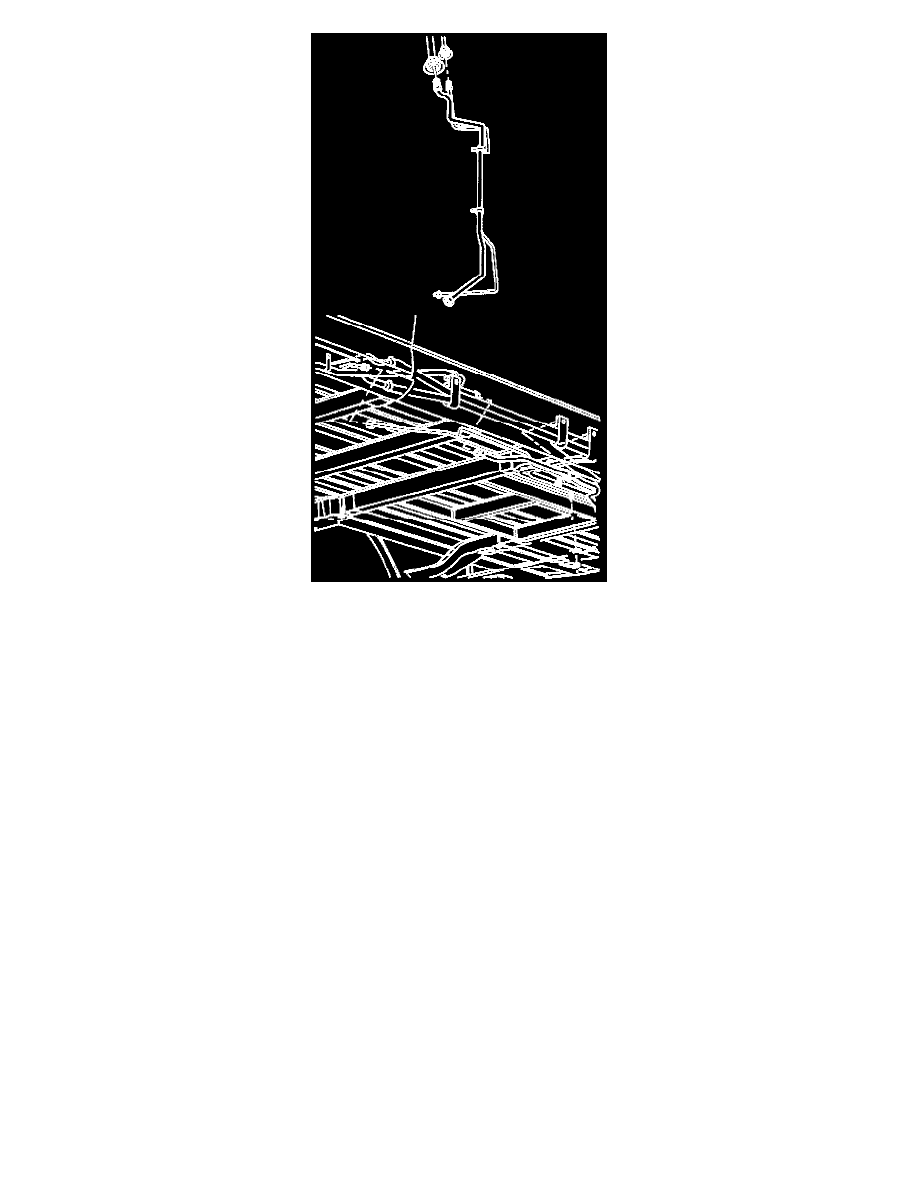
The auxiliary A/C lines cannot be serviced as a complete unit, only as a sectional repair. Follow the steps provided in replacing the auxiliary A/C lines.
Remove or Disconnect
1. Raise and suitably support the vehicle on a hoist.
2. Recover the refrigerant. Refer to "Recovering the Refrigerant".
3. The front left side, and rear A/C line connection.
4. The A/C line retainers from the vehicles body.
5. With a tubing cutter or an equivalent tool, cut the A/C lines into sections to remove from the vehicle.
Install or Connect
1. The first section of the A/C lines to the auxiliary heater (Hand Tighten).
2. The second section of the A/C lines, and join connectors to the first section of the A/C lines (Hand Tighten).
3. The third section of the A/C lines and join connectors to the second section of the A/C lines (Hand Tighten).
4. The front left side and rear A/C line connections (Hand Tighten).
5. The A/C line retainers to the vehicles body.
Tighten
^
The A/C line retaining nuts to 6 N.m (53 lb. in).
6.Tighten all sections.
Tighten
^
The A/C lines 3/4 diameter to 48 N.m (35 lb. ft).
^
The A/C lines 3/8 diameter to 19 N.m (14 lb. ft).
7. Lower the vehicle.
8. Recharge the refrigerant. Refer to "Recharging the Refrigerant".
9. Verify no coolant leaks.