
G 2500 3/4 Ton Van V8-6.5L DSL Turbo VIN F (1997)
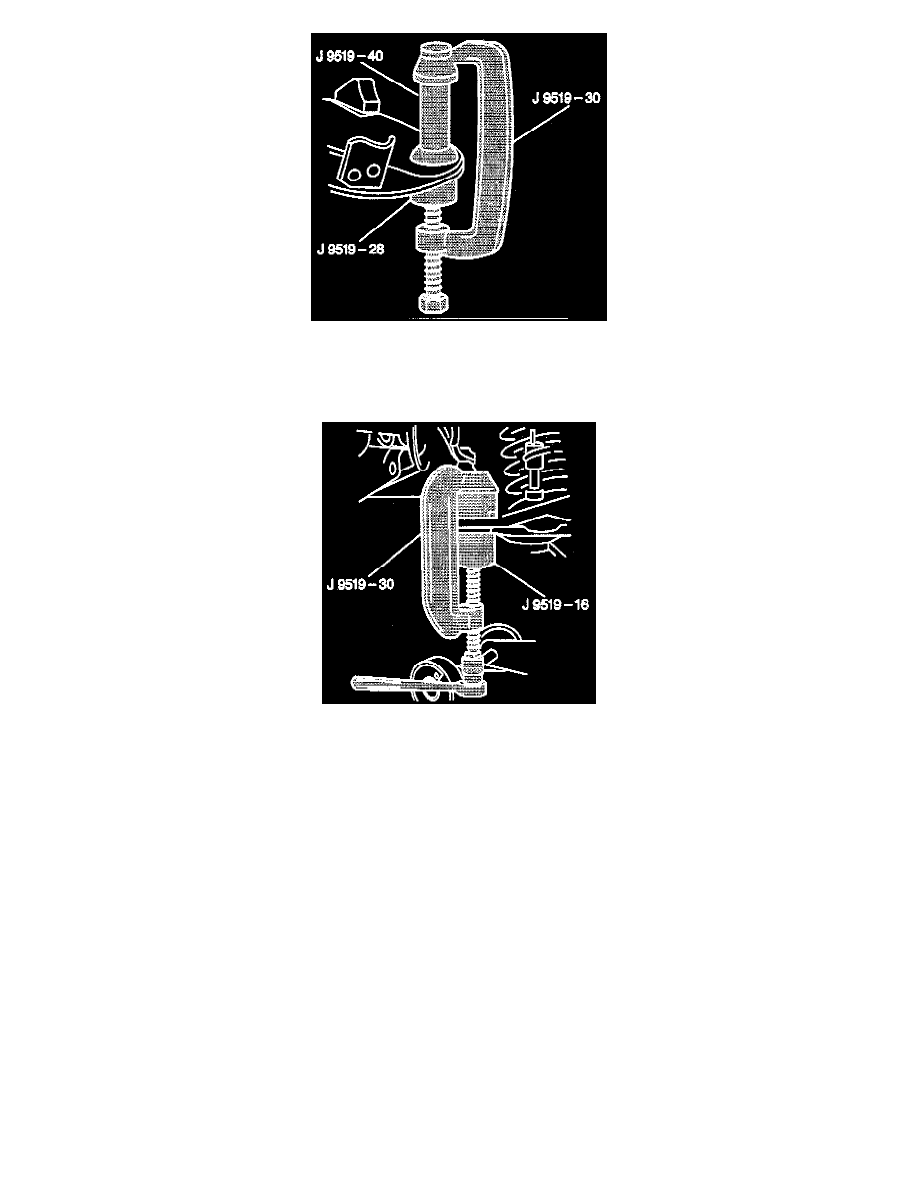
8. The lower ball joint from the lower control arm using J 9519-30-D with adapter J 9519-40.
Inspect
-
The tapered hole in the steering knuckle and remove any dirt. If the hole is out of round, deformed or damaged, the knuckle must be replaced.
Install or Connect
1. The new ball joint into the lower control arm.
-
Press in the ball joint using J 9519-30 with J 9519-16. Be sure that the ball joint bottoms out on the control arm.
2. The ball joint stud into the steering knuckle.
3. The stud nut onto the stud.
-
Tighten the ball joint to the steering knuckle nut to 128 Nm (94 ft. lbs.) and align the slot in the stud nut with the hole in the stud by tightening.
4. A new cotter pin to the stud.
5. The tire and wheel.
6. Remove the safety stands.
7. Lower the vehicle.
Important: Check the front wheel alignment.