
HHR L4-2.4L (2010)
5. Disconnect the evaporative emission (EVAP) pipe from the purge solenoid. Refer to Plastic Collar Quick Connect Fitting Service (See: Fuel
Delivery and Air Induction/Fuel Line Coupler/Service and Repair/Plastic Collar Quick Connect Fitting Service).
6. Cap or plug the EVAP pipe in order to prevent contamination.
7. Raise and support the vehicle. Refer to Lifting and Jacking the Vehicle (See: Maintenance/Vehicle Lifting/Service and Repair).
8. Remove the EVAP canister, if necessary. Refer to Evaporative Emission Canister Replacement (See: Evaporative Emission Control
Canister/Service and Repair).
9. Disconnect the fuel feed pipe quick connect fitting. Refer to Plastic Collar Quick Connect Fitting Service (See: Fuel Delivery and Air
Induction/Fuel Line Coupler/Service and Repair/Plastic Collar Quick Connect Fitting Service).
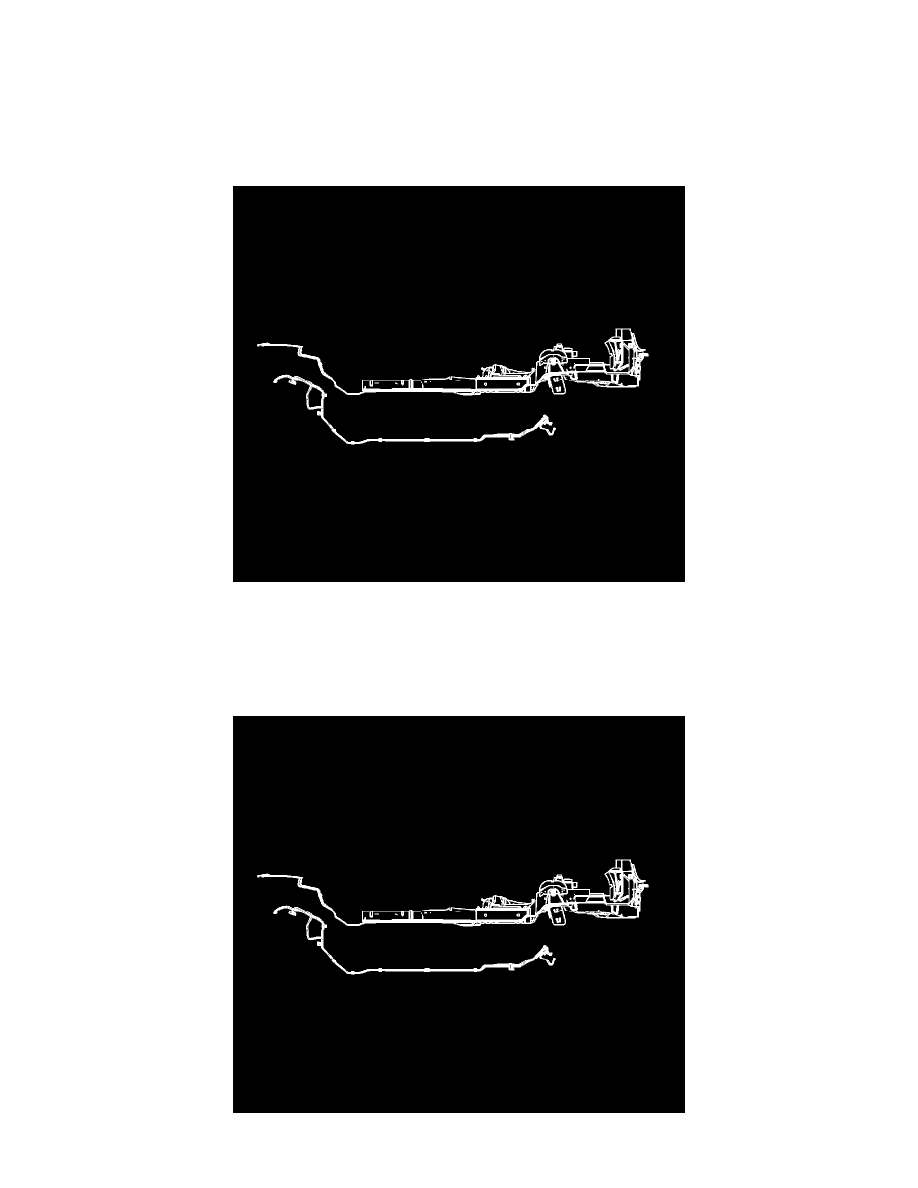
10. Remove the brake lines from the fuel/EVAP/brake line brackets.
11. Remove the fuel/EVAP/brake line bracket nuts and remove the brackets from the body studs.
12. Remove the fuel and EVAP lines from the vehicle.
13. Open the brackets and remove the EVAP pipe.
Installation Procedure
1. Install the EVAP pipe to the brackets and close the covers.