
HHR L4-2.4L (2010)
Battery Tray: Service and Repair
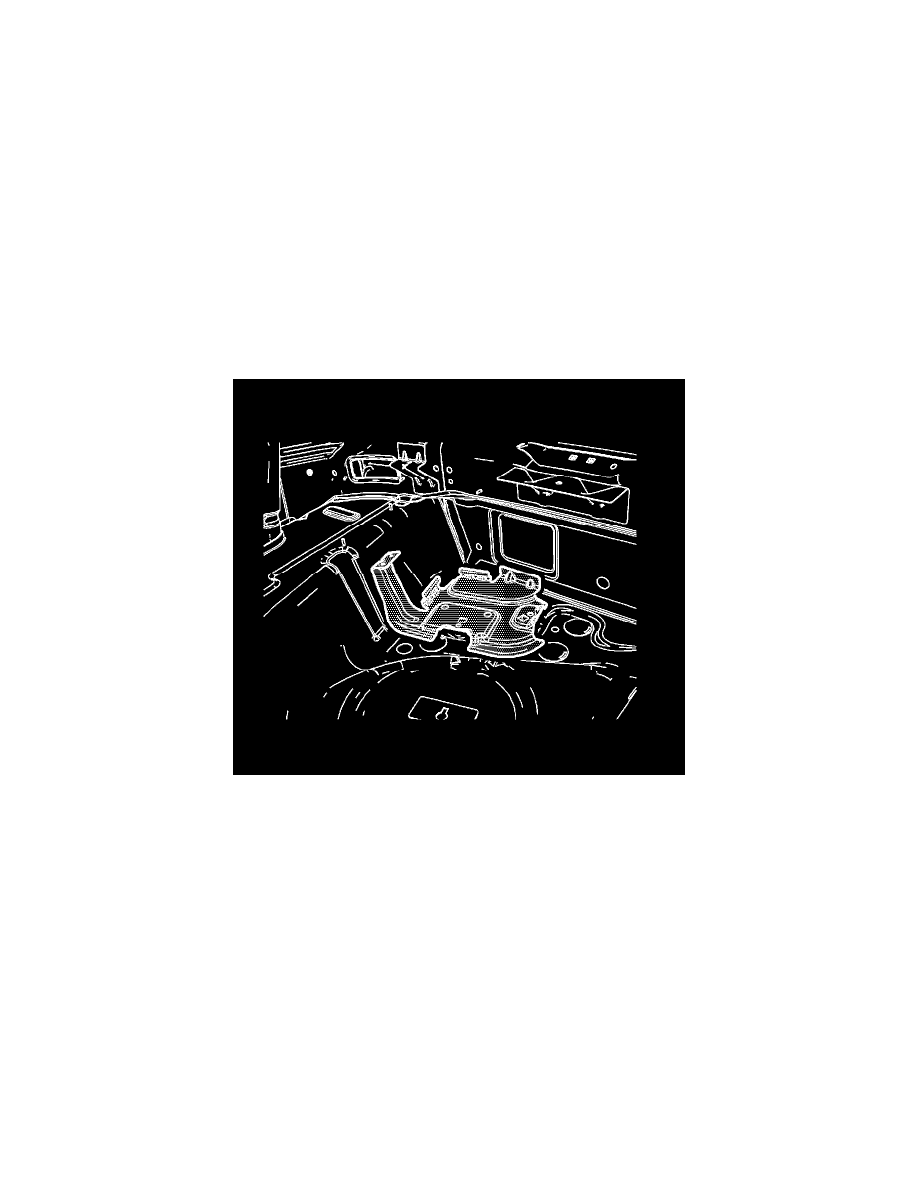
Battery Tray Replacement
Removal Procedure
Warning: Refer to Approved Equipment for Collision Repair Warning (See: Body and Frame/Service Precautions/Technician Safety
Information/Approved Equipment for Collision Repair Warning).
1. Disable the SIR system. Refer to SIR Disabling and Enabling (See: Body and Frame/Interior Moulding / Trim/Dashboard / Instrument Panel/Air
Bag(s) Arming and Disarming/Service and Repair).
2. Disconnect the negative battery cable. Refer to Battery Negative Cable Disconnection and Connection (See: Battery Cable/Negative/Service and
Repair/Battery Negative Cable Disconnection and Connection).
Note: This panel is replaced at factory seams.
3. Remove all related panels and components.
4. Repair as much of the damaged area as possible. Refer to Dimensions - Body ().
5. Remove the sealers and anti-corrosion materials from the repair area, as necessary. Refer to Anti-Corrosion Treatment and Repair ().
6. Locate and drill out all the necessary factory welds.