
Impala V6-3.4L VIN E (2000)
1. Install the throttle body. Refer to Throttle Body Assembly Replacement in Computers and Controls.
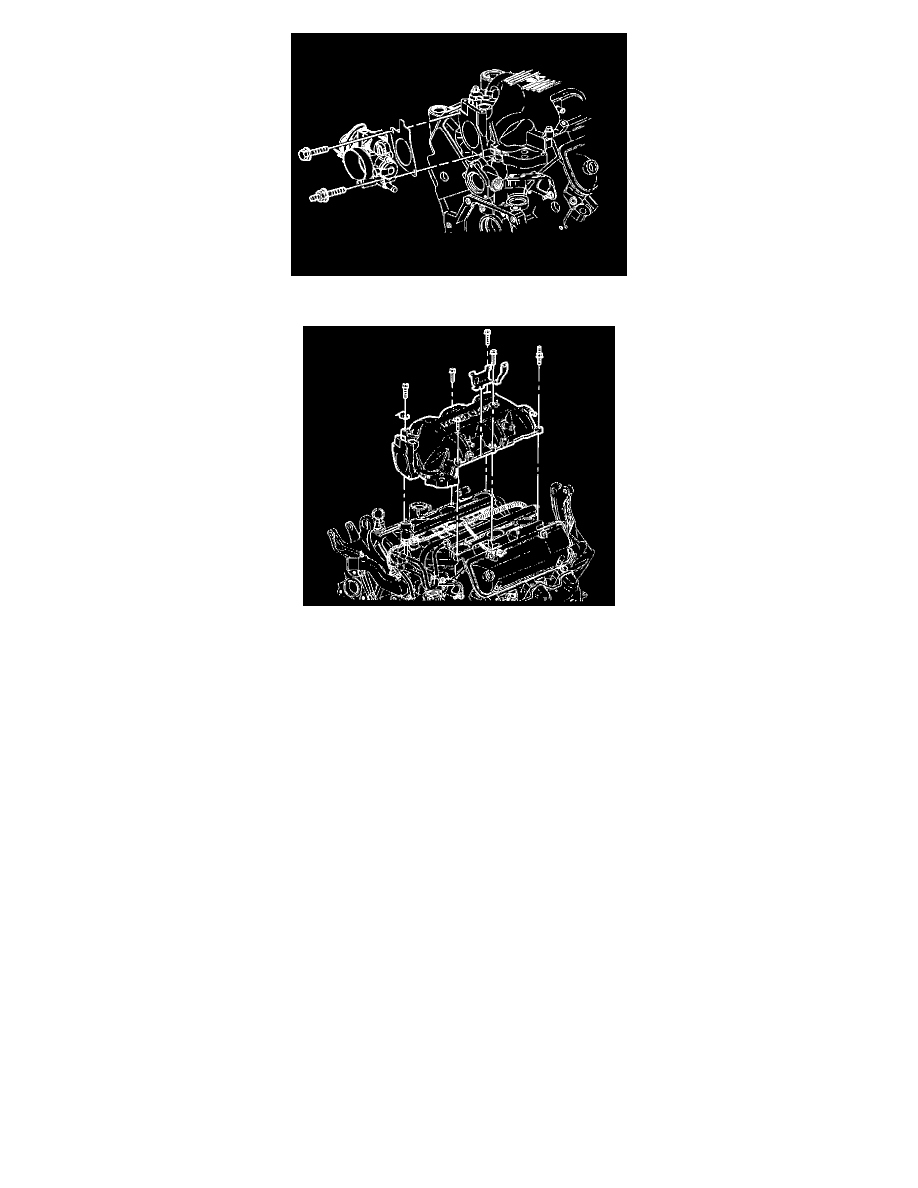
2. Install the following components:
2.1. The upper intake manifold gaskets
2.2. The upper intake manifold
2.3. The ignition control module
2.4. The spark plug wires
2.5. The EGR valve
2.6. The MAP sensor
2.7. The vacuum lines at the upper intake manifold
Refer to Intake Manifold Installation (Lower) or Intake Manifold Installation (Upper).
3. Install the rear generator brace. Refer to Generator Brace Replacement in Starting and Charging.
4. Connect the thermostat bypass pipe coolant hoses to the throttle body.
5. Connect the wiring harness connectors to the throttle body.
-
Throttle position (TP) sensor
-
Idle air control (IAC) valve
6. Install the accelerator control and cruise control cables with bracket to the throttle body. Refer to Accelerator Controls Cable Bracket Replacement
in Computers and Controls.
7. Fill the cooling system with engine coolant. Refer to Draining and Filling Cooling System in Cooling System.
8. Install the throttle body air inlet duct.
9. Connect the wiring harness connection to the intake air temperature (IAT) sensor in the throttle body air inlet duct. Refer to IAT Sensor
Replacement in Computers and Controls.
10. Connect the vacuum hose connection to the throttle body air inlet duct.
11. Connect the battery ground (negative) cable. Refer to Battery Negative Cable Disconnect/Connect Procedure in Starting and Charging.