
Impala V6-3.8L SC VIN 1 (2005)
Control Assembly: Service and Repair
HVAC CONTROL ASSEMBLY REPLACEMENT
REMOVAL PROCEDURE
1. Remove the instrument panel trim plate bezel.
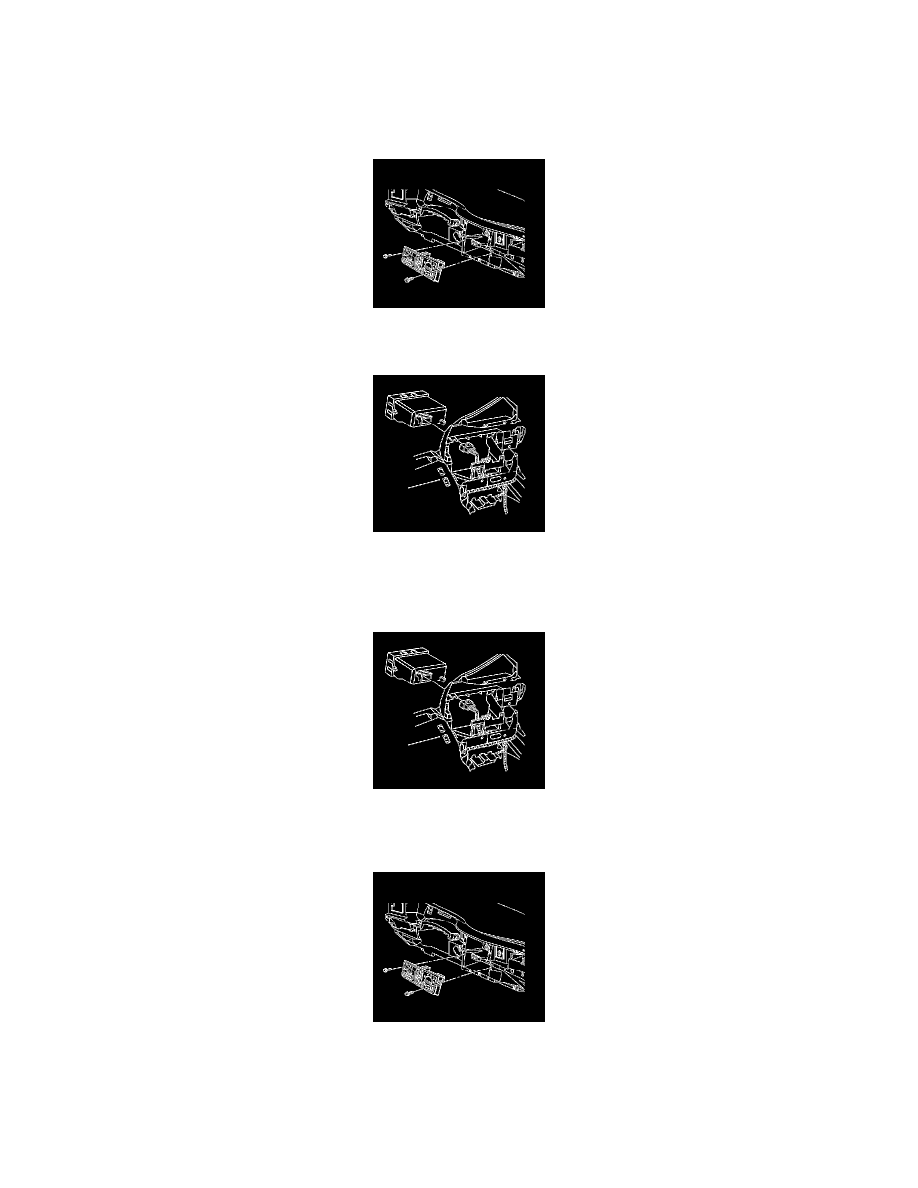
2. Remove the retaining screws from the HVAC control module.
3. Pull the HVAC control module out from the instrument panel.
4. Disconnect the electrical connectors from the HVAC control module.
5. Remove the HVAC control module from the instrument panel.
INSTALLATION PROCEDURE
1. Connect the electrical connectors to the HVAC control module.
IMPORTANT: The key should be in the off position when connecting the electrical connectors to ensure proper calibration.
2. Install the HVAC control module into the instrument panel.
3. Install the retaining screws to secure the HVAC control module.
NOTE: Refer to Fastener Notice in Service Precautions.
Tighten the screws to 1.8 N.m (16 lb in).