
Impala V8-5.3L (2008)
Important: Position the cage so that the larger radius corners of the cage windows are facing up.
9. Position the cage at a 90° to the centerline of the outer race.
10. Align the cage windows with the lands of the outer race.
11. Lift and remove the cage and the inner race from the outer race.
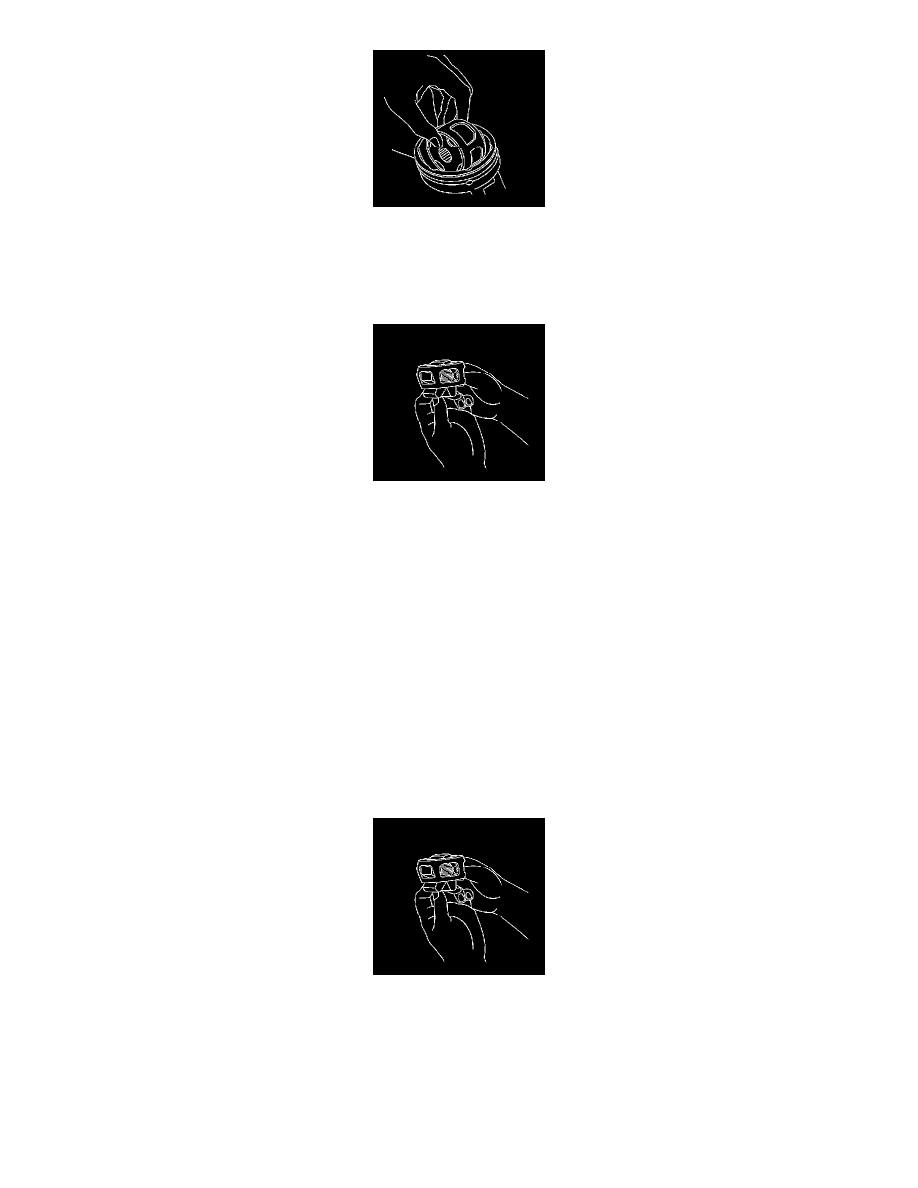
12. Position the cage and the inner race so that the larger radius corners of the cage windows are up.
13. Rotate the inner race 90° to the center line of the cage.
14. Align the lands of the inner race with the windows of the cage.
15. Move the inner race land into the cage window.
16. Rotate the inner race down and remove it from the cage.
17. Clean the following items thoroughly with the proper cleaning solvent:
*
The inner race
*
The outer race
*
The cage
*
The ball bearings
*
The exposed end of the wheel drive shaft
Important: The internal parts of the CV joint are NOT SERVICED separately. The outer CV joint is serviced as an assembly.
18. If any of the above items are found to have excessive wear or are damaged, replace the outer CV joint as an assembly.
Assembly Procedure
1. Position the cage so that the larger radius corners of the cage windows are up.
2. Position the inner race 90° to the centerline of the cage.
3. Insert the inner race through the bottom of the cage.
4. Align the lands of the inner race with the windows of the cage.
5. Move the inner race land into the cage window.
6. Rotate the inner race down and remove it from the cage.
7. Rotate the inner race within the cage so that the grooved surface of the inner race is facing up.
8. Align the inner race ball bearing tracks with the cage windows.