
K 1500 Suburban 4WD V8-5.3L VIN T (2002)
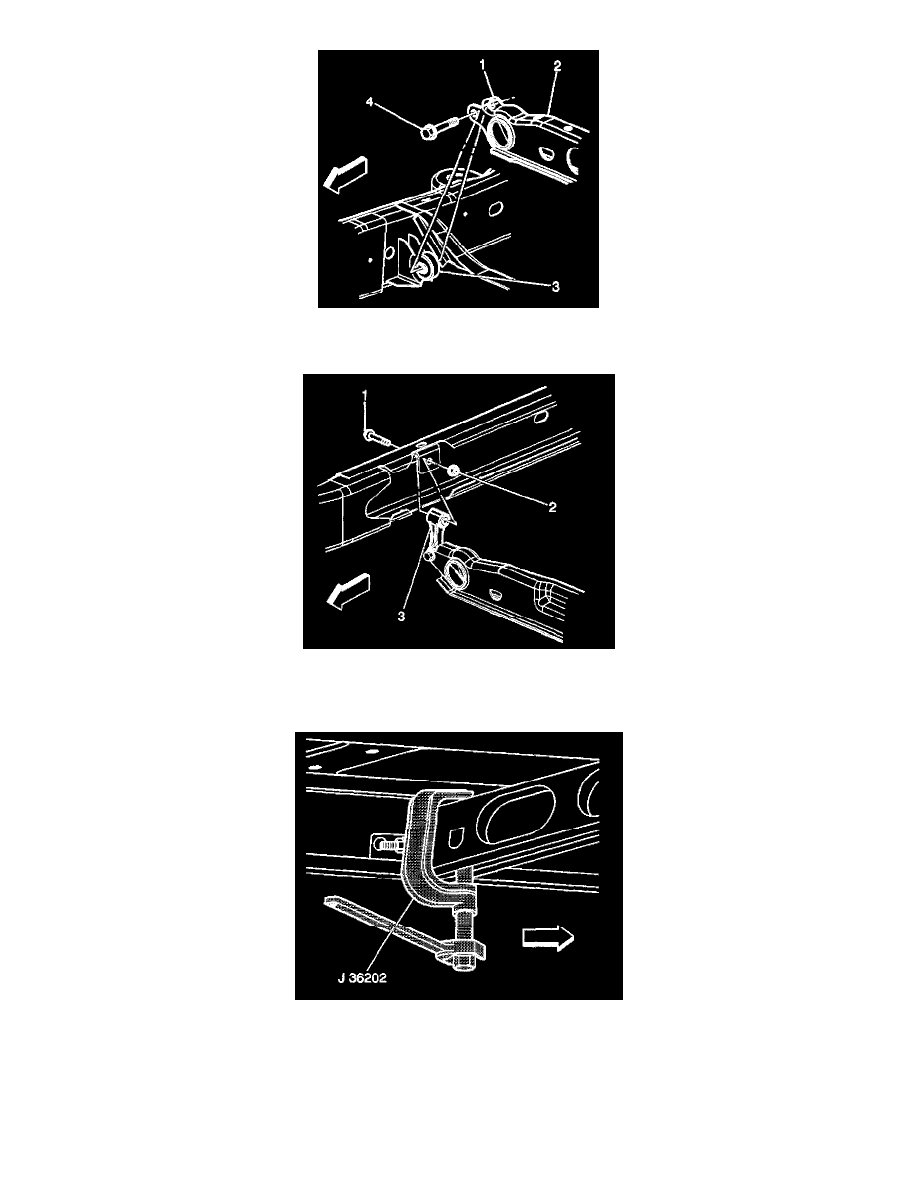
3. Install the torsion bar crossmember bolts (1) to the weld nuts (4).
Tighten the bolt to 95 Nm (70 ft. lbs.).
4. Install the upper link mounting nuts and the bolts (3).
Tighten the nut to 95 Nm (70 ft. lbs.).
5. While supporting the adjustment arm, slide the torsion bar rearward until the torsion bar fully engages the adjustment arm.
6. Install the J36202 to the adjustment arm and the crossmember.
7. Increase the tension on the adjustment arm in order to load the torsion bar.
Important: Install the adjustment bolt the same amount of turns that were required to remove the bolt during removal.