
K 1500 Suburban 4WD V8-5.3L VIN T (2002)
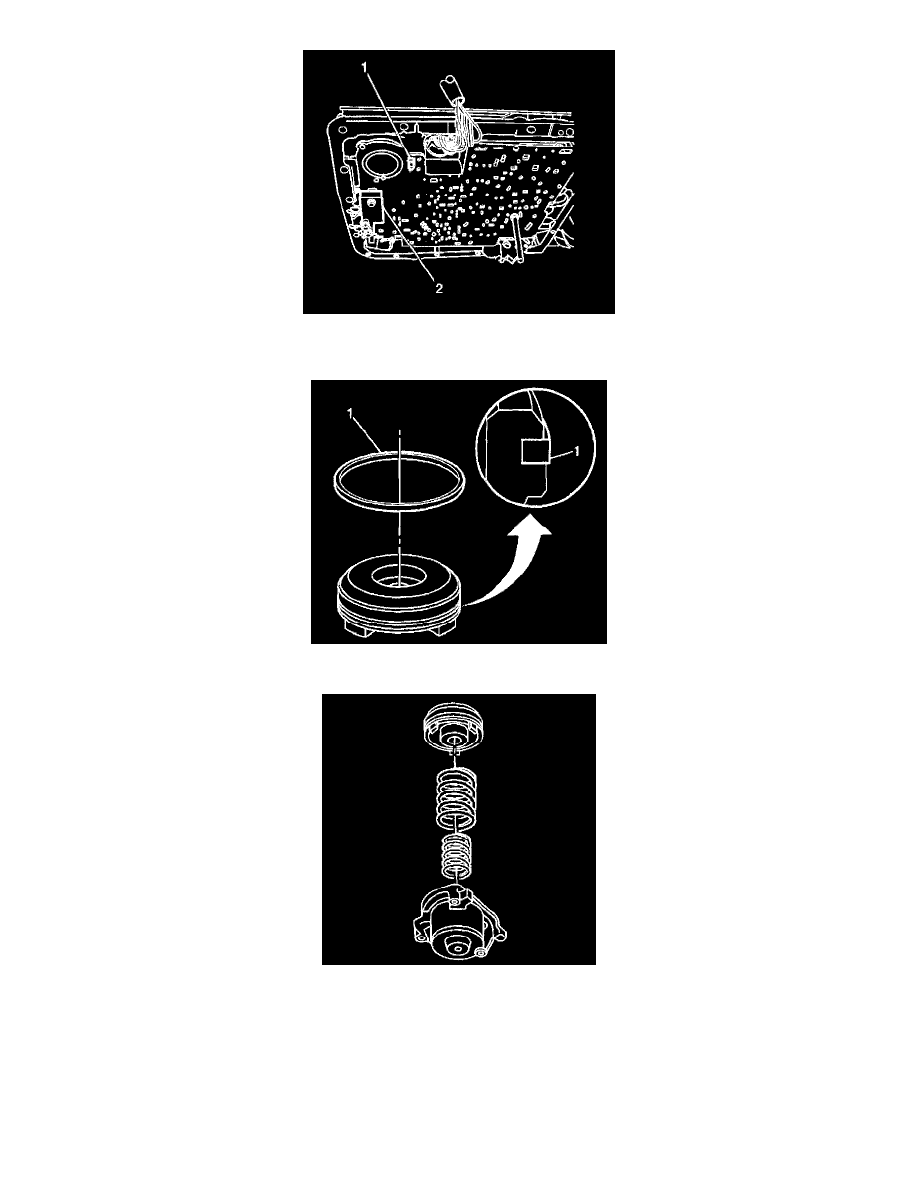
11. After installing the spacer plate support (2), look through the hole in the spacer plate to ensure that the checkball (1) has remained in the proper
location.
12. Install a new 1-2 accumulator piston seal (1) to the 1-2 accumulator piston.
13. Install the 1-2 accumulator inner and outer springs to the 1-2 accumulator cover.
14. Install the 1-2 accumulator piston onto the pin in the 1-2 accumulator cover.
Ensure that the piston legs face the accumulator cover.