
K 1500 Truck 4WD V8-305 5.0L (1988)
Tighten
^
Nut (202) to 235 N.m (175 ft. lbs.).
3. Drive axle flange bolts (200).
Tighten
^
Bolts (200) to 80 N.m (59 ft. lbs.).
^
Remove the drift from the brake rotor.
4. Stabilizer bar components, as necessary.
5. Skid plate (if equipped).
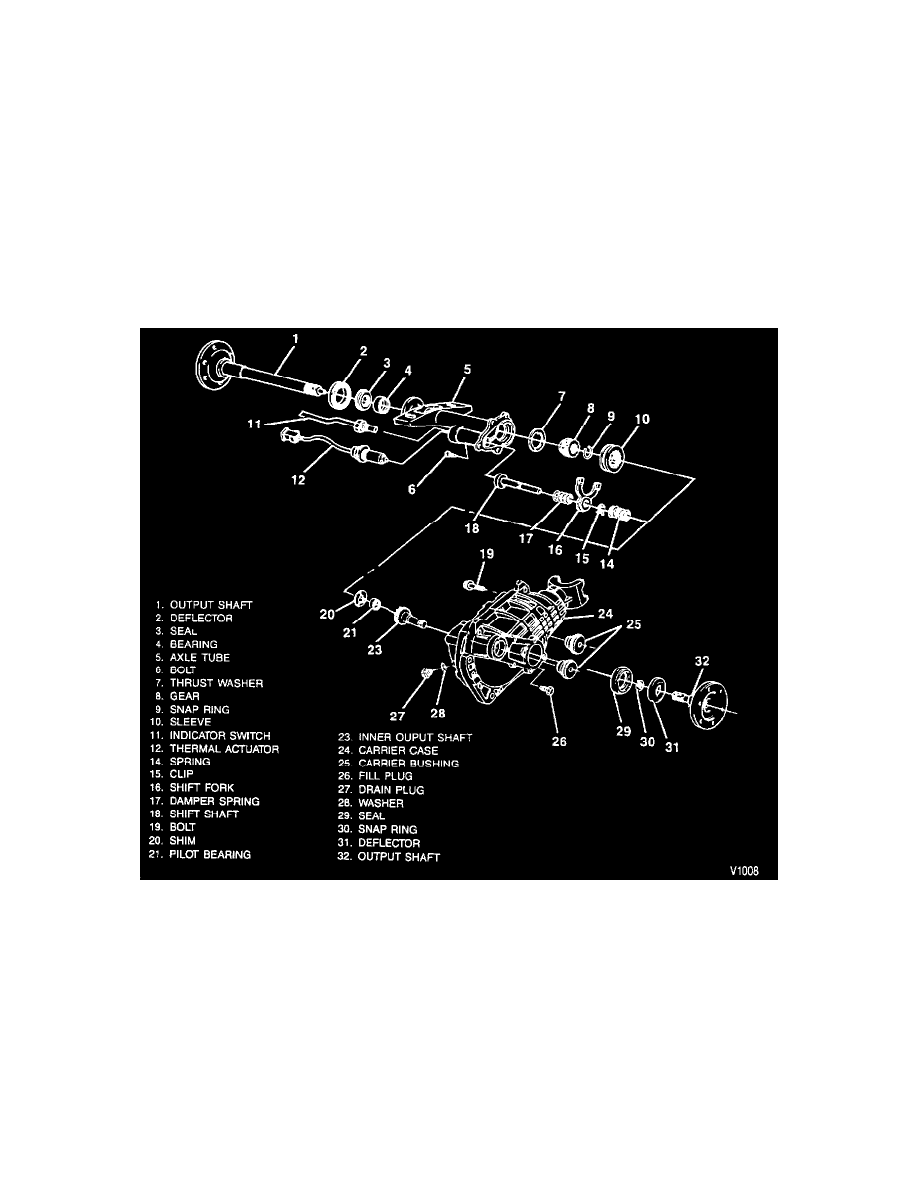
Output Shaft Replacement
Remove or Disconnect
^
Raise the vehicle. Support with jack stands.
^
Place a drain pan under the axle to catch oil.
1. Left drive axle.
2. Lower carrier mounting bolt.
^
Carefully pry against the lower carrier to provide clearance for output shaft removal. Take care not to damage the carrier case.
3. Output shaft (32). Attach a slide hammer with adapter to the output shaft and pull it from the carrier case. Take care not to damage the carrier case.
4. Deflector (31).
5. Seal (29). Pry out with a screwdriver.
Install or Connect
Tools Required: