
K 2500 Truck 4WD V8-5.7L VIN R (1996)
-
Push linkage to opposite side of the vehicle and secure outer be rod up and out of the way. This will provide the needed clearance to remove
the drive axle (halfshaft).
7. Lower shock mounting nut and bolt.
-
Collapse the shock absorber and secure if necessary.
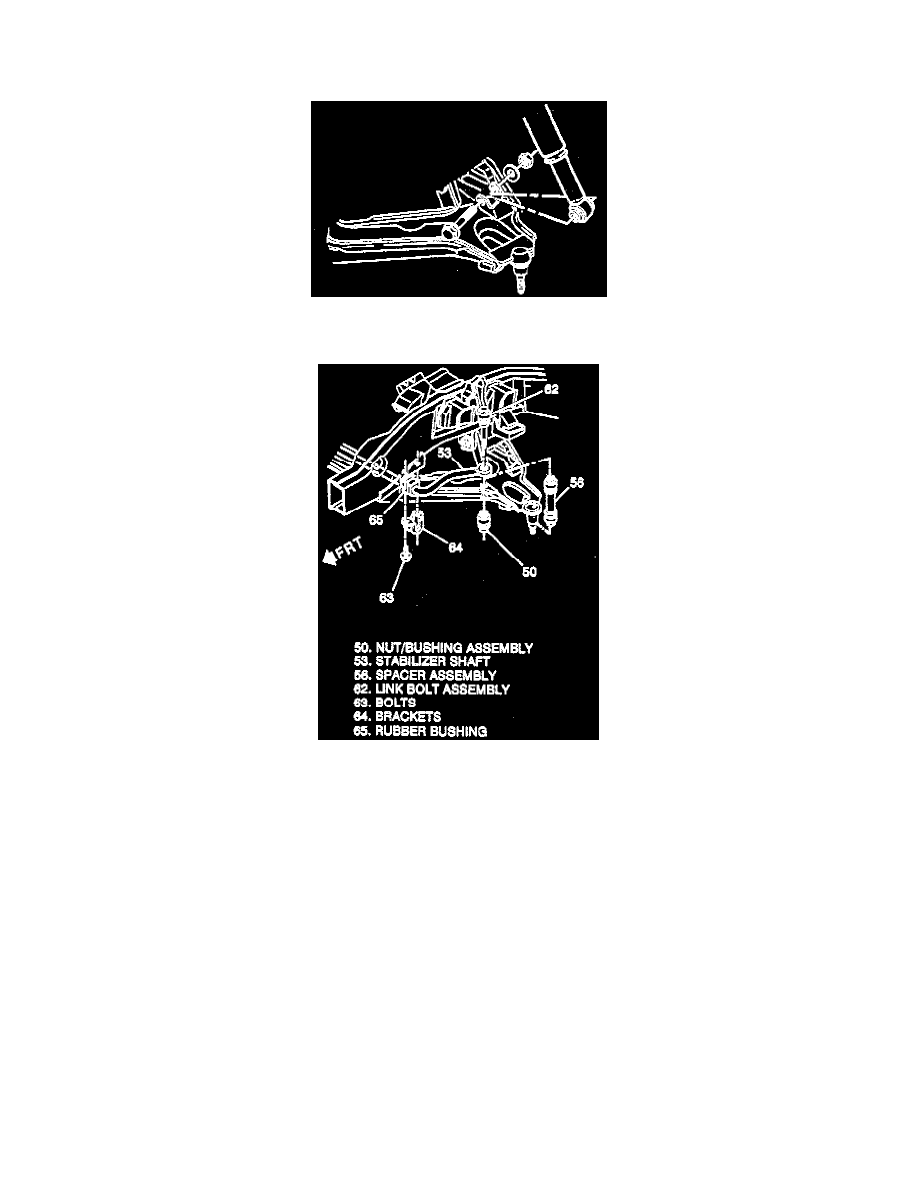
8. Stabilizer shaft components as follows:
-
Remove stabilizer shaft bushing and bracket.
-
Remove stabilizer shaft bolt, spacer, and nut assembly at the lower control arm.
NOTICE: This is required on vehicles with 8050 lb. and below GVW rating to provide needed clearance for drive axle (halfshaft) removal.
9. Position floor jack or stand behind the steering knuckle.
CAUTION: The floor jack or stand must remain under the control arm while servicing the drive axle (halfshaft) to maintain torsion bar
and control arm position. Failure to do so could result in personal injury.
10. Cotter pin (138) from the upper control arm ball joint stud.
-
Loosen (do not remove at this time) the stud nut on the upper ball joint stud.
-
Loosen the stud from the knuckle using J 36607.