
K 2500 Truck 4WD V8-6.0L VIN U (2001)
8. Install the rear quarter trim panels, if needed.
9. Install the center trim pillar moldings, if equipped.
10. Carefully route the wire harness through the IP in order to connect the wire to the junction block located next to the clutch or brake pedal.
11. Install the transfer case control module, if equipped.
Important: Ensure that all of the wire harness retainers in the IP and the windshield pillar are all pressed into place in order to prevent
rattling during driving.
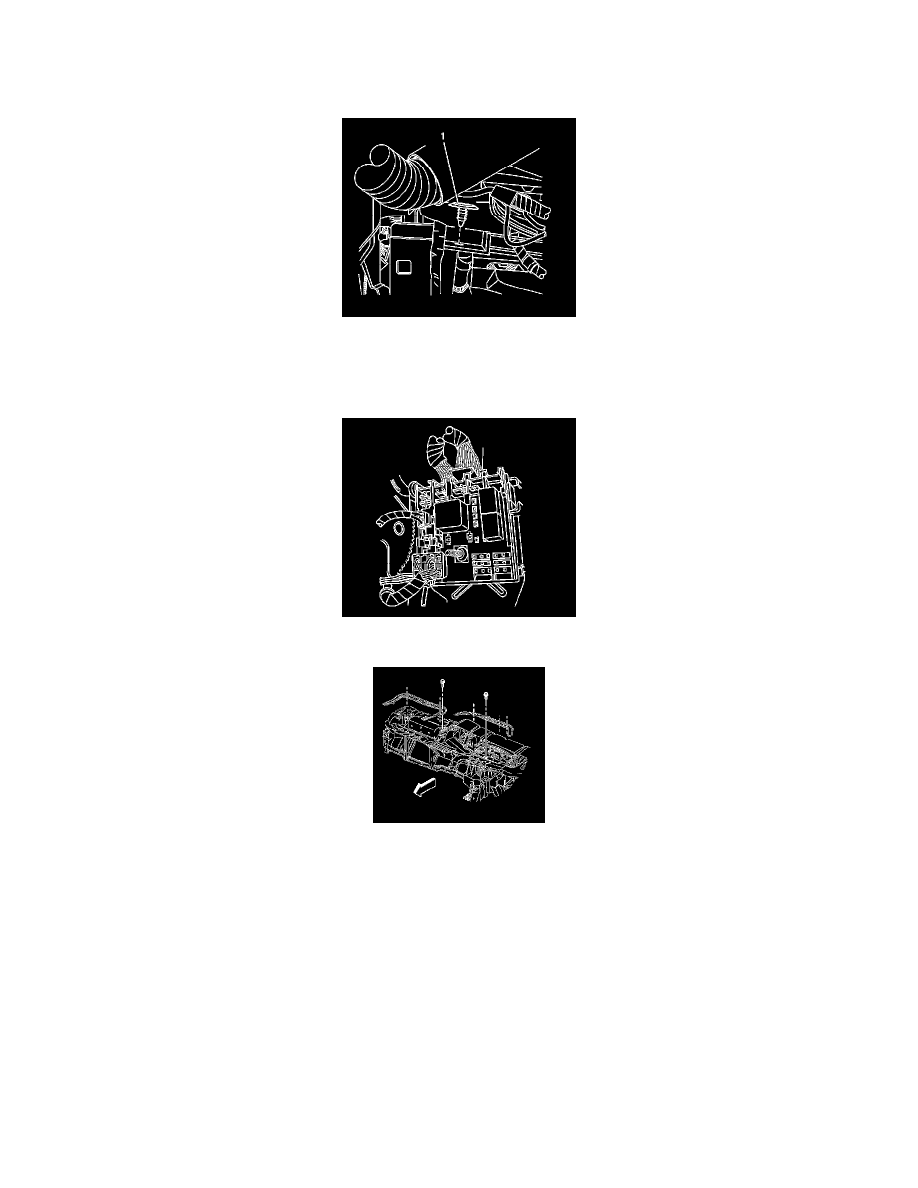
12. Press in the wire harness retainer (1) in order to secure the harness.
13. Connect the headliner electrical connector to the junction block located next to the clutch or brake pedal.
Notice: Refer to Fastener Notice in Service Precautions.
14. Install the IP upper brackets.
Tighten the IP upper brackets bolts to 9 N.m (80 lb in).
15. Connect the electrical connectors to the drivers side accessory housing (1).