
K 2500 Truck 4WD V8-6.6L DSL Turbo VIN 1 (2002)
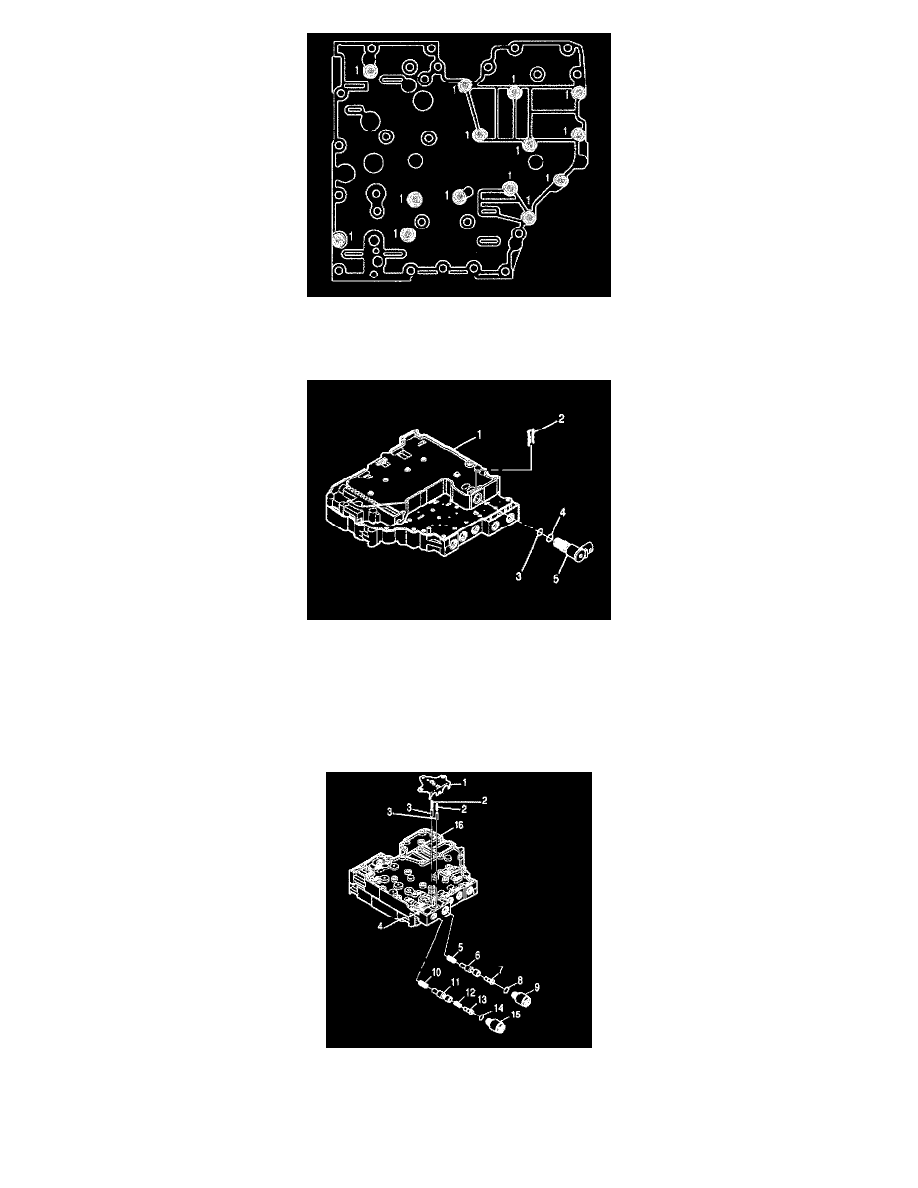
6. Position the control valve body on the work table so that the main valve body is facing up.
7. Install the fourteen bolts (1) fastening the valve bodies together.
^
Tighten the bolts to 12 Nm (106 inch lbs.).
8. Position the control valve assembly on the work table so that the shift valve body is facing up.
Important: P/N 29536833 is printed on C ON/OFF shift solenoid (5). O-ring (4) is slightly smaller than O-ring (3)
9. Install solenoid O-ring (4) onto C ON/OFF shift solenoid (5).
10. Align C ON/OFF shift solenoid (5) so that the electrical connector faces the nearest side, as shown.
11. Push the solenoid into the valve body until the solenoid seats.
12. Install solenoid retainer (2).
13. Position the control valve assembly on the work table so that main valve body (16) is facing up.
Important: Do not damage the solenoid(s) when turning over the control valve assembly.