
K 3500 Truck 4WD V8-350 5.7L (1993)
Valve Cover: Service and Repair
VALVE ROCKER ARM COVER REPLACEMENT
REMOVAL
1. Disconnect the battery negative cable assembly from the battery negative terminal.
2. Remove the air cleaner.
3. Remove the crankcase ventilation hoses at the rocker arm covers.
4. Disconnect the wiring harness from the clips, and move aside.
5. Remove the following components for access to the right valve rocker arm cover:
a. The PCV valve.
b. The oil level indicator tube bracket.
c. The heat stove pipe.
d. Emission sensors with bracket, and move aside.
6. Remove the following components for access to the left valve rocker arm cover:
a. The generator rear brace.
b. The crankcase ventilation pipe.
c. The power brake vacuum pipe and move aside.
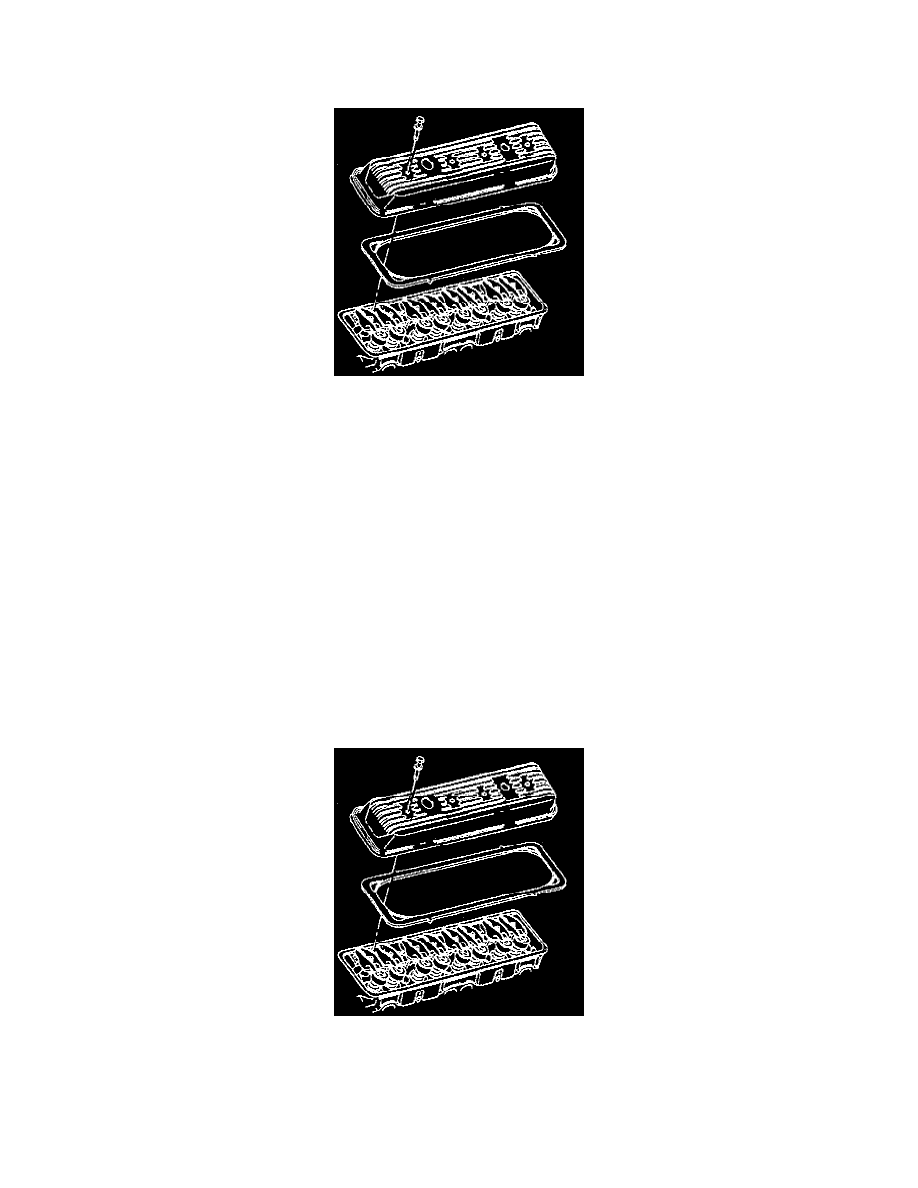
7. Remove the valve rocker arm cover bolts.
8. Remove the valve rocker arm cover and the gasket.
9. Clean all traces of old gasket from the valve rocker arm cover and the cylinder head.
10. Inspect the valve rocker arm cover sealing surface for distortion. Replace the valve rocker arm cover if necessary.
INSTALLATION
1. Install a new valve rocker arm cover gasket.
2. Install the valve rocker arm cover.
3. Install the valve rocker arm cover bolts.
-
Tighten the cover bolts to 11 Nm (100 inch lbs.).
4. Install the components as follows for the left valve rocker arm cover: