
Lumina V6-3.1L VIN J (2000)
Front Fender Liner: Service and Repair
Front Fender Liner Replacement
Removal Procedure
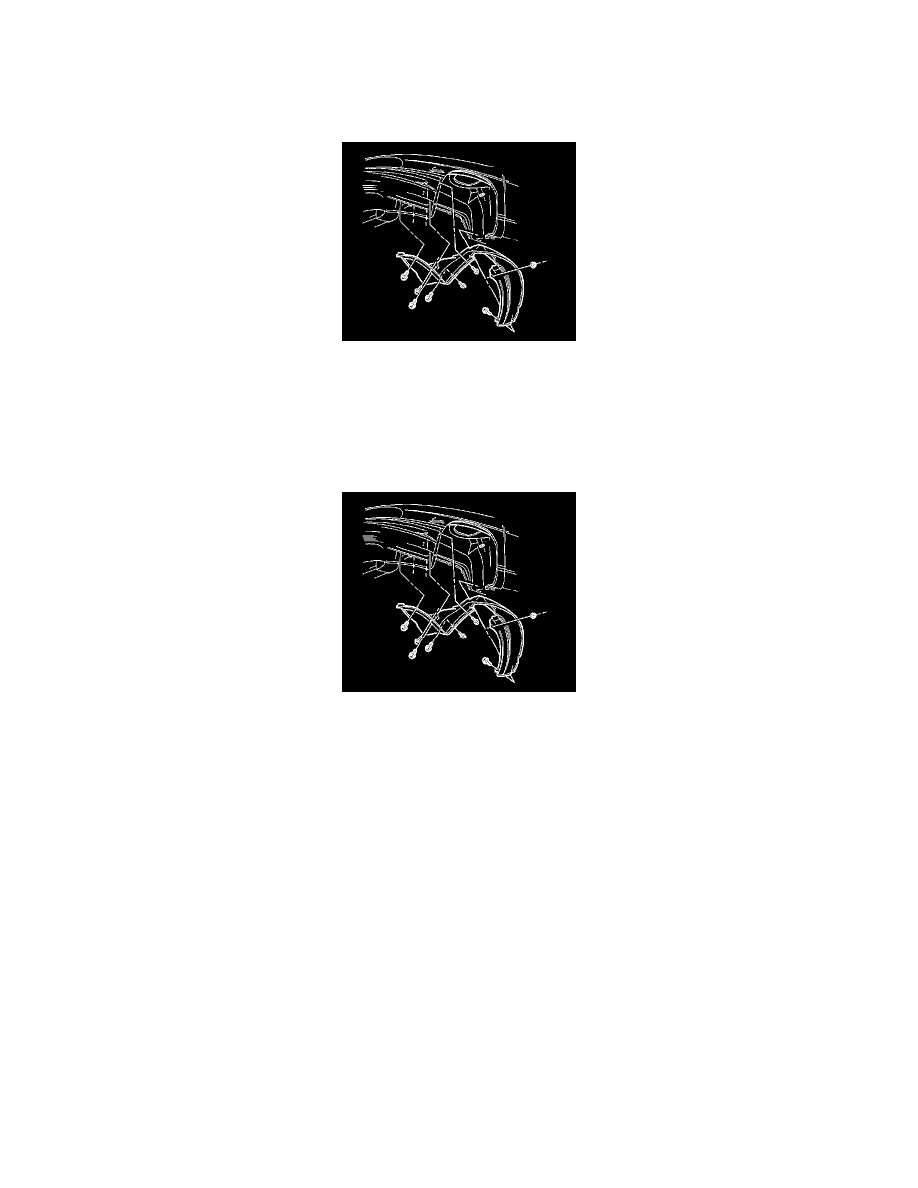
1. Remove the bolts from the front fender liner at the front bumper fascia.
2. Remove the nut from the stud at the rear of the front fender liner.
3. Disconnect the vacuum tank hose (left front side only). Refer to Vacuum Tank Replacement.
4. Remove the bolt from the front fender liner at the rear of the fender.
5. Remove the front fender liner from the fender.
Installation Procedure
1. Position the front fender liner to the wheelhouse opening over the stud and the pinchweld flange.
2. Connect the vacuum tank hose (left front side only). Refer to Vacuum Tank Replacement.
Notice: Refer to Fastener Notice in Cautions and Notices.
3. Install the nut to the stud at the rear of the front fender liner.
Tighten the fender liner nut to 3 N.m (24 lb in).
Important: Hand tighten the bolts to the front fender liner at the front bumper fascia.
4. Install the bolts to the front fender liner at the front bumper fascia.
Tighten the fender liner to front bumper fascia bolts to the front fender liner at the front bumper fascia to 2 N.m (18 lb in).
5. Install the bolt to the front fender liner at the rear of the fender.
Tighten the bolts to the front fender liner at the rear of the fender to 3 N.m (27 lb in).