
Malibu L4-2.4L (2010)
9. Seat the water feed O-ring seal by pushing inward toward the water pump. Take care not to tear or damage the O-ring.
10. Position the thermostat housing against the engine.
11. Install the thermostat housing bolts and tighten to 10 Nm (89 lb in).
12. If reinstalling the old sensor, coat the threads with sealant. Refer to Adhesives, Fluids, Lubricants, and Sealers (See:
Engine/Specifications/Adhesives, Fluids, Lubricants, and Sealers).
13. Install the ECT sensor, if necessary. Tighten the sensor to 20 Nm (15 lb ft).
14. Lower the vehicle.
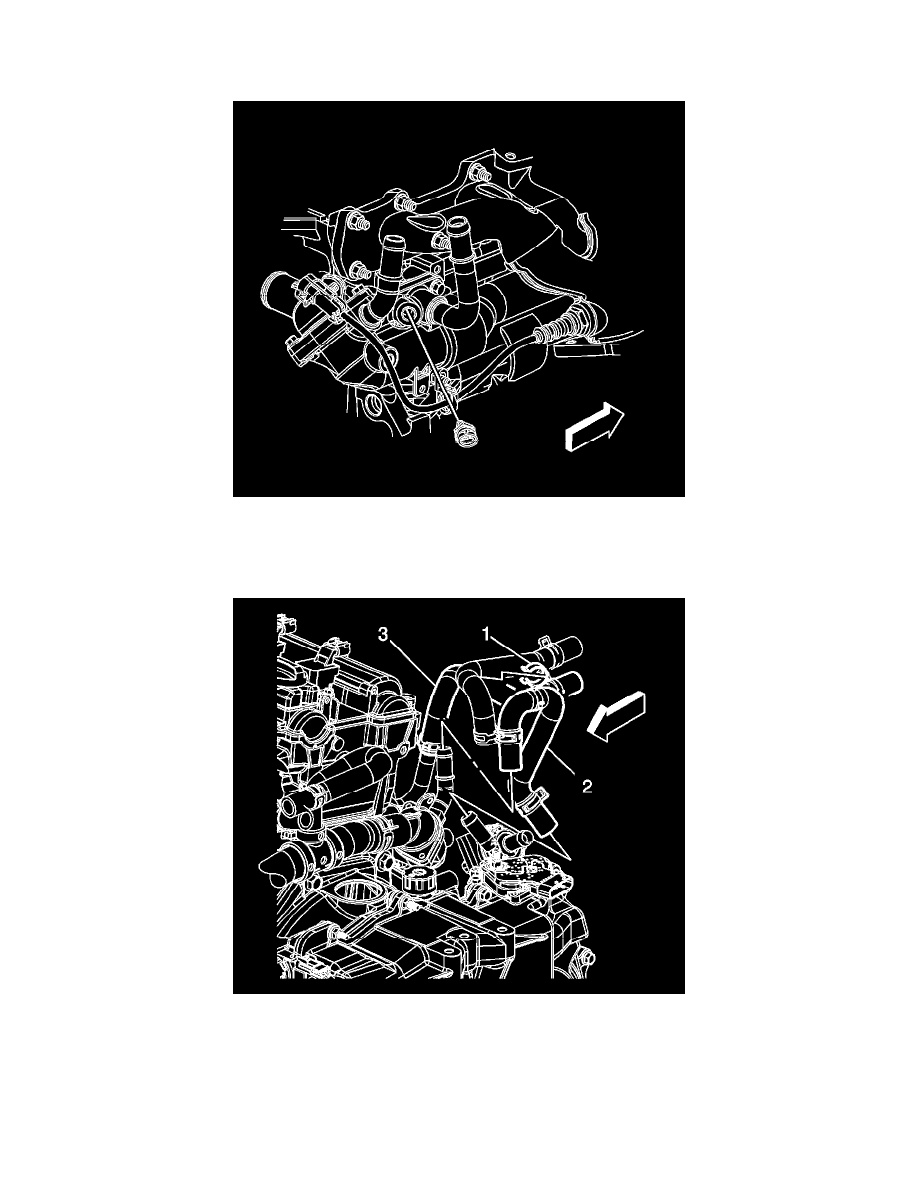
15. Install the heater inlet hose (3) to the thermostat housing.
16. Position the heater inlet hose clamp at the thermostat housing.
17. Install the auxiliary heater water pump hose (2) to the thermostat housing.
18. Position the auxiliary heater water pump hose clamp at the thermostat housing.
19. Install the auxiliary heater water pump hose clip (1) to the heater outlet hose.