
Malibu L4-2.4L (2010)
Oil Pan: Service and Repair
Oil Pan Replacement
Removal Procedure
1. Remove the drive belt. Refer to Drive Belt Replacement (See: Drive Belts, Mounts, Brackets and Accessories/Drive Belt/Service and Repair).
2. Remove the oil level indicator tube. Refer to Oil Level Indicator Tube Replacement (See: Engine Oil Dip Stick - Dip Stick Tube/Service and
Repair).
Note: The support fixture bar must be installed to provide enough access to remove and properly tighten the oil pan bolts.
3. Install the engine support fixture. Refer to Engine Support Fixture (See: Service and Repair/Removal and Replacement/Engine Support Fixture).
4. Remove engine mount. Refer to Engine Mount Replacement (See: Drive Belts, Mounts, Brackets and Accessories/Engine Mount/Service and
Repair/Engine Mount Replacement).
5. Using the engine support fixture, raise the engine approximately 76 mm (3 in).
6. Raise and support the vehicle. Refer to Lifting and Jacking the Vehicle (See: Maintenance/Vehicle Lifting/Service and Repair).
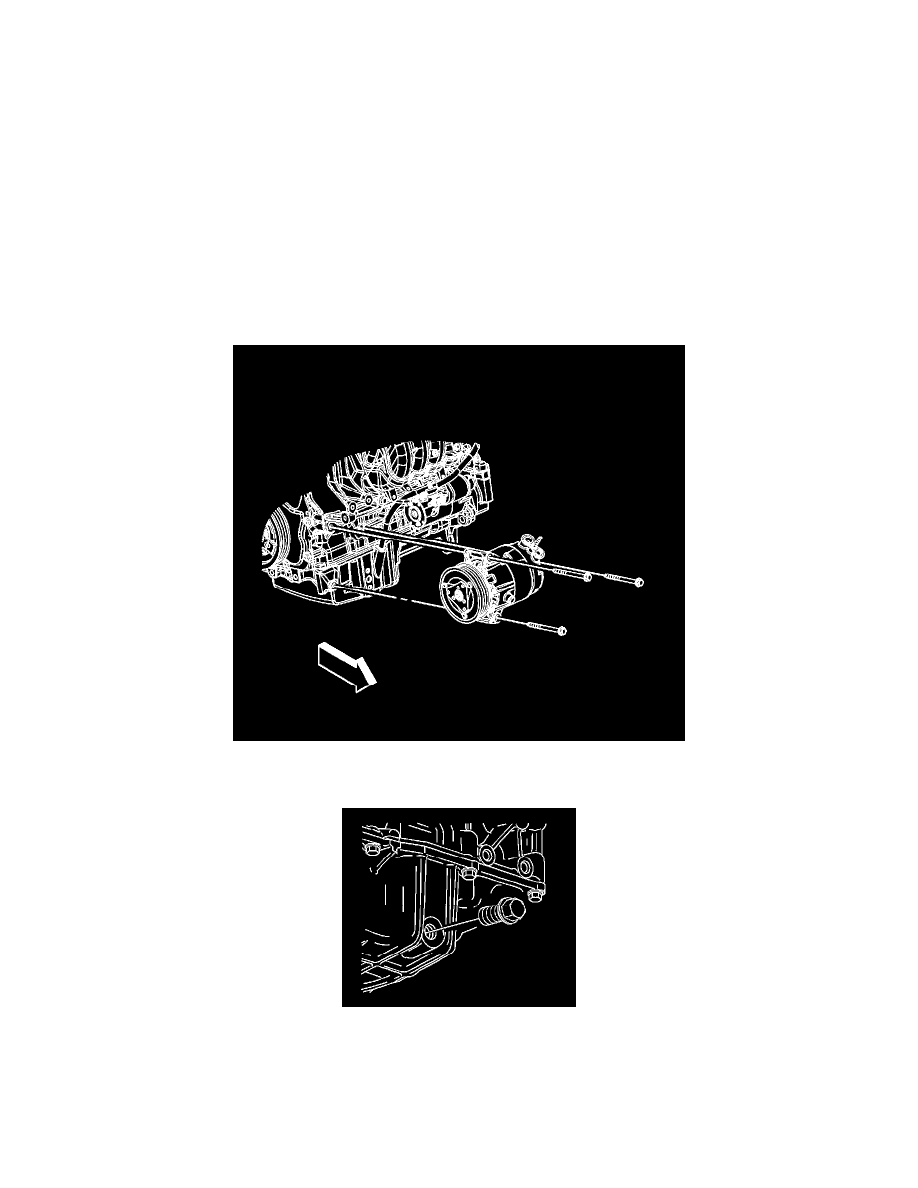
7. Loosen the upper air conditioning (A/C) compressor bolts.
8. Remove the lower A/C compressor bolt.
9. Place a suitable drain pan under the oil pan drain plug.
10. Remove the oil pan drain plug.
11. Drain the engine oil.
12. Reinstall the oil pan drain plug until snug.