
Malibu L4-2.4L (2010)
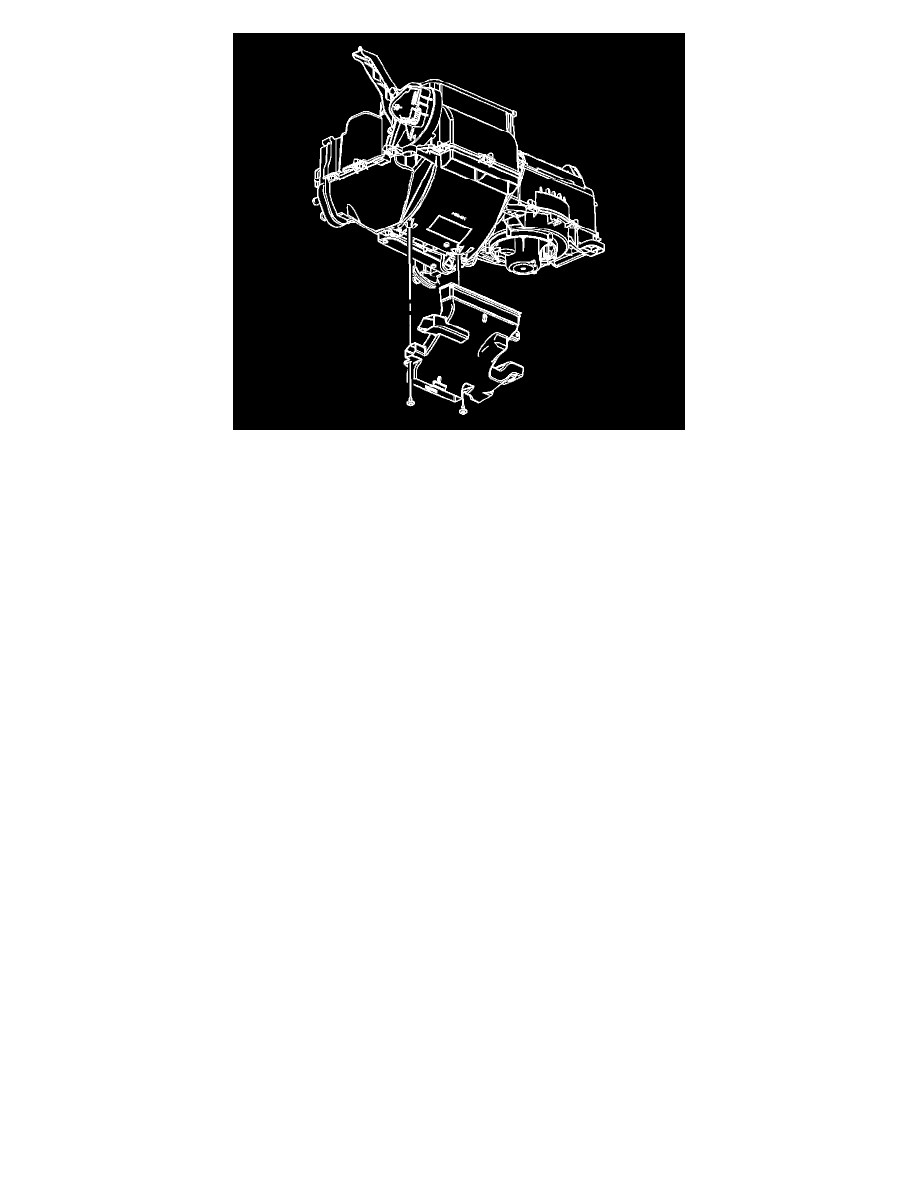
1. Install the center floor air duct.
2. Install the Instrument panel lower bracket. Refer to Instrument Panel Lower Bracket Replacement (See: Body and Frame/Interior Moulding /
Trim/Dashboard / Instrument Panel/Service and Repair/Instrument Panel Lower Bracket Replacement).
Caution: Refer to Fastener Caution (See: Service Precautions/Vehicle Damage Warnings/Fastener Caution).
3. Install the center floor air duct screws and tighten to 1.5 Nm (13 lb in).
4. Install the console. Refer to Front Floor Console Replacement (See: Body and Frame/Interior Moulding / Trim/Console/Service and Repair/Front
Floor Console Replacement).
Floor Rear Air Outlet Duct Replacement - Left Side
Floor Rear Air Outlet Duct Replacement - Left Side
Removal Procedure
1. Remove the console. Refer to Front Floor Console Replacement (See: Body and Frame/Interior Moulding / Trim/Console/Service and
Repair/Front Floor Console Replacement).
2. Remove the left front seat. Refer to Front Seat Replacement - Bucket (See: Body and Frame/Seats/Service and Repair/Removal and
Replacement/Front Seat Replacement - Bucket).
3. Remove the left front carpet retainer. Refer to Front Side Door Opening Floor Carpet Retainer Replacement (See: Body and Frame/Interior
Moulding / Trim/Carpet/Service and Repair/Removal and Replacement/Front Side Door Opening Floor Carpet Retainer Replacement).
4. Remove the left center pillar lower garnish molding. Refer to Center Pillar Lower Garnish Molding Replacement (See: Body and Frame/Interior
Moulding / Trim/Trim Panel/Service and Repair/Center Pillar Lower Garnish Molding Replacement).
5. Remove the floor carpet enough to access the left rear floor duct. Refer to Front Floor Panel Carpet Replacement (See: Body and Frame/Interior
Moulding / Trim/Carpet/Service and Repair/Removal and Replacement/Front Floor Panel Carpet Replacement).