
Malibu L4-2.4L (2010)
Starter Motor: Service and Repair
Starter Replacement
Removal Procedure
1. Disconnect the negative battery cable. Refer to Battery Negative Cable Disconnection and Connection (See: Battery/Battery
Cable/Negative/Service and Repair/Battery Negative Cable Disconnection and Connection).
2. Raise the vehicle. Refer to Lifting and Jacking the Vehicle (See: Maintenance/Vehicle Lifting/Service and Repair).
3. Remove the flywheel inspection cover bolts.
4. Remove the flywheel inspection cover.
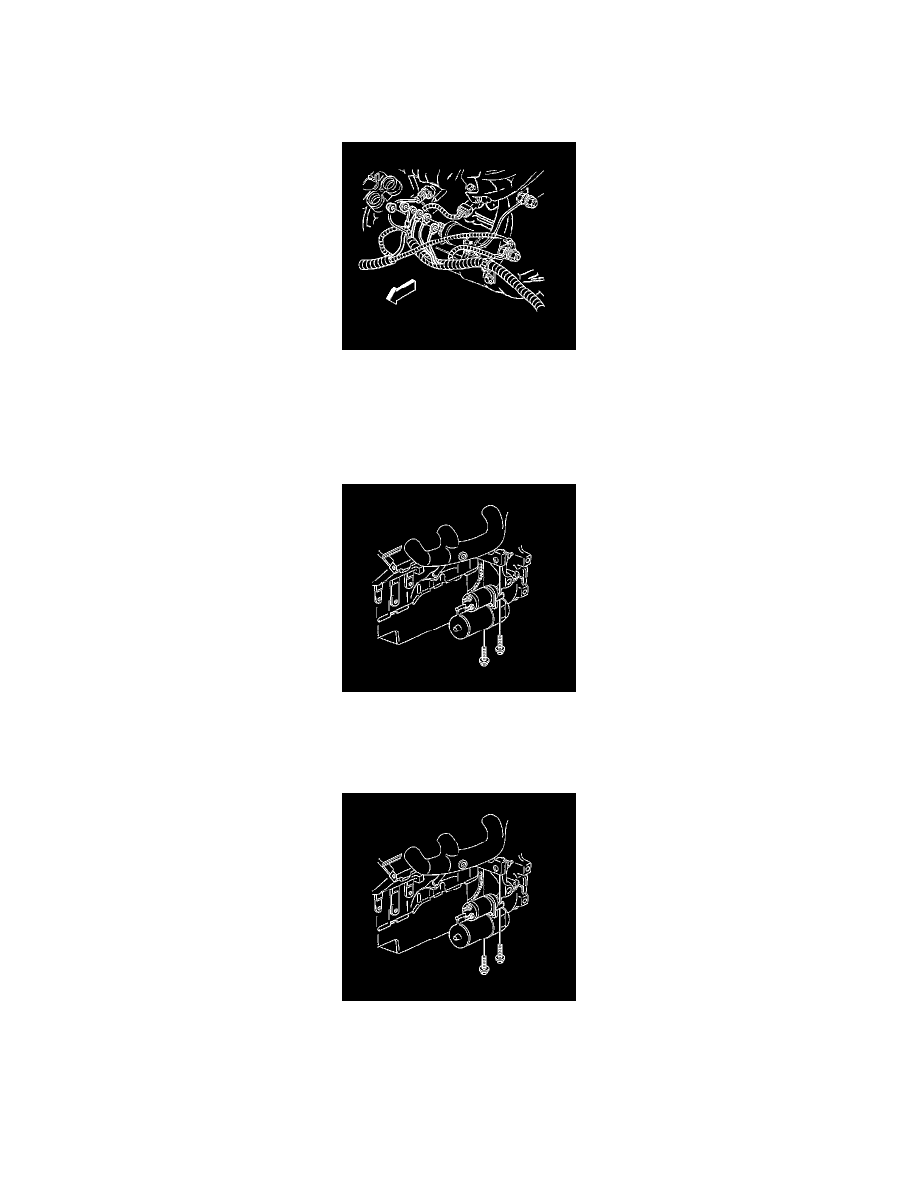
5. Remove the electrical connections from the starter motor.
6. Remove the starter motor mounting bolts.
7. Remove the starter motor.
Installation Procedure
Caution: Before installing the starter motor to the engine, tighten the nut next to the cap on the solenoid BAT terminal. If this terminal is not tight
in the solenoid cap, the cap may be damaged during installation of electrical connections and cause the starter motor to fail later.
1. Install the starter motor to the engine.
Caution: Refer to Fastener Caution (See: Service Precautions/Vehicle Damage Warnings/Fastener Caution).