Malibu L4-2.4L (2010)

Fluid Pan: Service and Repair
Oil Pan Replacement
Removal Procedure
Warning
Ensure that the vehicle is properly supported and squarely positioned. To help avoid personal injury when a vehicle is on a hoist, provide additional
support for the vehicle on the opposite end from which the components are being removed.
1. Position the vehicle on a hoist and raise the vehicle.
2. Place a drain pan under the transaxle oil pan.
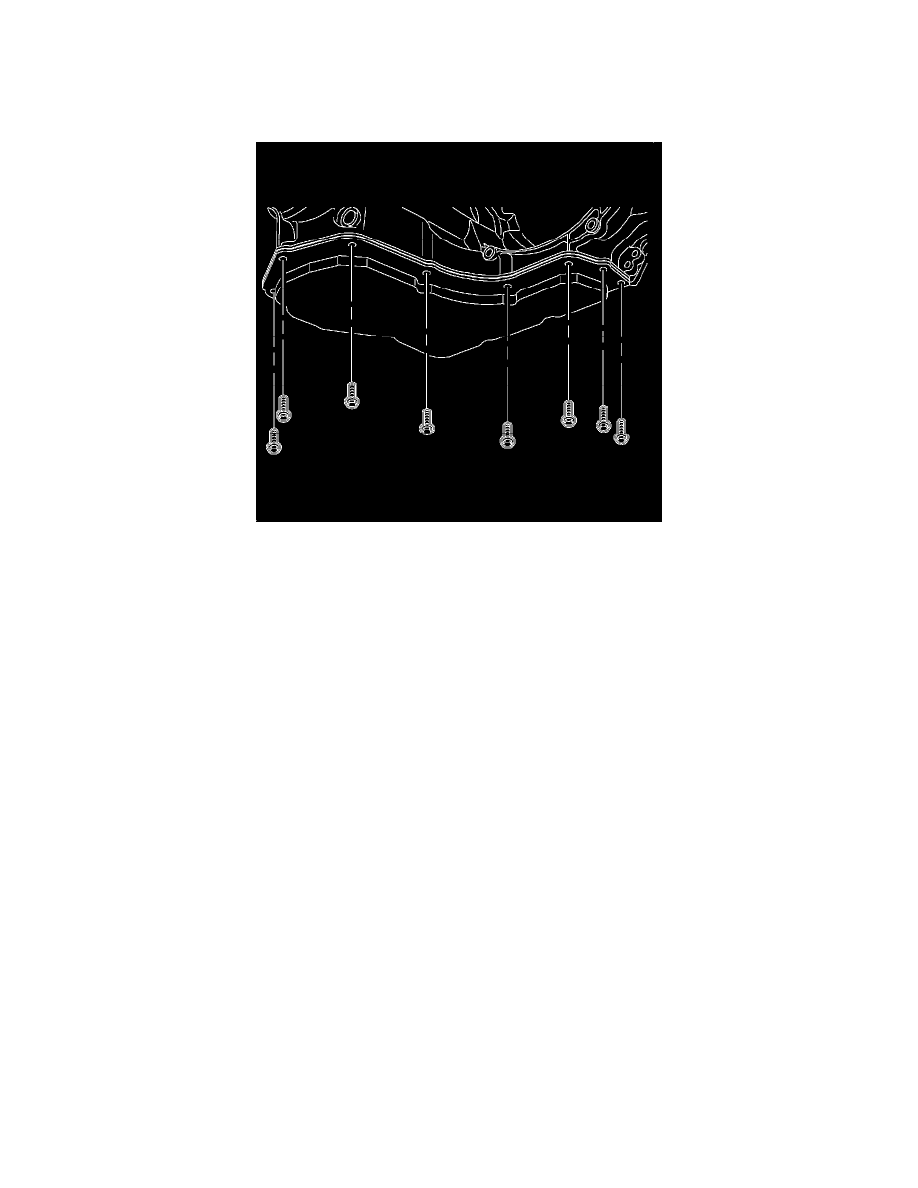
3. Remove the oil pan bolts from the front and sides only.
4. Loosen the rear oil pan bolts approximately 4 turns.
Caution: Pry the oil pan carefully in order to prevent damage to the transaxle case or the oil pan sealing surfaces.
5. Lightly tap the oil pan with a rubber mallet or carefully pry in order to allow the oil to drain.
