
Malibu L4-2.4L (2010)
3. Apply bonded-glass primer and let dry per auto-adhesive instructions by the manufacturer's.
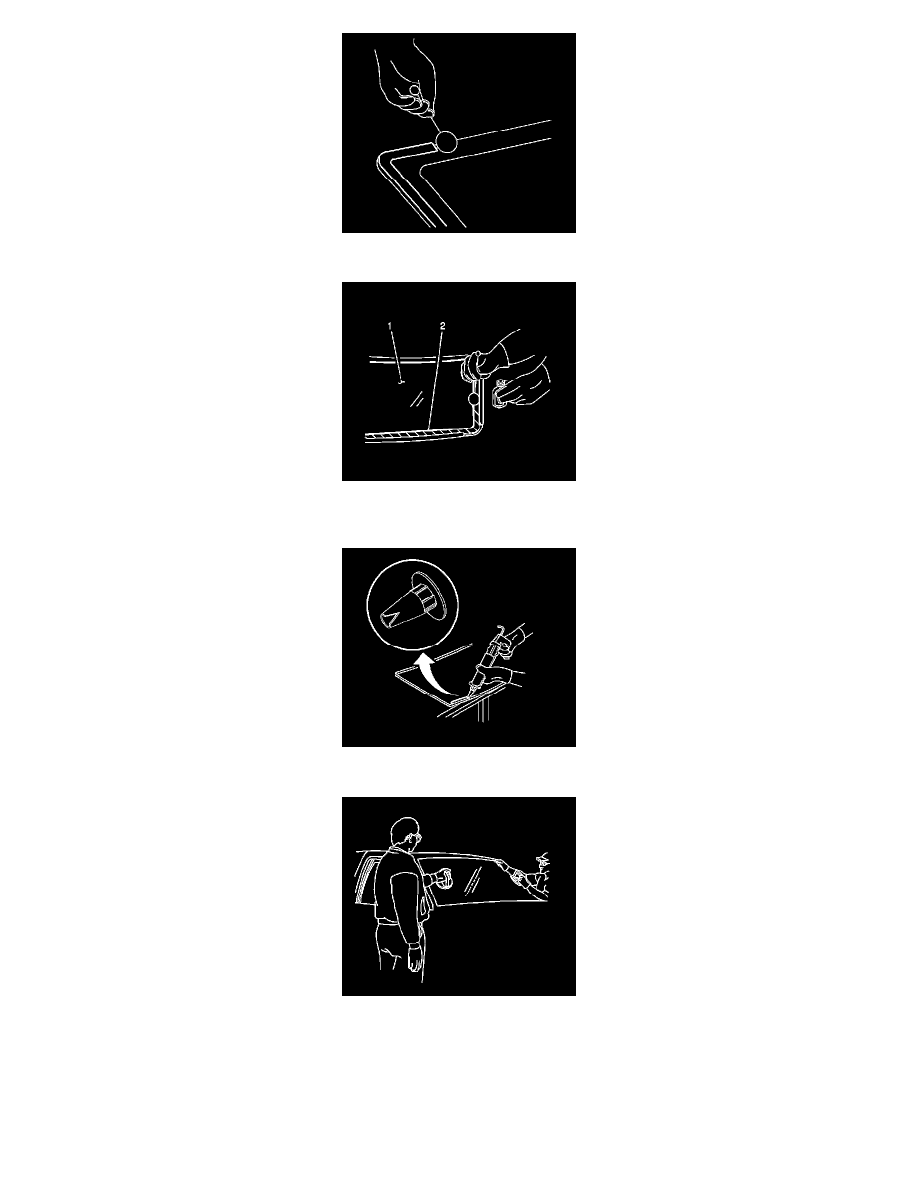
4. Apply the auto-adhesive primer-application (2) around the perimeter of the rear window (1) and let dry per auto-adhesive instructions by the
manufacturer's.
5. Cut the applicator nozzle to provided a V cut to apply the auto-adhesive.
Note: If the locating pins were cut off it will be necessary to tape the window in place until the auto-adhesive cures per auto-adhesive instructions
by the manufacturer's.
6. With an assistant, use the glass handling cups, align the windshield locating pins to the slots located in each corner of the pinch-weld flange.
Lower the windshield to touch the auto-adhesive.
7. Remove the glass handling cups.