
Malibu Classic L4-2.2L (2008)
5. Install the intake camshaft.
6. Install the camshaft caps.
Notice: Refer to Fastener Notice.
7. Tighten the camshaft cap bolts in increments of 3 turns until they are seated.
Tighten the camshaft cap bolts to 10 N.m (89 lb in).
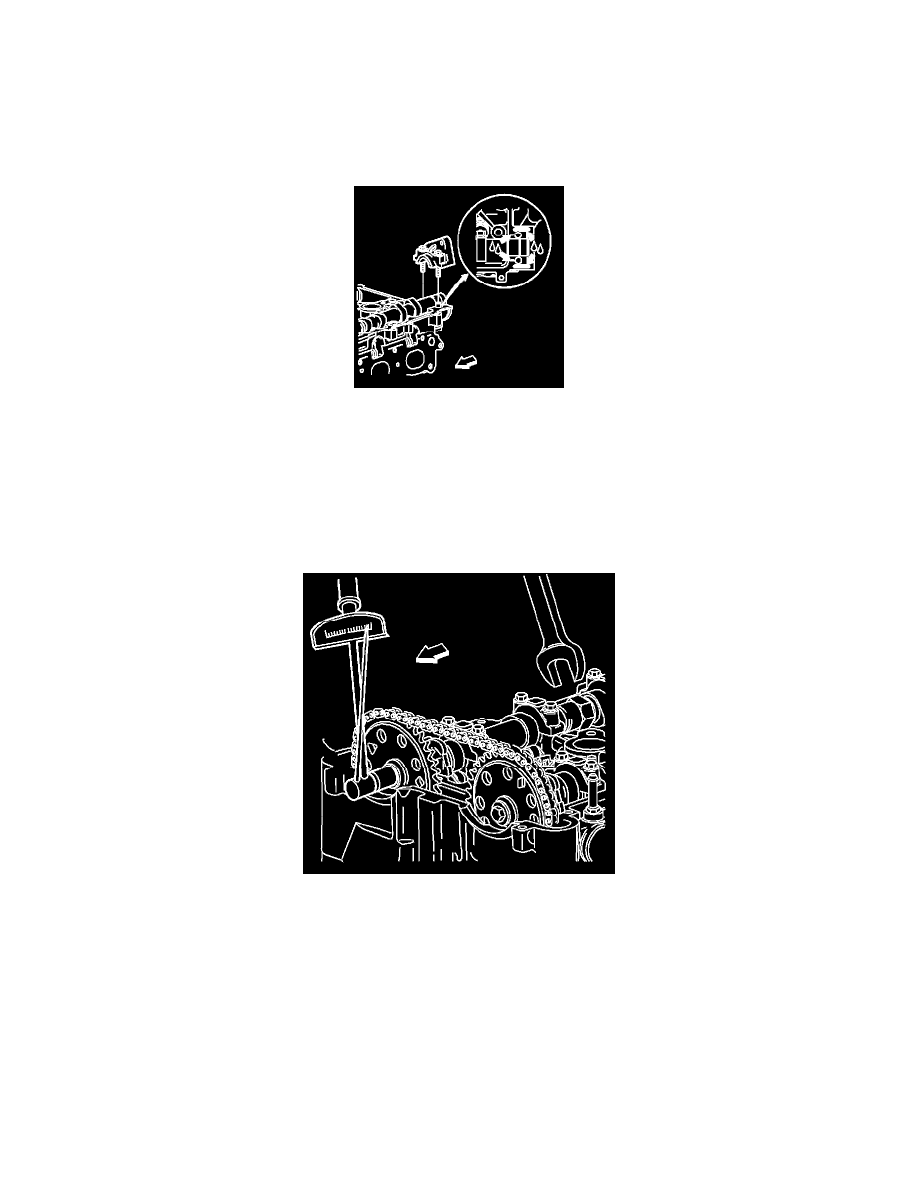
8. Apply a 3.5 mm (0.138 in) bead of sealant to the rear intake camshaft bearing cap. Refer to Sealers, Adhesives, and Lubricants for the correct part
number.
9. Install the rear intake camshaft cap bolts.
Tighten the bolts to 25 N.m (18 lb ft).
10. Install camshaft sprockets onto the camshafts.
11. Hand tighten NEW camshaft sprocket bolts.
12. Remove the J 43655.
13. Tighten the camshaft sprocket bolts.
Tighten the bolts to 85 N.m (63 lb ft) plus 30 degrees.