
Malibu Classic L4-2.2L (2008)
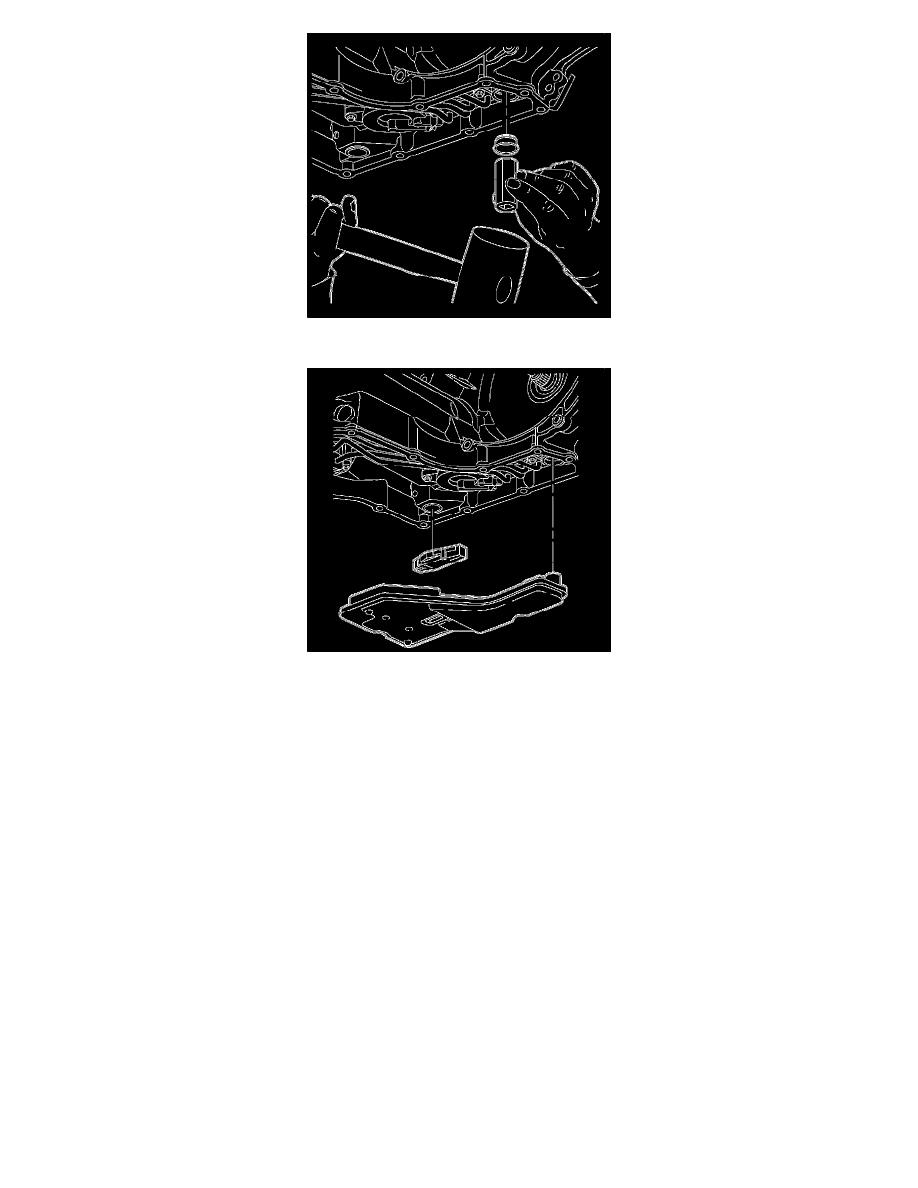
4. Install the new filter neck seal into the transaxle case. A large socket can be used as an installation tool. Two mallets can be used as well.
5. Coat the filter O-ring with a small amount of petroleum jelly, and install the filter into the case.
Notice: Push straight down on the center of the oil level control valve in order to prevent damage to the case bore.
6. Install the oil level control valve.
7. Install the oil pan.
8. Lower the vehicle.
9. Remove the AIR.
10. Add DEXRON(R) VI transaxle fluid or equivalent to the specified refill capacity.
*
The bottom pan removal capacity is approximately 6.5L (6.9 qt).
*
The complete overhaul capacity is approximately 9L (9.5 qt).
*
The dry capacity is approximately 12.2L (12.9 qt).
11. Start the engine, warm up the transaxle, and check for leaks.
12. Inspect the fluid level.
Important: It is recommended that transmission adaptive pressure (TAP) information be reset.
Resetting the TAP values using a scan tool will erase all learned values in all cells. As a result, The ECM, PCM or TCM will need to
relearn TAP values. Transmission performance may be affected as new TAP values are learned.
13. Reset the TAP values. Refer to Transmission Adaptive Functions.