Malibu Classic L4-2.2L (2008)

Window Frame: Service and Repair
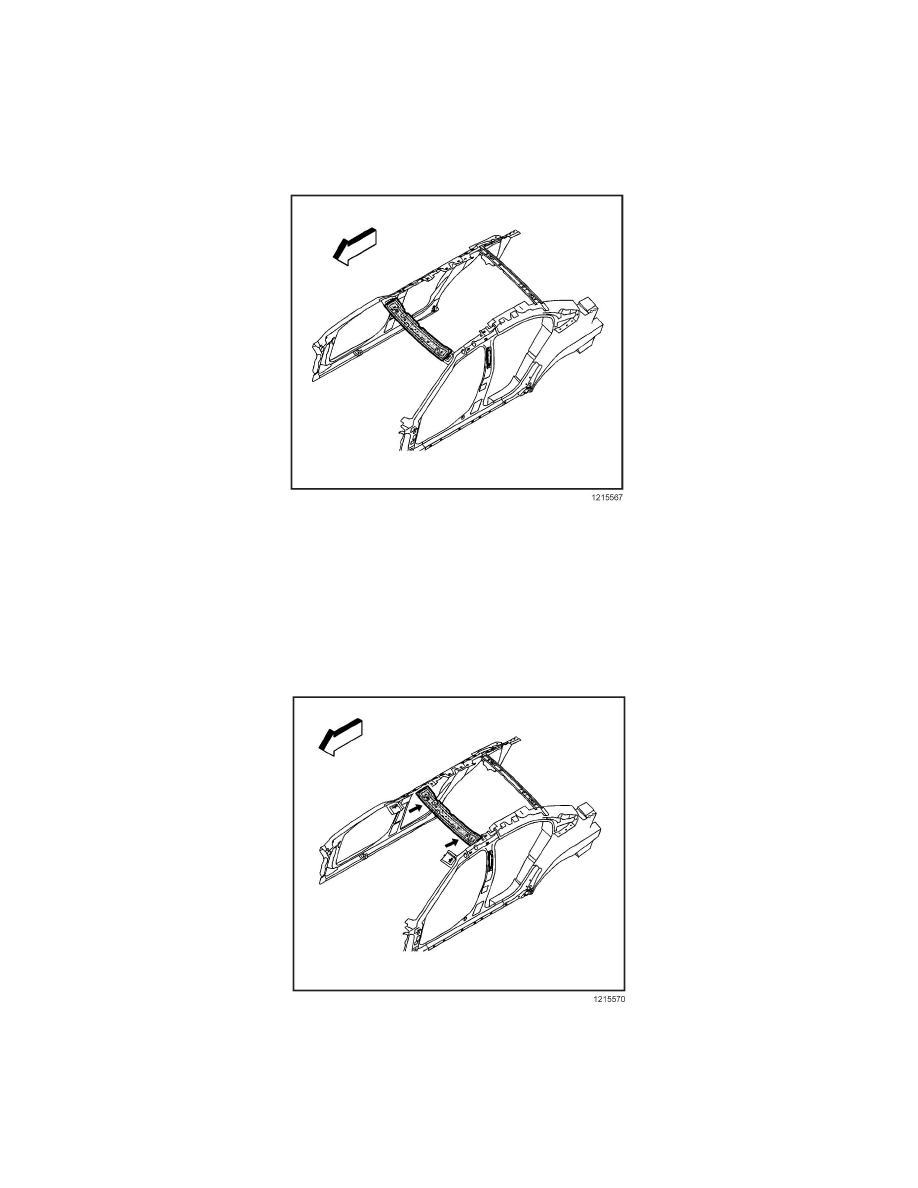
Windshield Frame Header Panel Replacement - Front
REMOVAL PROCEDURE
CAUTION: To avoid personal injury when exposed to welding flashes or to galvanized (Zinc Oxide) metal toxic fumes while grinding/cutting
on any type of metal or sheet molded compound, you must work in a properly ventilated area, wearing an approved respirator, eye protection,
earplugs, welding gloves, and protective clothing.
1. Disable the SIR system. Refer to SIR Disabling and Enabling Zones.
2. Disconnect the negative battery cable.
3. Remove all related panels and components.
4. Repair as much of the damaged area as possible. Refer to Dimensions - Body (Sedan) Dimensions - Body (Extended Sedan).
5. Remove the sealers and anti-corrosion materials from the repair area, as necessary.
IMPORTANT: Note the number and location of the factory welds for installation of the header panel.
6. Locate and drill out all the necessary factory welds.
7. Remove the header panel.
INSTALLATION PROCEDURE
IMPORTANT: If the location of the original plug weld holes can not be determined, space the plug weld holes every 40 mm (1 1/2 in) apart.
