
Monte Carlo V6-3.4L VIN E (2000)
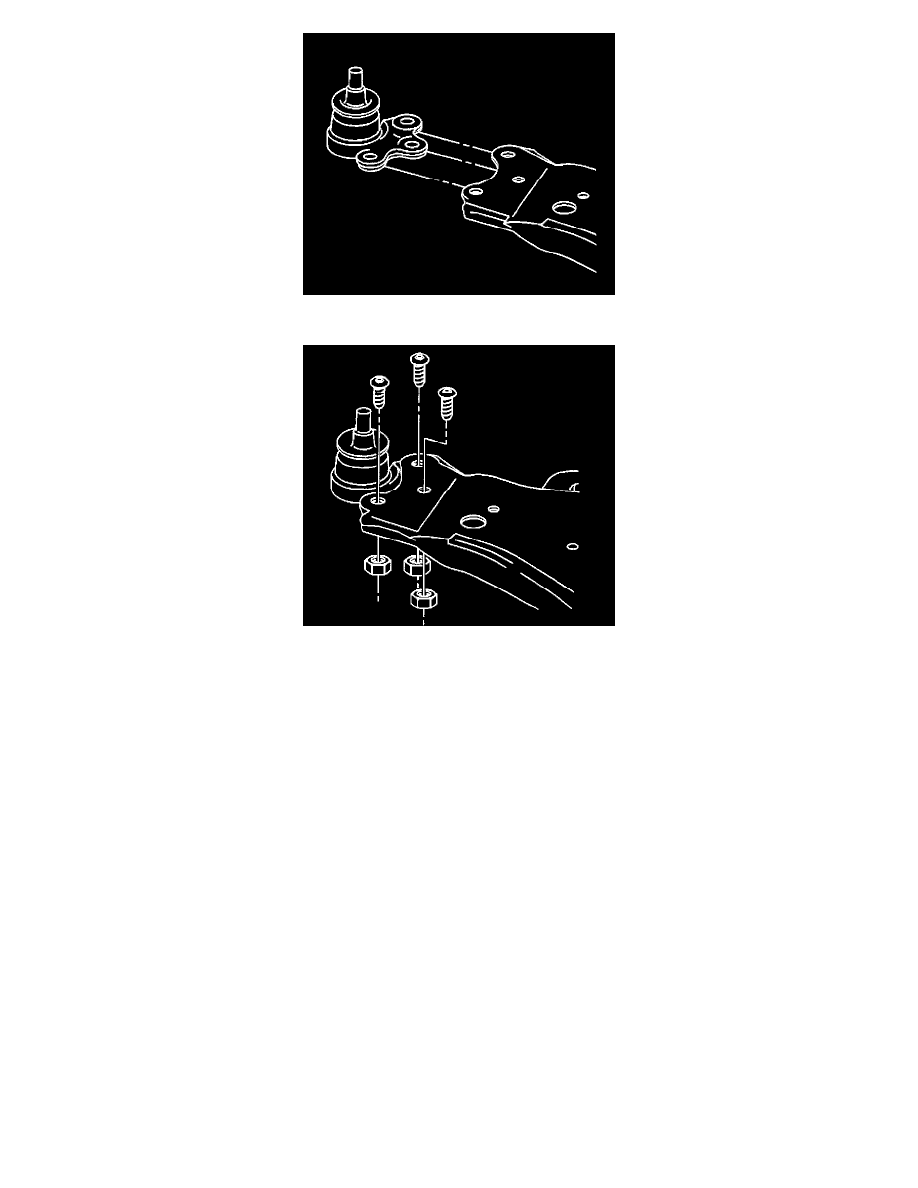
1. Install the ball stud to the lower control arm.
2. Install the NEW ball stud bolts facing down, away from the ball stud.
Notice: Refer to Fastener Notice in Service Precautions.
Important: This is a prevailing torque type fastener. This fastener may be reused ONLY if:
-
The fastener and its counterpart are clean and free from rust
-
The fastener develops 2 Nm (18 inch lbs.) of torque (drag) against its counterpart prior to the fastener seating. If the fastener does not meet
these criteria, REPLACE the fastener.
3. Install the NEW ball stud nuts.
Tighten the NEW ball stud nuts to 68 Nm (50 ft. lbs.).
4. Install the lower control arm. Refer to Lower Control Arm Replacement.