
Monte Carlo V6-3.8L SC VIN 1 (2004)
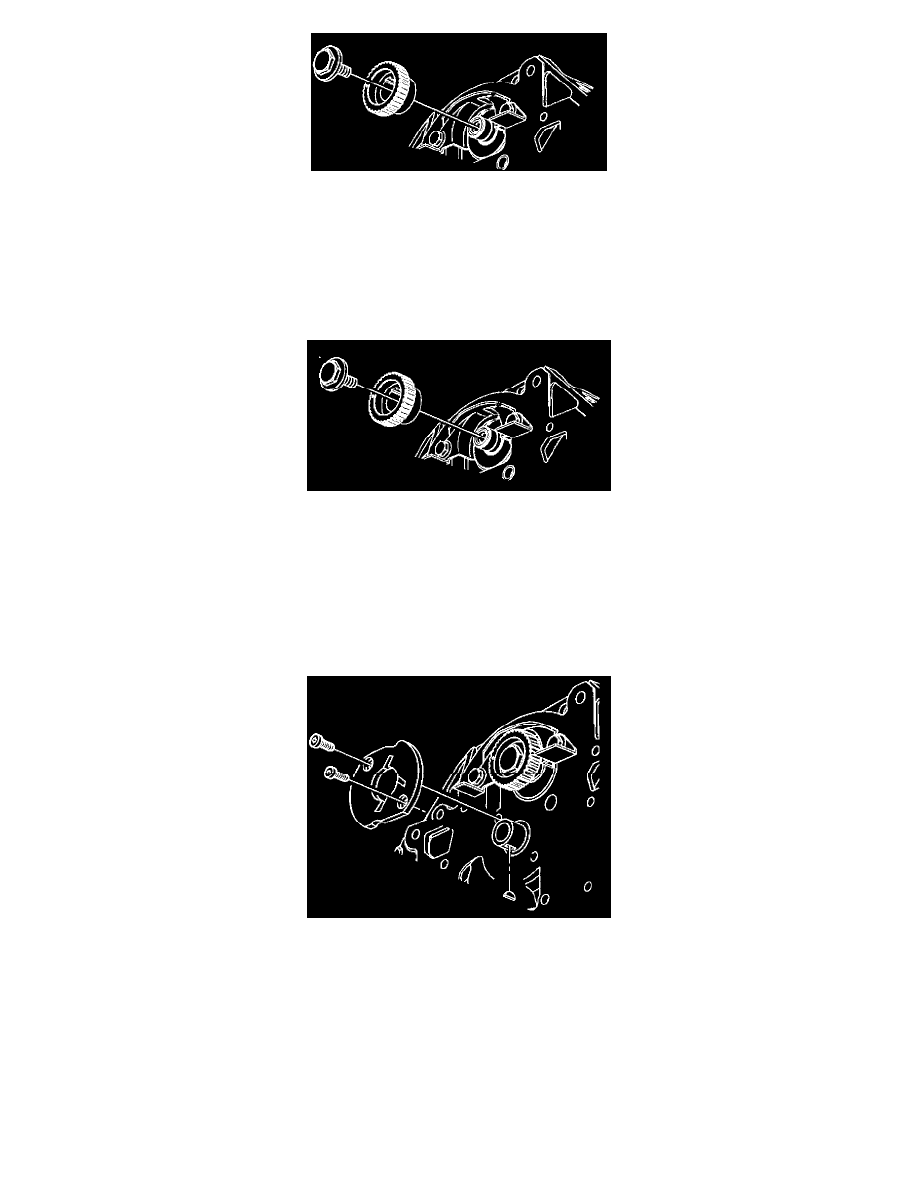
11. Remove the balance shaft driven gear bolt, if required.
12. Remove the balance shaft driven gear, if required.
13. Clean and inspect all of the components for wear and/or damage.
14. If the pistons have been moved in the engine, use the following procedure:
14.1.
Turn the crankshaft so that the number one piston is at top dead center.
14.2.
Turn the camshaft so that, with the sprocket temporarily installed, the timing mark is straight down.
Installation Procedure
1. Install the balance shaft driven gear, if required.
Notice: Refer to Fastener Notice in Service Precautions.
Notice: Refer to Special Fastener Notice in Service Precautions.
2. Prevent the balance shaft from rotating and install the balance shaft driven gear bolt, if required.
2.1.
Tighten the balance shaft driven gear bolt to 22 Nm (16 ft. lbs.).
2.2.
Use the J 45059 to rotate the bolt an additional 70 degrees.
3. Install the camshaft thrust plate, if required.
4. Install the camshaft thrust plate bolts, if required.
-
Tighten the bolts to 15 Nm (11 ft. lbs.).