
Prizm L4-108 1.8L DOHC VIN 8 MFI (1998)
Radiator: Service and Repair
REMOVAL PROCEDURE
1. Drain the cooling system.
2. Raise the vehicle. Support the vehicle.
3. Remove the right and left engine splash shields.
4. Place a pan under vehicles equipped with an automatic transmission in order to catch any transmission fluid that may leak.
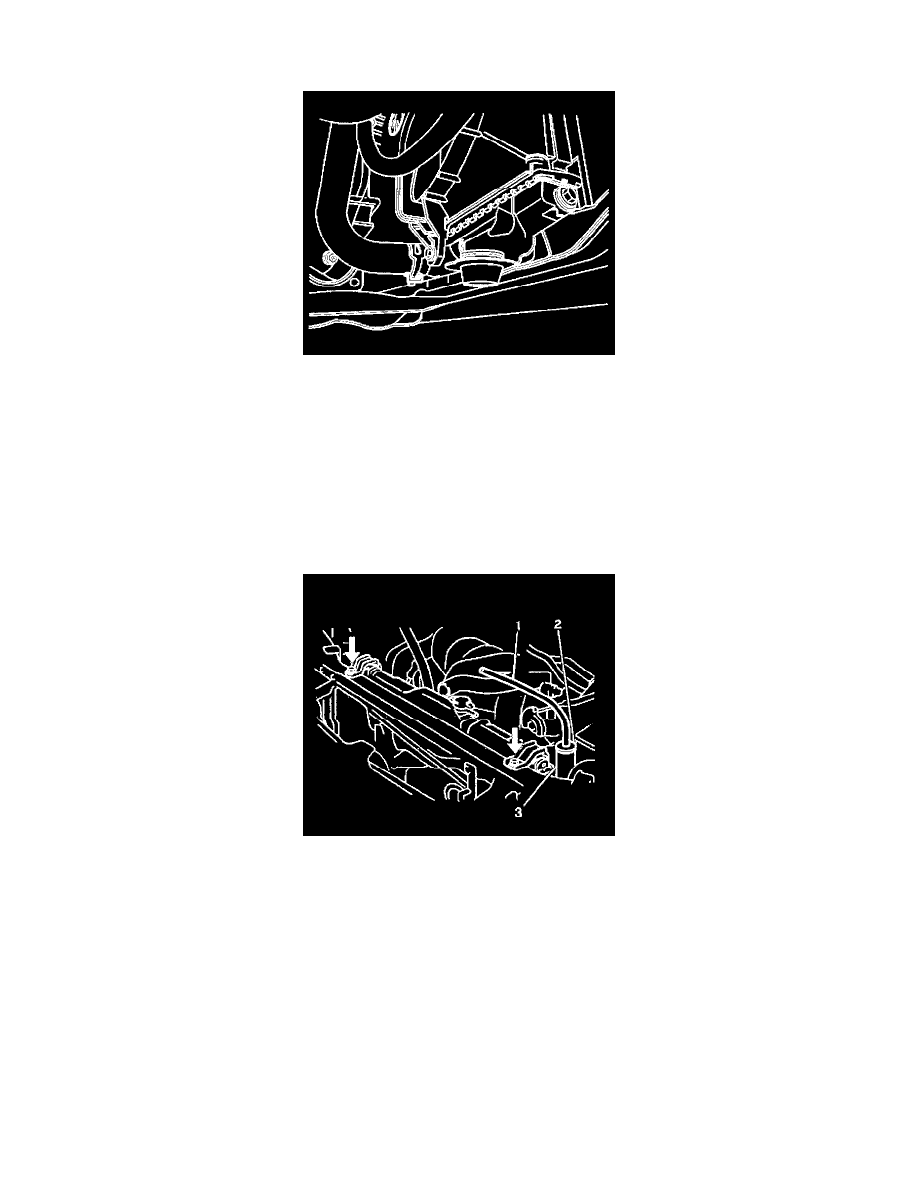
5. Disconnect the hose clamps and transmission fluid cooler hoses (2) from the radiator, on vehicles with automatic transmission.
6. Loosen the lower radiator outlet hose clamp and disconnect the lower radiator outlet hose from the radiator.
7. Lower the vehicle.
8. Remove the two upper radiator bracket bolts.
9. Remove the four A/C condenser bracket bolts (if equipped).
10. Disconnect both cooling fan electrical connectors.
11. Loosen the upper radiator inlet hose clamp and disconnect the upper radiator inlet hose from the radiator.
12. Loosen the radiator overflow hose clamp. Disconnect the radiator overflow hose (1) from the radiator filler neck.
13. Remove the radiator and the cooling fan assembly from the vehicle.
14. Transfer all necessary components onto the replacement radiator.
INSTALLATION PROCEDURE
1. Install the radiator and cooling fan assembly into the vehicle.
NOTICE: Refer to Fastener Notice in Service Precautions.
2. Use the two upper bolts in order to secure the radiator.
^
Tighten the radiator bolts to 13 Nm (9 ft. lbs.).
3. Secure the A/C condenser bracket bolts to the radiator.
^
Tighten the A/C condenser bracket bolts to 10 Nm (89 inch lbs.).