
Prizm L4-108 1.8L DOHC VIN 8 MFI (1998)
Powertrain Control Module: Service and Repair
Installation
Notice: Do not touch the connector pins or soldered components on the circuit board in order to prevent possible electrostatic discharge (ESD) damage
to the PCM.
Notice: Turn the ignition OFF when installing or removing the PCM connectors and disconnecting or reconnecting the power to the PCM (battery cable,
PCM pigtail, PCM fuse, jumper cables, etc.) in order to prevent internal PCM damage.
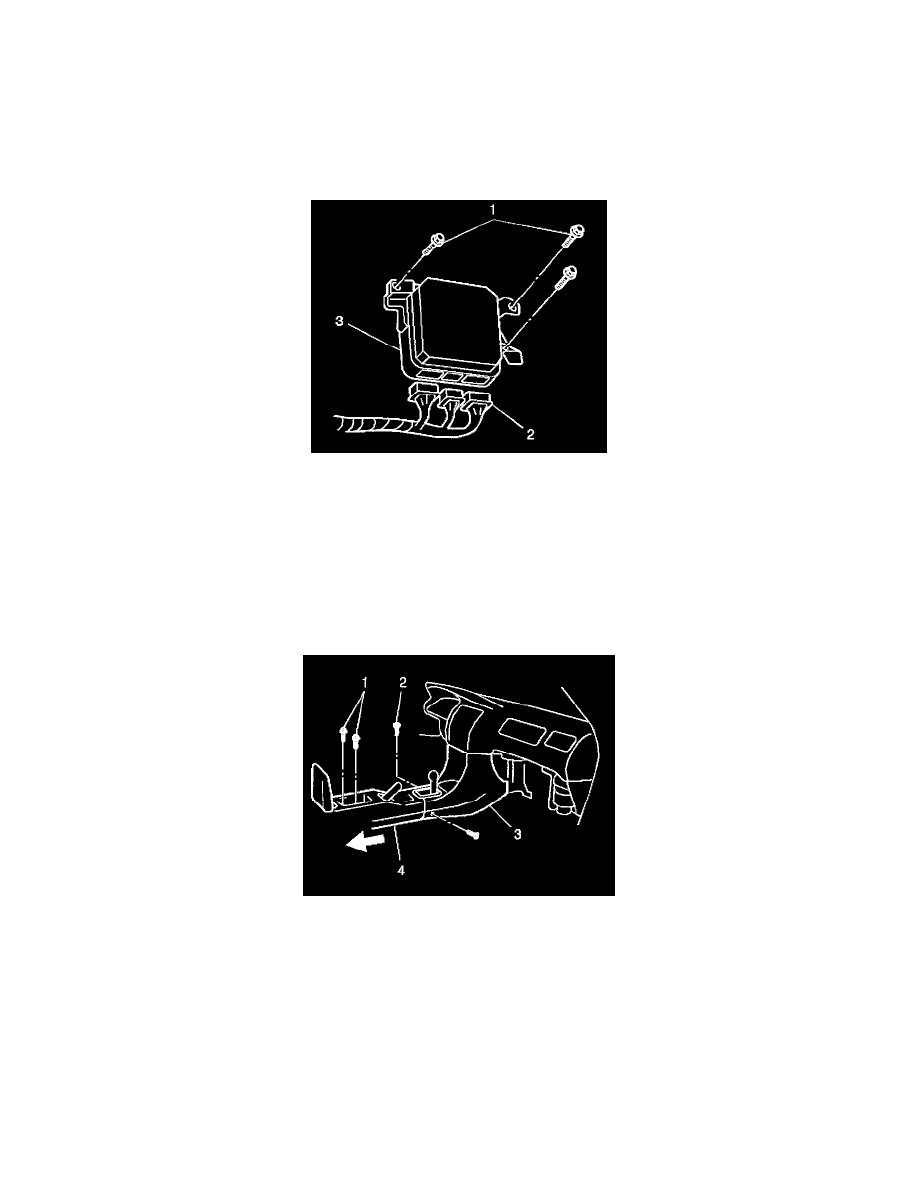
1. Connect the three PCM wiring harness electrical connectors (2) to the PCM (3).
2. Install the PCM (3) into the console carriage.
Notice: Refer to Fastener Notice in Cautions and Notices.
3. Secure the PCM (3) with three bolts (1).
Tighten
Tighten the PCM bracket bolts to 15 N.m (11 lb-ft).
4. Install the front floor console (3).
5. Secure the upper portion of the front floor console with the two screws.
6. Install the center console (4)10 the front floor console (3).
7. Secure the center console with the two bolts (1).
8. Secure the front floor console and center console with the two screws (2).