
S10/T10 Blazer 4WD V6-262 4.3L (1989)
Shift Cable: Adjustments
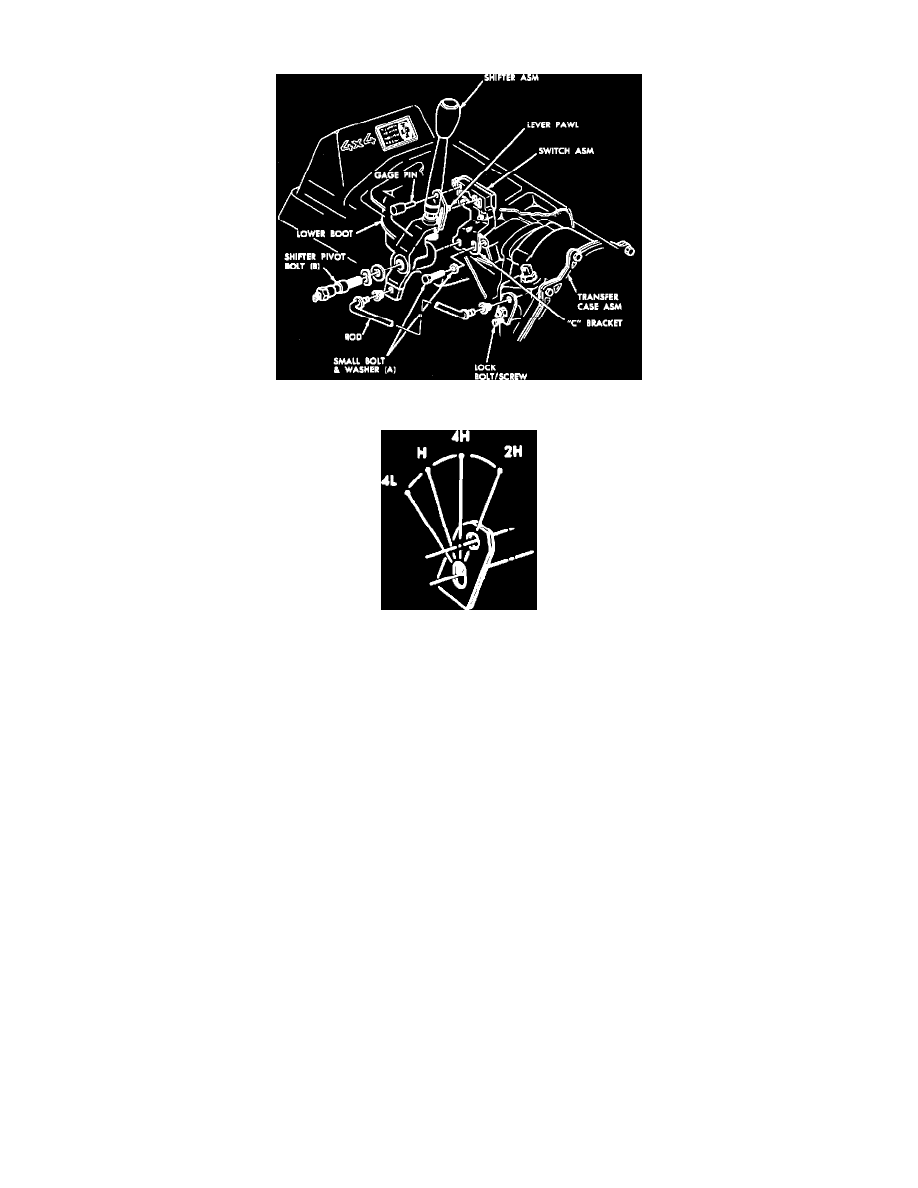
Fig. 2 Transfer Case Shift Linkage. Except Bravada, Sonoma GT, Syclone & Typhoon
Fig. 3 Transfer Case Shift Lever Positioning. Except Bravada, Sonoma GT, Syclone & Typhoon
1.
Remove console, then pull shift boot up shift lever.
2.
Loosen small bolt and washer (A) and pivot bolt (B), Fig. 2.
3.
Position transfer case shift lever at 4 Hi position.
4.
Install a 8 mm gage pin or 5/16 inch drill bit through shifter into bracket (C), Fig. 2.
5.
Install a bolt at the transfer case lever to lock transfer case in 4 Hi, Fig. 3.
6.
Torque small bolt and washer (A) to 25-35 ft. lbs., then pivot bolt (B) to 88-103 ft. lbs., Fig. 2.
7.
Remove bolt installed at transfer case lever, then gage pin or drill bit from shifter and bracket.
8.
Place shift boot in proper position, then install console.