
S10/T10 Blazer 4WD V6-4.3L VIN W (1997)
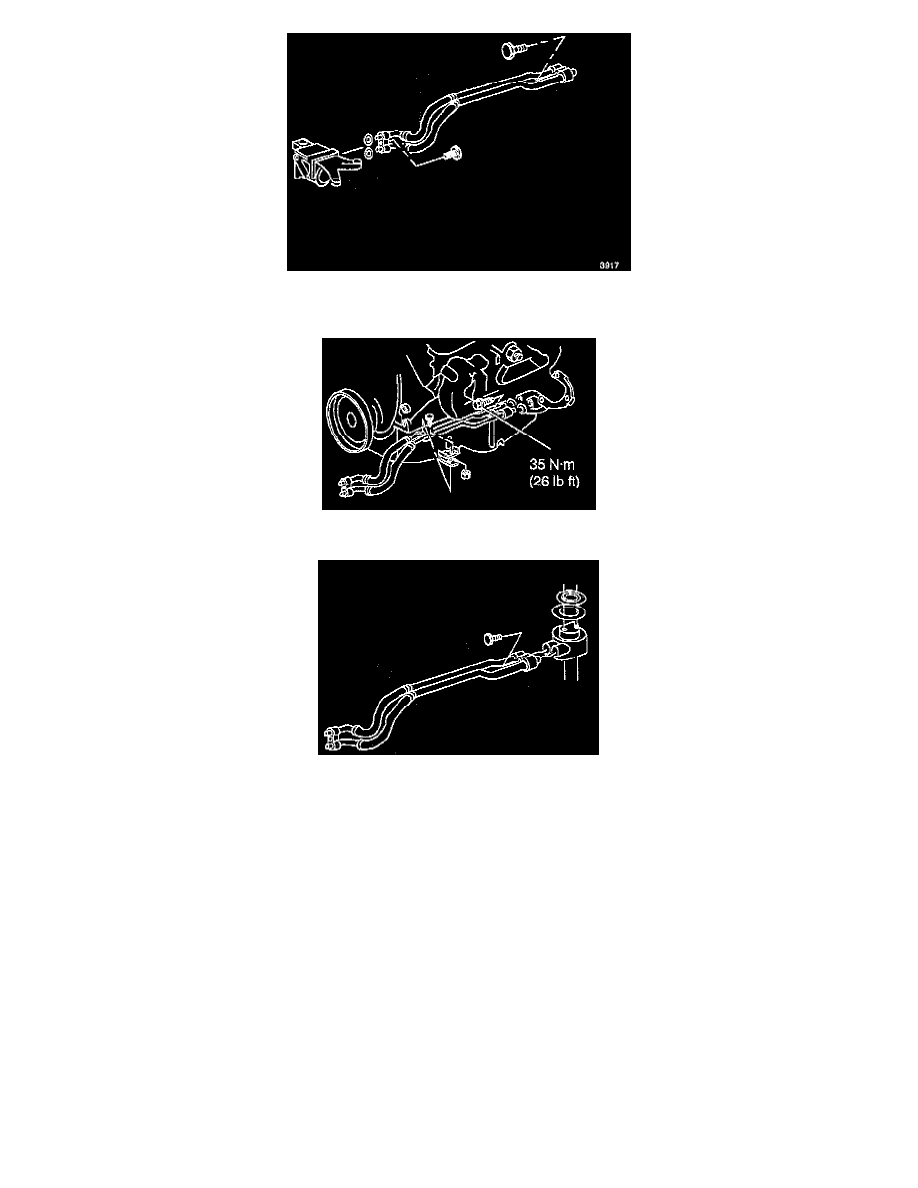
5. Remove the bolt attaching the engine oil cooler lines from the remote (frame mounted) adapter to the engine (mounted) adapter.
6. Remove the O-rings.
7. Remove the nut and the bolt securing the engine oil cooler lines to the clamp.
8. Remove the bolt attaching the cooler lines to the engine (mounted) adapter.
9. Remove the engine oil cooler lines from the engine.
INSTALLATION
1. Install the wrings on both ends of both lines.
2. Install the cooler lines between the two oil filter adapters.
3. Install the two attaching bolts.
4. Attach the lines to the bracket with the nut and the bolt.
^
Tighten the line to adapter attaching bolts to 35 Nm (26 ft. lbs.).
^
Tighten the clamp attaching nut and bolt to 6.5 Nm (58 inch lbs.).
5. Install the wrings to the engine oil cooler lines (connecting the frame mounted adapter to the radiator).
6. Install the cooler lines from the frame (mounted) adapter to the radiator (mounted) oil cooler.
7. Install the attaching bolt to the remote adapter.
^
Tighten the attaching bolt to 35 Nm (26 ft. lbs.).
8. Connect the oil cooler lines to the radiator oil cooler.
^
Tighten the line nuts to 24 Nm (18 ft. lbs.).
9. Fill engine with oil to the proper level.
10. Start the engine and check for leaks.