
S10/T10 Blazer 4WD V6-4.3L VIN W (1997)
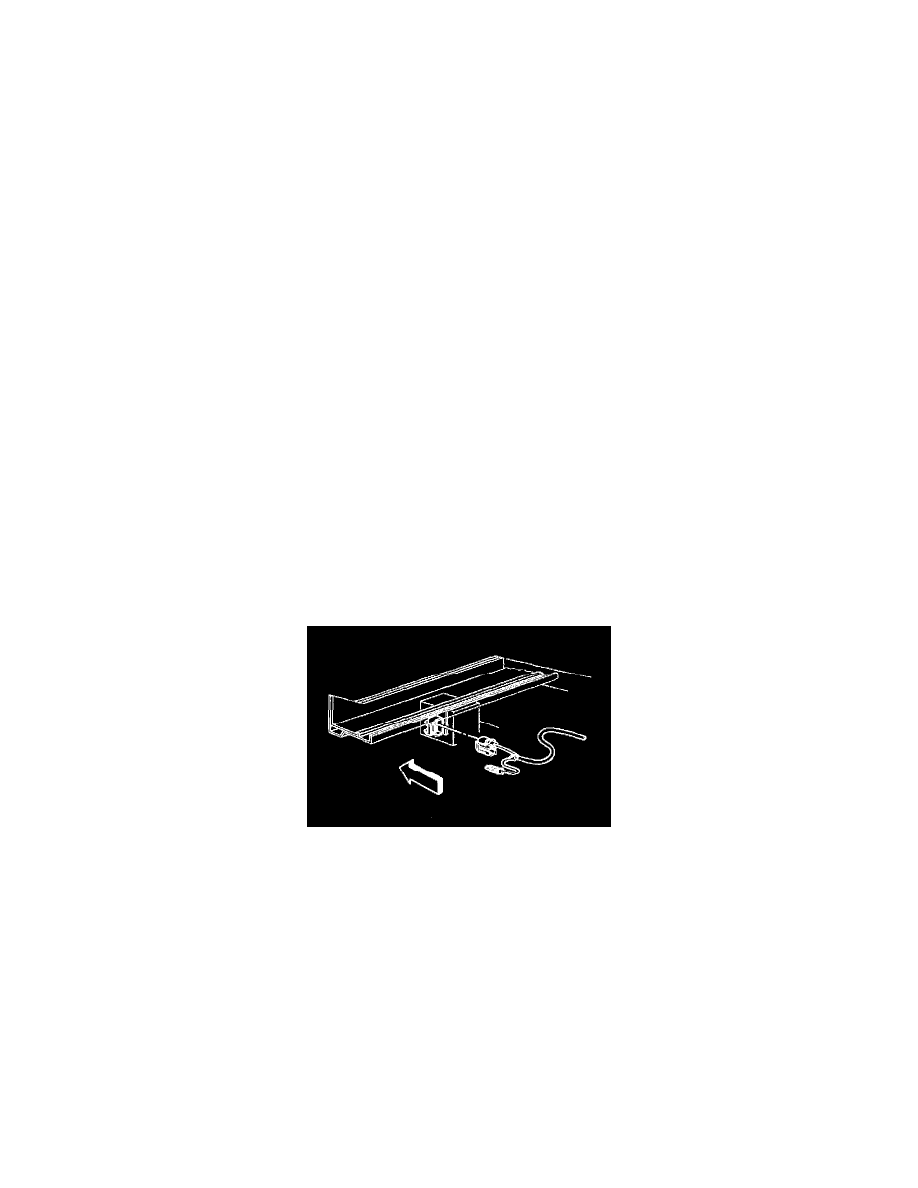
6. Remove the sensor from the vehicle.
Important: Use the following repair procedures when the sensor mounting holes or fasteners are so badly damaged that the sensor may no longer be
properly mounted.
First Repair
1. Remove the stripped fastener.
2. Discard the stripped fastener.
3. Enlarge the mounting hole in the sensor to 9 mm (0.350 in).
4. Attach the sensor with the screw GM P/N 11515210 and the flanged hex nut GM P/N 15672934.
Tighten
Tighten the screw to 15 N.m (11 lb ft).
Second Repair
1. Remove the stripped fastener.
2. Discard the stripped fastener.
3. Enlarge the 9 mm (0.350 in) mounting hole in the sensor to 11 mm (0.433 in).
4. Enlarge the hole in the frame rail or cross-member to 9 mm (0.350 in).
5. Use the screw GM P/N 11515215 to attach the sensor.
Tighten
Tighten the screws to 15 N.m (11 lb ft).
Installation Procedure
1. Install the sensor to the vehicle.
2. Install the sensor mounting bolts.
Tighten
Tighten the mounting bolts to 15 N.m (11 lb ft).
3. Connect the inflatable restraint arming sensor electrical connector.
4. Install the Connector Position Assurance (CPA) lock to the retainer.
5. Remove the safety stands.
6. Lower the vehicle.
7. Enable the SIR system. Refer to Air Bag(s) Arming and Disarming.
Tighten
Sensor screw to 15 N.m (11 lb ft).
Frame rail or cross member screws to 15 N.m (11 lb ft).
Sensor mounting bolts to 15 N.m (11 lb ft).