
S10/T10 Blazer 4WD V6-4.3L VIN W (1997)
Dealers are to service all vehicles subject to this recall at no charge to customers, regardless of mileage, age of vehicle, or ownership, from this time
forward.
Customers who have recently purchased vehicles sold from your vehicle inventory, and for which there is no customer information indicated on the
dealer listing, are to be contacted by the dealer. Arrangements are to be made to make the required correction according to the instructions contained in
this bulletin. A copy of the customer letter is shown in this bulletin for your use in contacting customers. Recall follow-up cards should not be used for
this purpose, since the customer may not as yet have received the notification letter.
In summary, whenever a vehicle subject to this recall enters your vehicle inventory, or is in your dealership for service in the future, you must take the
steps necessary to be sure the recall correction has been made before selling or releasing the vehicle.
Disclaimer
Service Procedure
Tools Required
Notice
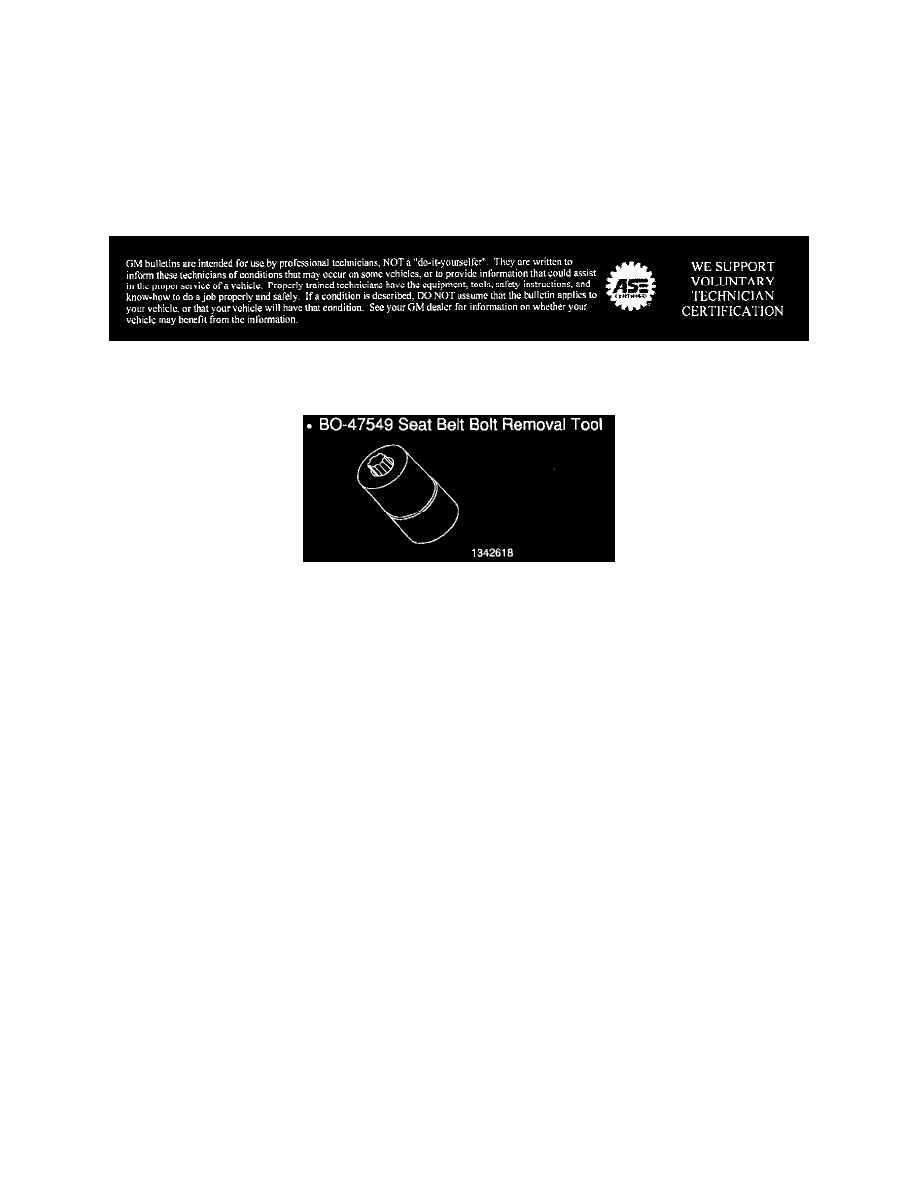
The following procedure requires the use of special tool BO-47549 and a 1/2-inch drive pneumatic impact gun. Do not attempt to perform this
procedure using other similar type tools. Doing so may cause damage to the Torx(R) feature in the bolt head, which may make bolt removal
extremely difficult.
1.
Move the driver's seat to the full forward position.
2.
Pull open the carpet flap to expose the bolt that attaches the driver's seat belt buckle to the floor pan.
3.
Remove any dirt or debris from the Torx(R) feature in the head of the bolt.
Important
Because of vehicle age and underbody corrosion, some bolts may be more difficult to remove than others. Therefore, before attempting to
remove the bolt, it is recommended that a hammer and punch be used as described in the next step to help break it loose.
4.
Position a punch with a diameter no larger than 6 mm (1/4 in) inside the center of the Torx(R) feature on the head of the bolt. With the punch
centered in the Torx(R) opening, strike the other end of the punch two or three times with a suitable sized hammer.
5.
Remove the Torx(R) bit from BO-47549, Seat Belt Bolt Removal Tool and place the tip of the bit into the bolt head. Using a suitable size
hammer, strike the end of the bit to fully seat it into the bolt head.
6.
Install BO-47549 over the bit and down onto the bolt head.
7.
Attach a 1/2-inch drive pneumatic impact gun to BO-47549 and remove the bolt from the floor pan. Do not reuse the bolt.
8.
Pull the electrical connector for the seat belt buckle out from under the console and disconnect it.
9.
Route the seat belt buckle and wiring harness through the opening in the seat.
10.
Route the new seat belt buckle and wiring harness through the opening in the seat.