
S10/T10 Blazer 4WD V6-4.3L VIN W (1997)
13. Ball joints from the knuckle using J 34026.
-
Locate J 34026 on the ball joint and back off the nut until the ball stud is forced out of the knuckle.
14. Nuts.
15. Knuckle from the ball joints.
16. Spacer from the knuckle.
17. Seal from the knuckle.
INSTALL OR CONNECT
^
Tool Required:
-
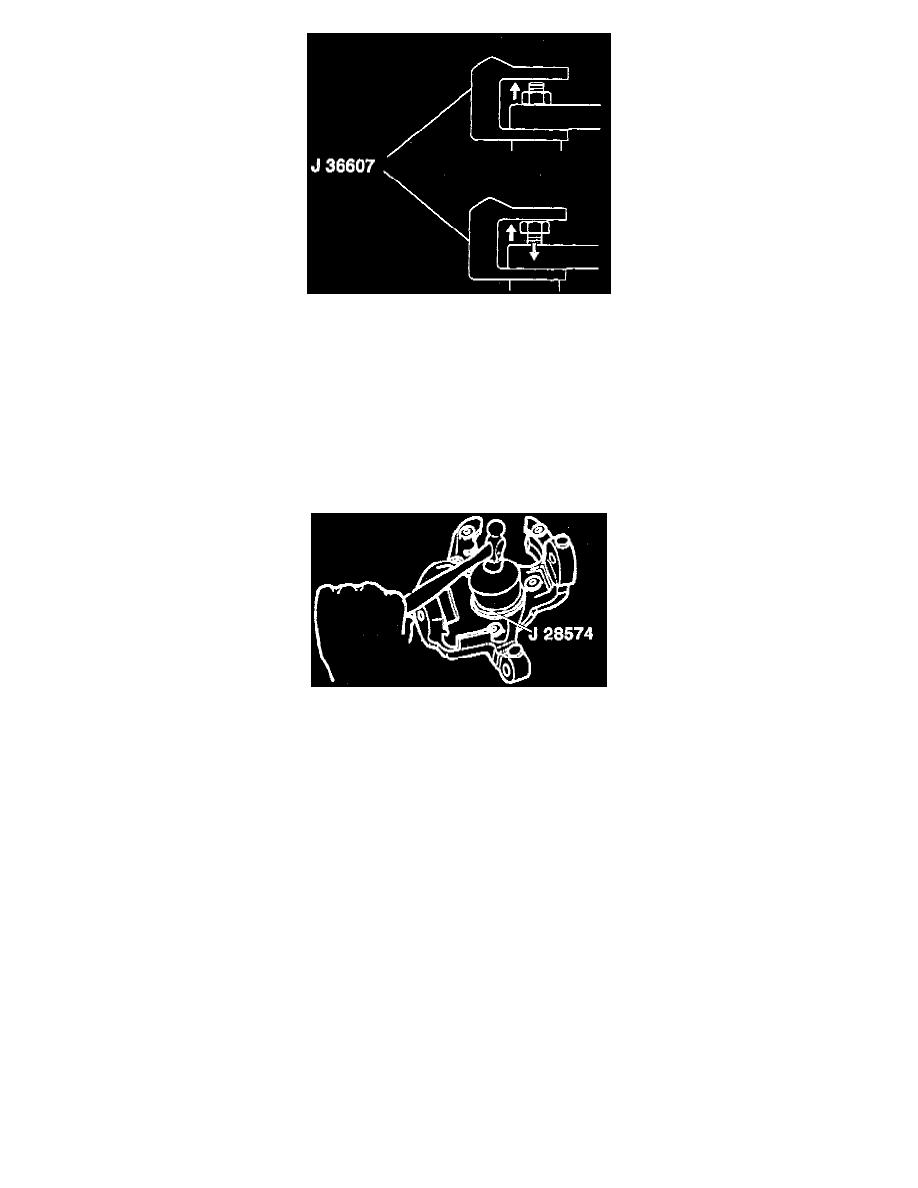
J 28574 Steering Knuckle Seal Installer
1. New seal to the knuckle using J 28574.
2. Spacer to the knuckle.
3. Knuckle to the upper and lower ball joints.
4. Nuts.
-
Tighten upper nut to 83 Nm (61 ft. lbs.).
-
Tighten lower nut to 108 Nm (79 ft. lbs.).
-
Tighten the nuts to align the cotter pin. Do not tighten more than 1/6 turn.
5. New cotter pins.
-
Bend the pin ends against the nut flats.
6. Splash shield aligned to the knuckle.
7. Hub and bearing assembly.
-
Align the threaded holes.
8. Bolts.
-
Tighten bolts to 105 Nm (77 ft. lbs.).
9. Tie rod end to the knuckle.
10. Nut.
-
Tighten nut to 53 Nm (39 ft. lbs.).
11. New cotter pin.
-
Bend the pin ends against the nut flats.
12. Rotor. Refer to "Rotor Replacement."
13. Brake caliper. Refer to Brakes and Traction Control.
14. Washer.
15. Nut.
-
Insert a drift or large screwdriver through brake caliper into rotor vanes to prevent from turning.
-
Tighten drive axle nut to 140 Nm (103 ft. lbs.).
16. Tire and wheel.