
S10/T10 Blazer 4WD V6-4.3L VIN W (1997)
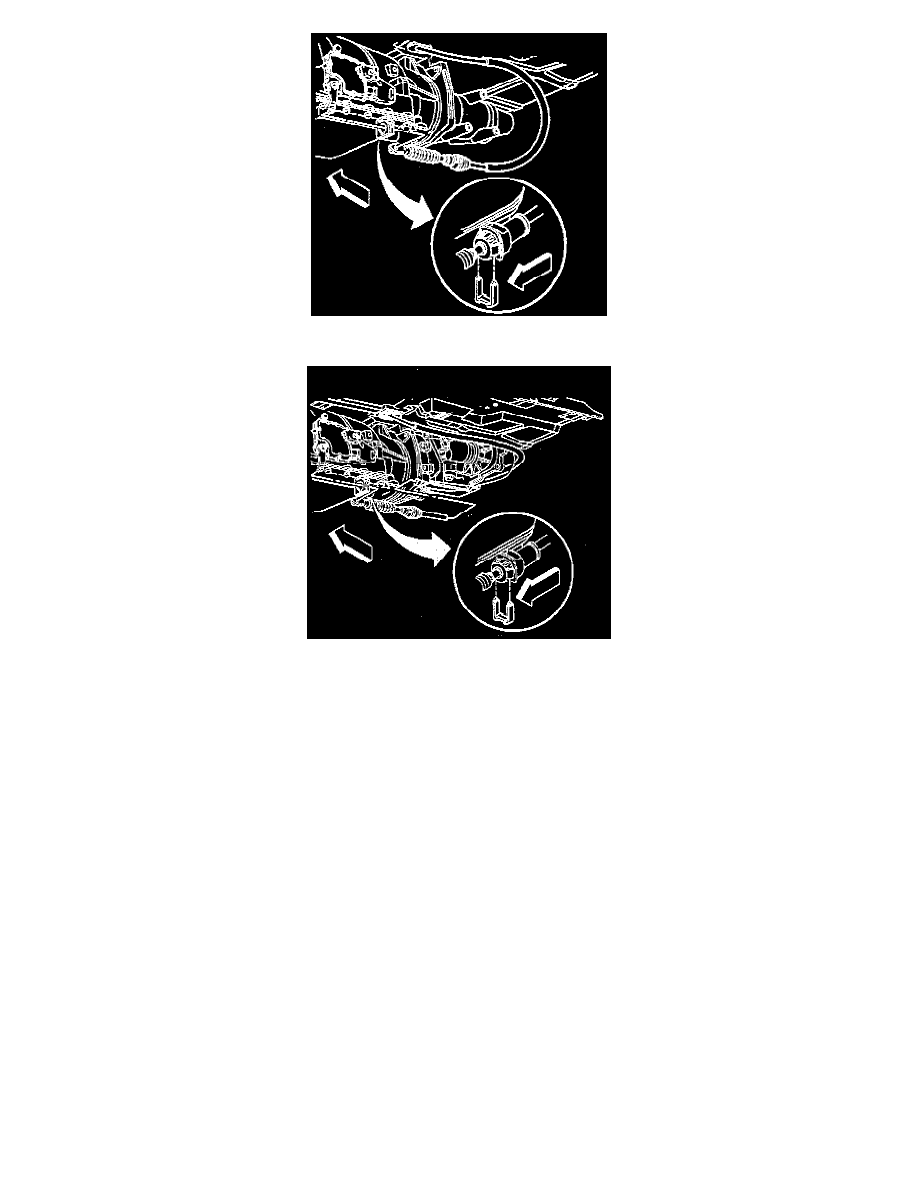
12. Remove the retainer securing the shift cable to the transmission bracket.
13. Squeeze the retainers while pulling the cable towards the rear of the vehicle.
14. Remove the shift cable end from the transmission control lever.
15. Remove the shift cable from the vehicle.
INSTALLATION PROCEDURE
1. Position the shift cable to the vehicle.
2. Install the retainer securing the shift cable to the transmission bracket.
3. Squeeze the retainers while pulling the cable towards the rear of the vehicle.
4. Install the shift cable end to the transmission control lever.
5. Route the shift cable through the floor panel.
6. Lower the vehicle.
7. Install the grommet and tape securing the shift cable to the floor panel.
8. Install the retainer securing the shift cable to the steering column.
9. Install the shift cable end to the steering column shift bracket.
10. Install the nut securing the shift cable and the clip to the pedal bracket.
11. Install the seat to the vehicle.
12. Install the cowl side trim panel.
13. Install the door sill trim plate.
14. Install the door sill trim plate.
15. Install the steering column filler panel.
16. Release the parking brake.
17. Test the transmission for proper operation. Adjust the shift control cable if necessary. Refer to SHIFT AND ADJUSTMENT SHIFT POSITIONS.