
S10/T10 P/U 2WD L4-2.2L VIN 4 (1995)
Distributor: Service and Repair
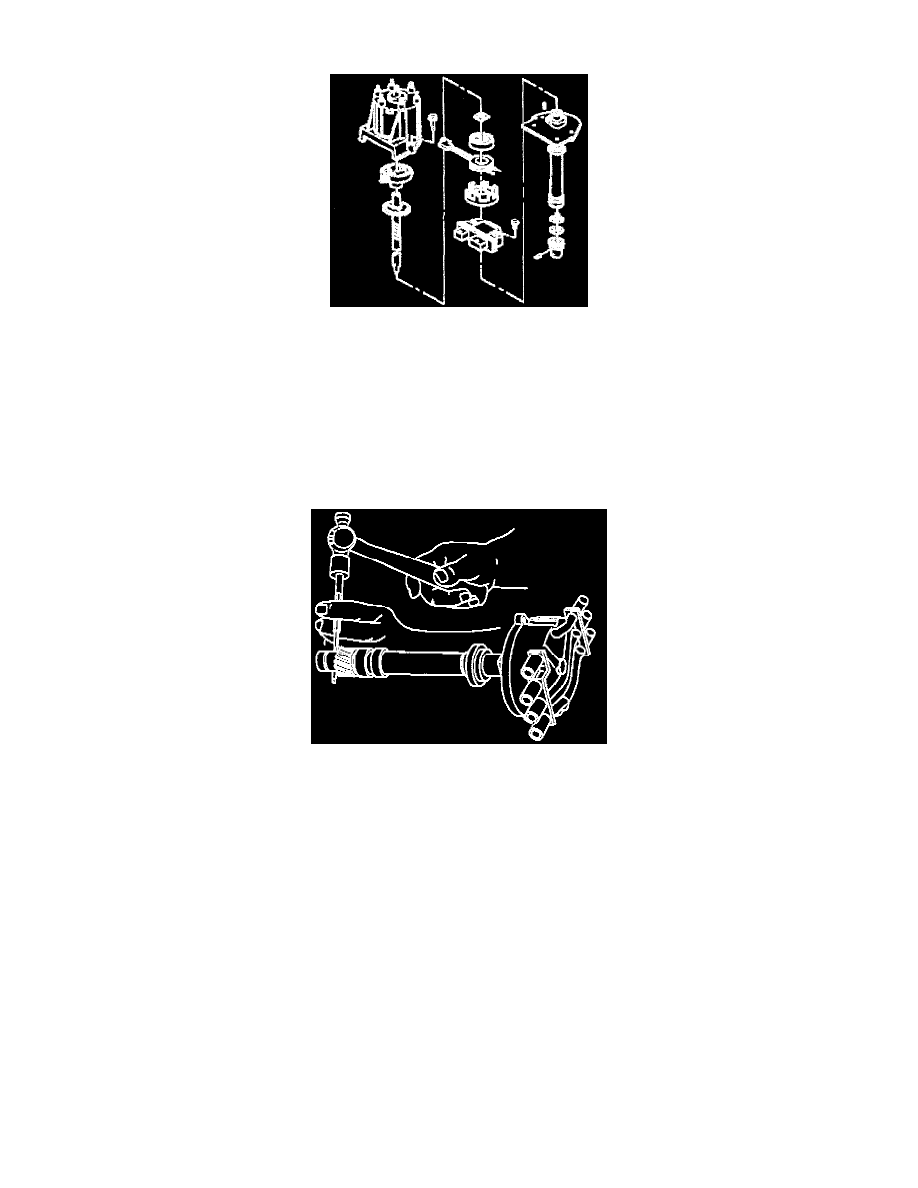
Distributor Components
REMOVE OR DISCONNECT
1. Screws and washers holding the cap to the housing.
2. Cap from the housing.
3. Rotor from the shaft by lifting straight up.
4. Roll pin from the shaft.
A. Mark the shaft and driven gear with paint or grease pencil for reassembly. The gear could be installed 180° off. Make sure the gear is installed
in the same position as removed.
B. Drive out the roll pin with a small punch.
5. Driven gear, washer, and tang washer.
6. Shaft with the pole piece and plate from the housing.
^
If the shaft can't be removed from the distributor housing due to varnish buildup, follow these steps:
A. Secure the distributor housing in a vise with the drive gear end DOWN and the pickup coil end UP.
B. Using a cloth dampened with varnish remover, clean the drive gear end of the shaft. DO NOT allow varnish remover to travel up the
driveshaft to the grease pack in the top of the housing.
CAUTION: Failure to keep cleaning agents away from the grease pack will result In premature distributor failure.
7. Retainer.
8. Shield.
9. Pickup coil connector from the module.
^
Lift the locking tab with a screwdriver.
10. Pickup coil.
11. Pole piece.
12. Two screws holding the module to the housing.
13. Module.