
S10/T10 P/U 2WD V6-262 4.3L (1988)
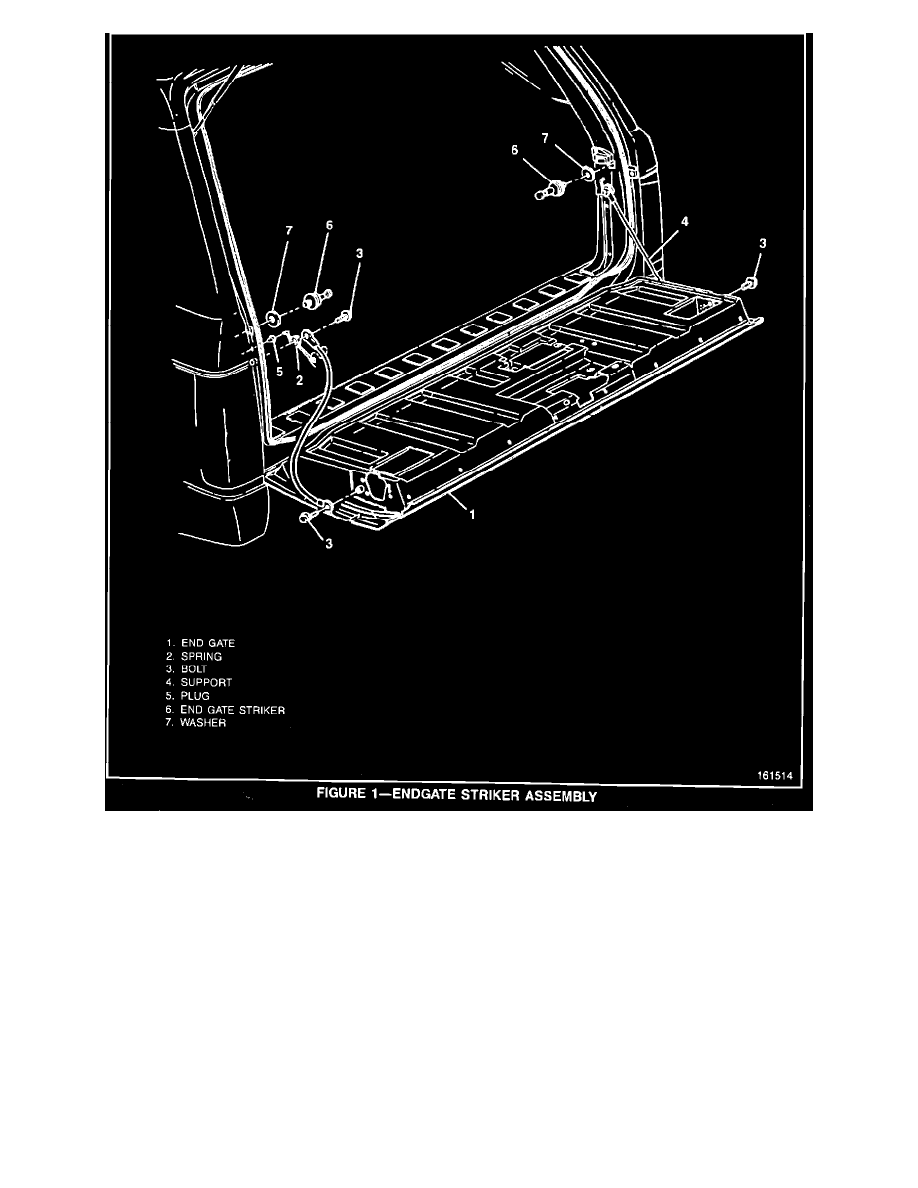
1.
With the end gate open, use a grease pencil to mark around the circumference of each washer (Figure 1, "7") located behind the strikers.
2.
Unscrew and remove the existing striker assemblies (Figure 1, "6") from the vehicle.
3.
Loosely assemble the new striker (Figure 1, "6") (P/N 15700881) and washer (Figure 1, "7") and reinstall using the pencil marks as a guide.
4.
Install the striker assemblies (Figure 1, "6") using a T50 Torx(R). Torque to 63 N-m. (47 lbs.ft.).
5.
Check for proper operation and end gate flushness. Adjust the striker assemblies if required.
The end gate lock strikers can be adjusted up or down, fore or aft, to obtain proper closure of the end gate. The end gate should seal completely
with minimum closing effort. Torque the striker bolts to 63 N-m. (47 lbs.ft.).
SERVICE PARTS INFORMATION
PART NUMBER
DESCRIPTION
QTY/VEH
15700881
Striker Asm.
2