S10/T10 P/U 2WD V6-262 4.3L VIN W CPI (1992)

1). Record this measurement for reassemble purposes. This measurement will give the combined pinion bearing and seal pre-load. Also record the
number of exposed threads beyond the flange nut on the pinion flange nut.
5.
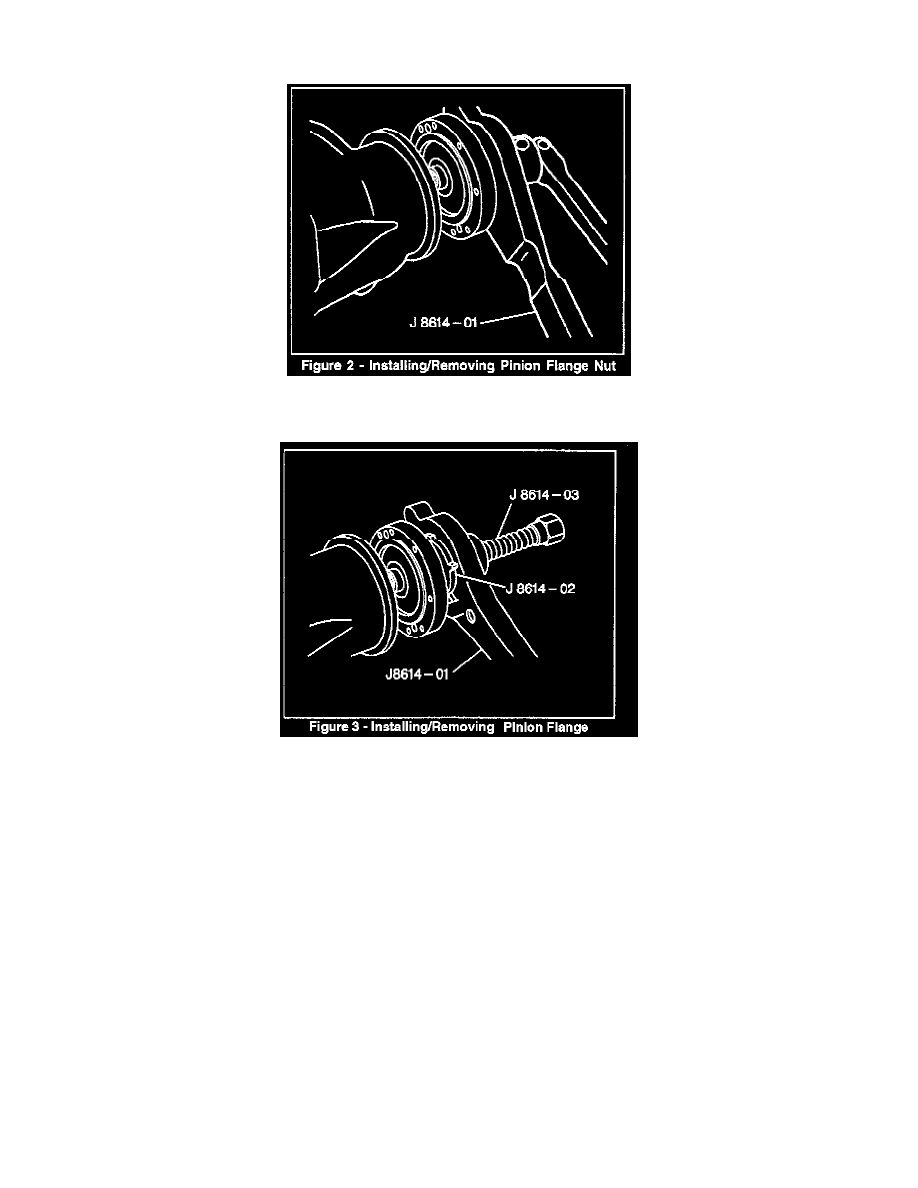
Remove the pinion flange nut and washer by using tool J 8614-01 to hold the pinion flange using a socket and driver. Discard existing pinion
flange, nut, washer, and seal deflector (Figure 2).
6.
Remove the pinion flange using tool J 8614-01, J 8614-02 and J 8614-03 (Figure 3) while using a suitable container to catch any fluid that may
drain from the rear axle when removing the pinion flange.
7.
Inspect the pinion oil seal for any signs of damage or contamination. If either condition exists, replace the pinion oil seal (P/N 26026792).
Install or Connect (Figures 1, 2, and 3)
1.
Apply a seal lubricant (GM P/N 1052497) to the outside of the pinion flange.
2.
Install the pinion flange.
Notice:
DO NOT ATTEMPT TO HAMMER THE PINION FLANGE ONTO THE REAR AXLE PINION STEM AS IT MAY CAUSE DAMAGE
TO THE PINION BEARINGS.
3.
Install the washer and flange nut on the pinion stem shaft.
Tighten
^
Hold the companion flange with J 8614-01 while tightening the flange nut on the pinion stem.
^
Tighten the pinion nut a little at a time, rotating the pinion occasionally to ensure proper bearing seating. Also, take frequent pinion bearing
torque pre-load readings until the original torque value is obtained (Figure 2).
