
S10/T10 P/U 2WD V6-262 4.3L VIN Z TBI (1995)
Pick-Up Coil: Service and Repair
Non OBD II
Coil Replacement
REMOVE OR DISCONNECT
Make sure the ignition switch is "OFF."
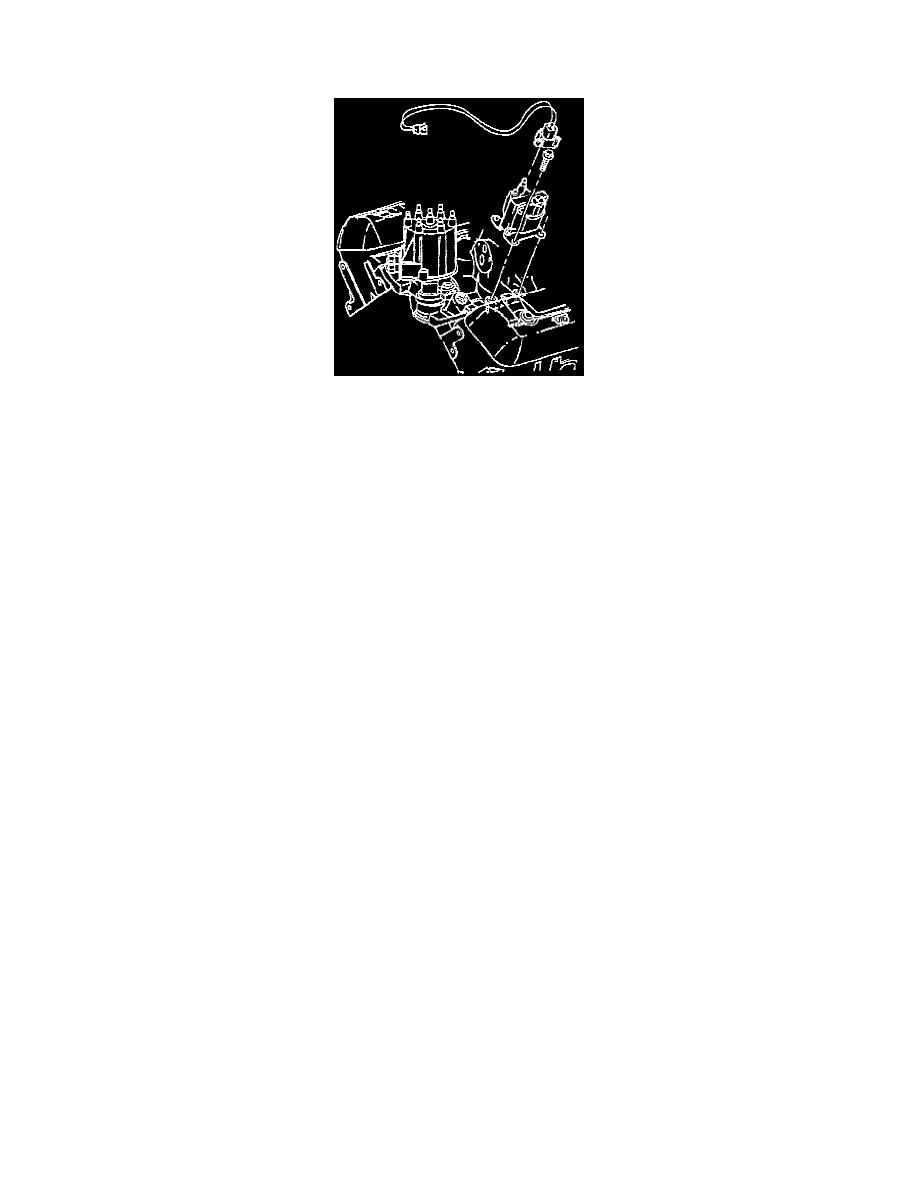
1. Wiring connectors at the side of the ignition coil.
2. Coil wire.
3. Nut and bolt holding the coil bracket and coil to the engine intake manifold.
4. Coil bracket and coil.
-
Drill and punch out two rivets holding the coil to the bracket.
5. Ignition coil from the bracket.
INSTALL OR CONNECT
A replacement ignition coil kit comes with two screws to attach the coil to the bracket.
1. Coil to the bracket with two screws.
2. Coil bracket to the engine manifold with a bolt and nut.
CAUTION: When fasteners are removed, always reinstall them at the same location from which they were removed. if a fastener needs to be
replaced, use the correct part number fastener for that application. if the correct part number fastener is not available, a fastener of equal size and
strength (or stronger) may be used. Fasteners that are not reused, and those requiring thread locking compound will be called out. The correct
torque value must be used when installing fasteners that require it. if the above conditions are not followed, parts or system damage could result.
Tighten
Bolt to 27 Nm (20 lbs. ft.).
3. Coil wire.
4. Wiring connectors.