
S10/T10 P/U 2WD V6-262 4.3L VIN Z TBI (1995)
Serving VCM
^
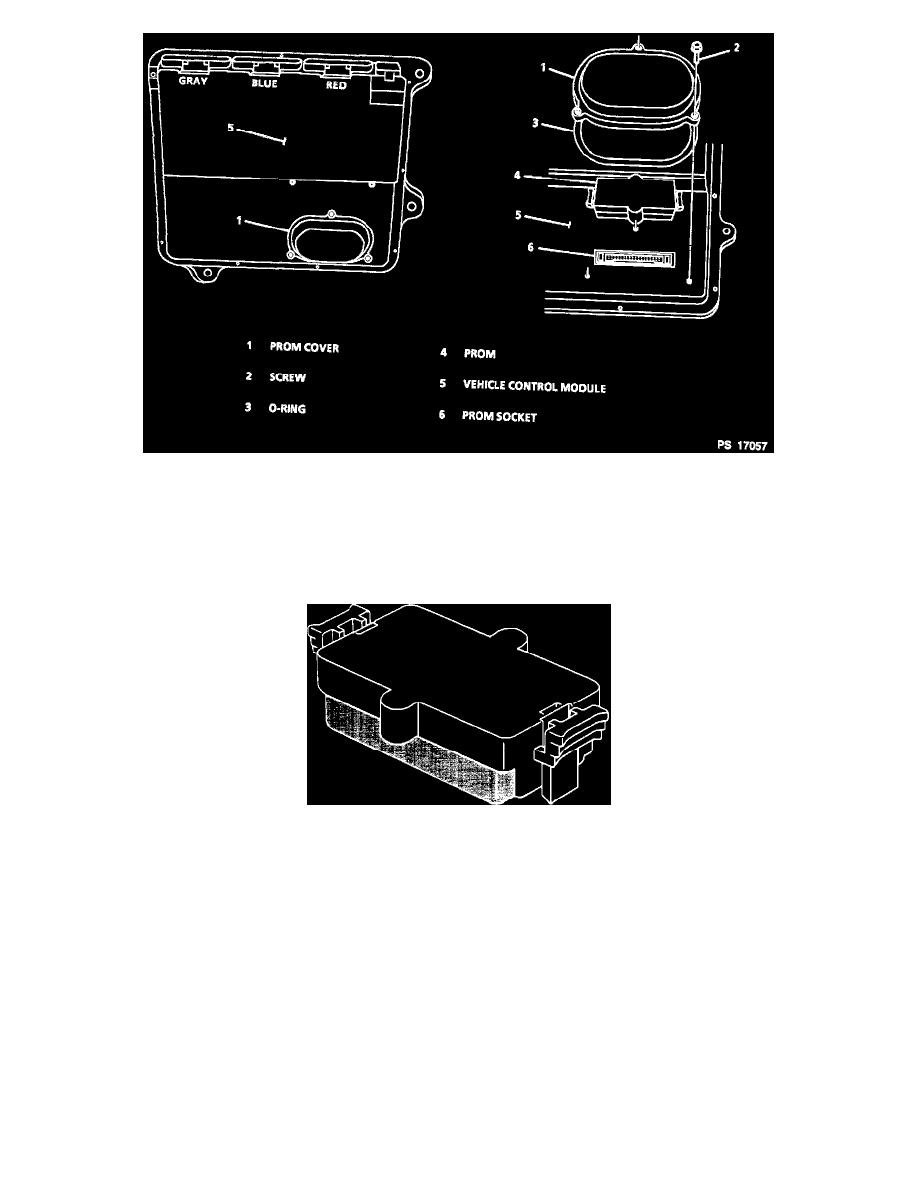
Remove PROM by using thumb and first finger, gently squeeze each end of the blue PROM and pull upward.
CAUTION: Do not remove the cover of the PROM. Use of unapproved PROM removal methods may cause damage to the PROM or socket.
INSPECT
PROM Unit
^
For alignment notches of the PROM and carefully set it aside. Do not open the PROM.
REMOVE OR DISCONNECT
1. New VCM from its packaging and check the service number to make sure it is the same as the defective VCM.
2. Access cover.
INSTALL OR CONNECT
1. PROM in PROM socket.
Press only on the ends of the PROM. Small notches in the PROM must be aligned with the small notches in the PROM socket. Gently press on
PROM until it is firmly seated in the socket. Listen for the click.
2. Access cover on VCM.
3. VCM in engine compartment.
4. Connectors to VCM.
5. The Malfunction Indicator Lamp (MIL), antilock and brake lamps will continue to be enabled until the VCM is programmed. Once programming
is complete, the lamps will be turned "OFF' and normal operation will occur.