
S10/T10 P/U 2WD V6-4.3L VIN W (1997)
Piston: Service and Repair
Replacement
REMOVAL
^
Tools Required
-
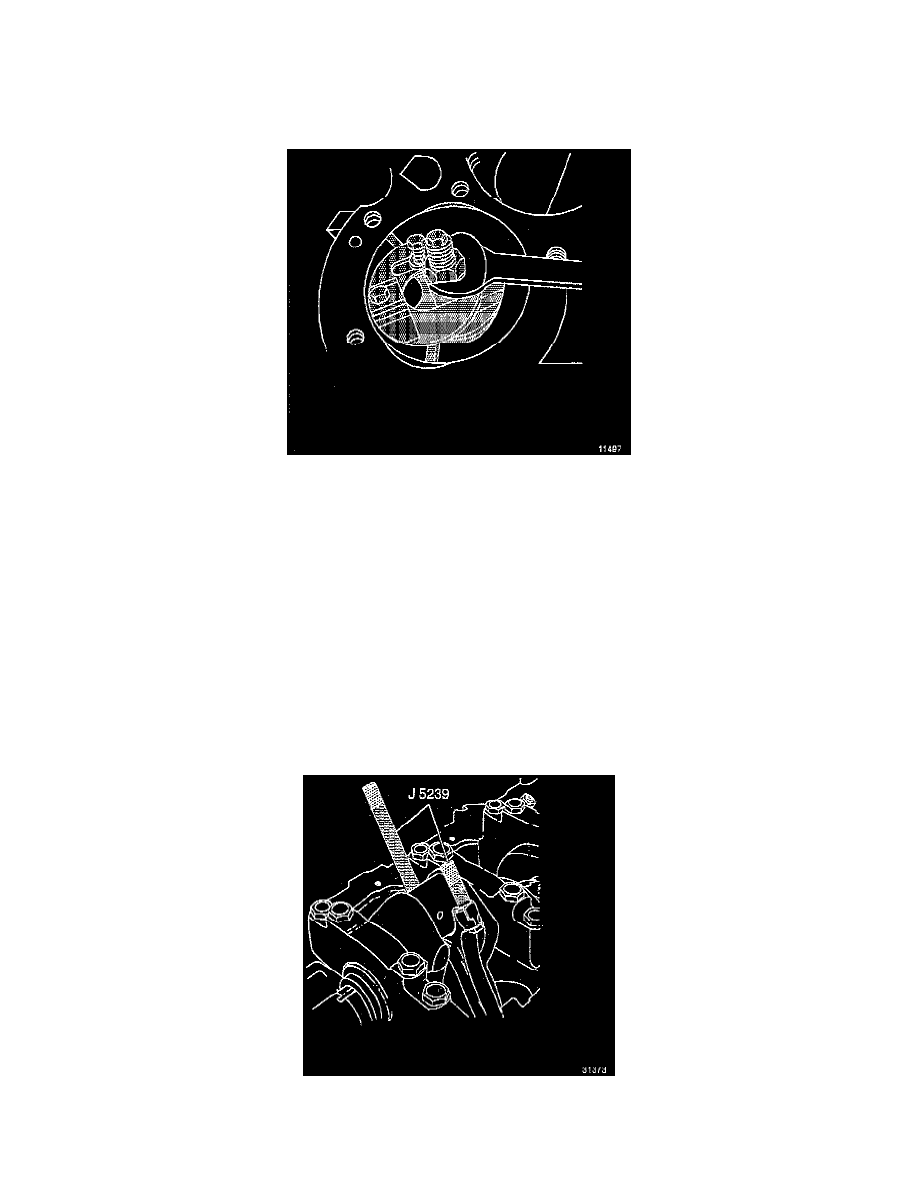
J 5239 Guide Set, or equivalent
1. Remove the ring ridge.
a. Turn the crankshaft until the piston is at the bottom of the stroke.
b. Place a cloth on top of the piston.
c. Use a ridge reamer to remove cylinder ring ridge.
d. Turn the crankshaft so the piston is at the top of the stroke.
e. Remove the cloth.
f.
Remove the cutting debris.
2. Remove the connecting rod nuts.
3. Remove the connecting rod cap.
NOTE: Place matchmarks or numbers on the connecting rods and the connecting rod caps. Assemble the connecting rod caps to the matching
connecting rods.
4. Remove the connecting rod bearings.
^
Keep the bearings with the original connecting rod and connecting rod cap.
^
Wipe the oil from the bearings.
^
Wipe the oil from the crankpins.
5. Use the guide set in order to remove the connecting rod and the piston out of the top of the engine block.
INSTALLATION