S10/T10 P/U 2WD V6-4.3L VIN W (1997)

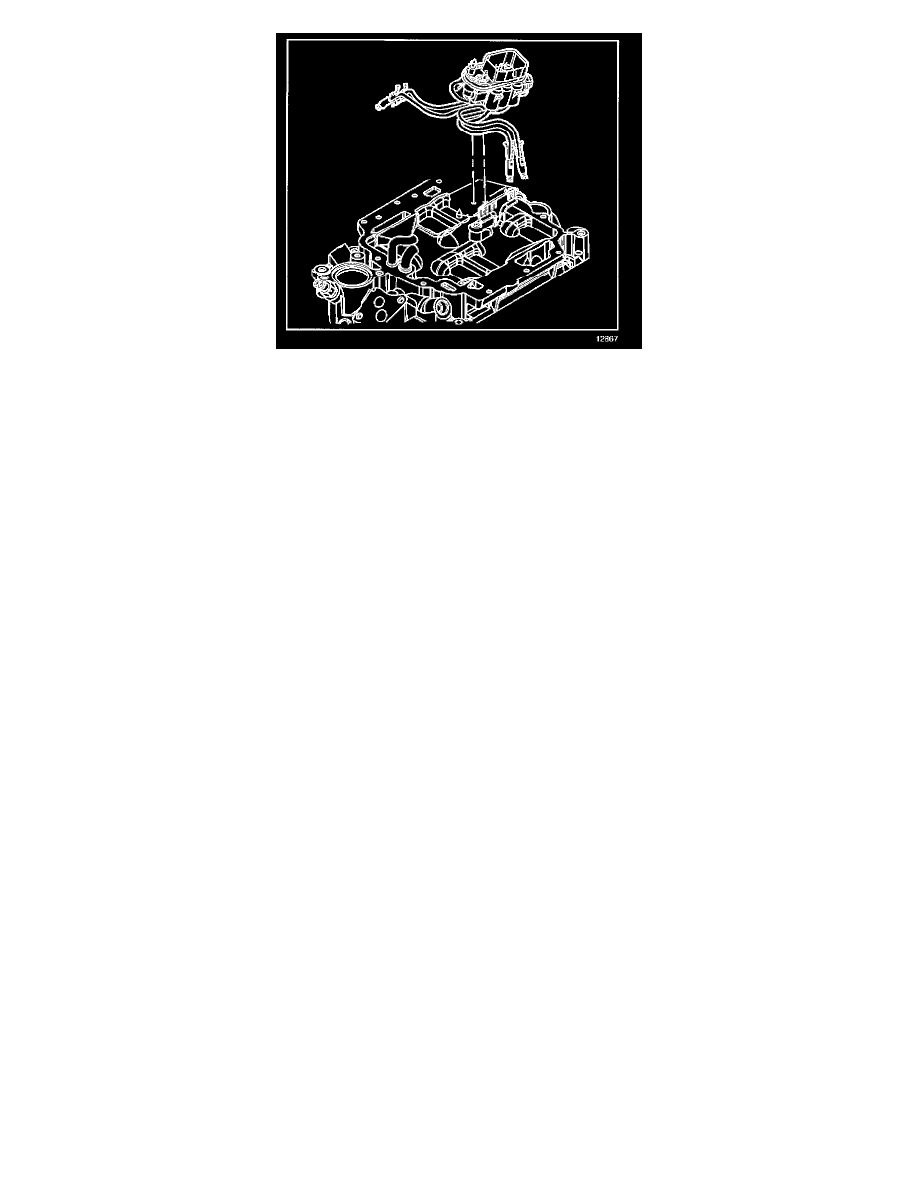
REMOVAL PROCEDURE
1. Disconnect the negative battery cable.
2. Relieve the fuel system pressure. Refer to Fuel Pressure Release Procedure.
3. Remove the electrical connector to the fuel meter body.
4. Remove the fuel feed and return hoses from engine fuel pipes.
5. Remove the upper manifold assembly. Refer to Engine Mechanical.
NOTE: When disconnecting the poppet nozzles, remember the sequence in order to ensure correct poppet nozzle placement to each cylinder.
6. Squeeze the poppet nozzle locking tabs together while lifting the nozzle out of the casting socket.
7. Remove the fuel meter body from the bracket by releasing the lock tabs on the bracket.
INSTALLATION PROCEDURE
1. Install the fuel meter body assembly in the intake manifold.
Tighten
-
Tighten the fuel meter body attaching bolts to 10.0 Nm (88 lb. in.).
WARNING: In order to reduce the risk of fire and personal injury verify that the poppet nozzles are firmly seated and locked in their
casting sockets. An unlocked poppet nozzle could work loose from its socket thus resulting in a fuel leak.
2. Push the fuel meter body into the bracket. Make sure all the tabs are locked into place.
NOTE: The fuel meter body assemblies are numbered to indicate poppet nozzle order.
3. Push the poppet nozzles into the casting sockets.
4. Inspect the poppet nozzles in order to ensure they are firmly seated and locked in the casting sockets.
5. Install the upper manifold electrical connector.
6. Install the new O-ring seal on engine fuel feed and return pipes.
7. Install the fuel feed and return hoses to the engine fuel pipes.
Tighten
-
Tighten the fuel pipe nuts to 30.0 Nm (22 lb. ft.).
8. Inspect for fuel leaks.
8.1.
Turn ON the ignition switch for 2 seconds.
8.2.
Then turn the ignition switch to the OFF position for 10 seconds.
8.3.
Again turn the ignition switch to the ON position.
8.4.
Check for fuel leaks.
9. Disconnect the negative battery cable.
10. Disconnect the fuel pipes.
11. Install the upper manifold assembly. Refer to Engine Mechanical.
12. Tighten the fuel filler cap.
13. Connect the fuel Pipes.
