
Testing and Inspection for Distributor Components - S10/T10 P/U 2WD V6-43L VIN W
Distributor: Testing and Inspection
Distributor Inspection
TOOLS REQUIRED
J39200 Digital Multimeter
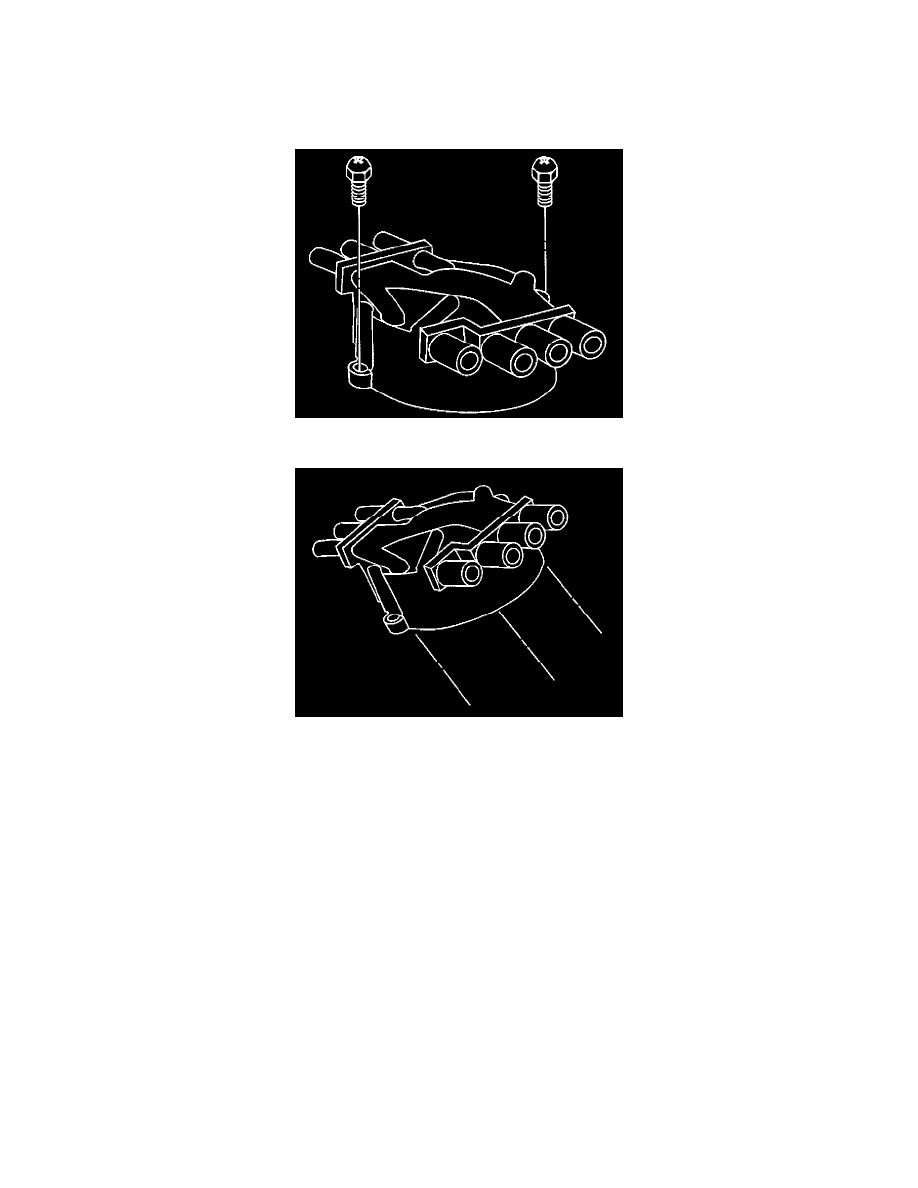
1. Remove the distributor cap attaching screws.
2. Remove the distributor cap.
3. Inspect the distributor cap for cracks or tiny holes.
4. Inspect for carbon tracks between the cap terminals.
^
Place an ohmmeter J39200 lead on one of the distributor cap terminals.
^
Use the other lead to probe all of the other terminals, including the center carbon button.
^
Move the ohmmeter lead to the next terminal and probe all the other terminals.
^
Continue until all secondary terminals have been tested.
^
If there are any non-infinite readings, replace the distributor cap.
5. Inspect the cap for excessive build up of corrosion on the terminals.
^
Scrape the terminals clean or replace the cap.
^
Some buildup is normal.
6. Inspect the rotor metal segment for excessive wear.
7. Inspect for melted plastic under the metal segment or the staked contact.
8. Replace the rotor if the rotor shows excessive wear or damage.
Some looseness of the rotor segment is normal and does not cause performance problems.
9. Inspect the distributor shaft for shaft-to-bushing looseness. Insert the distributor shaft into the housing. If the shaft wobbles, replace the housing
assembly.
10. Inspect the housing for cracks or damage.