
Silverado 1500 2WD V6-4.3L (2007)
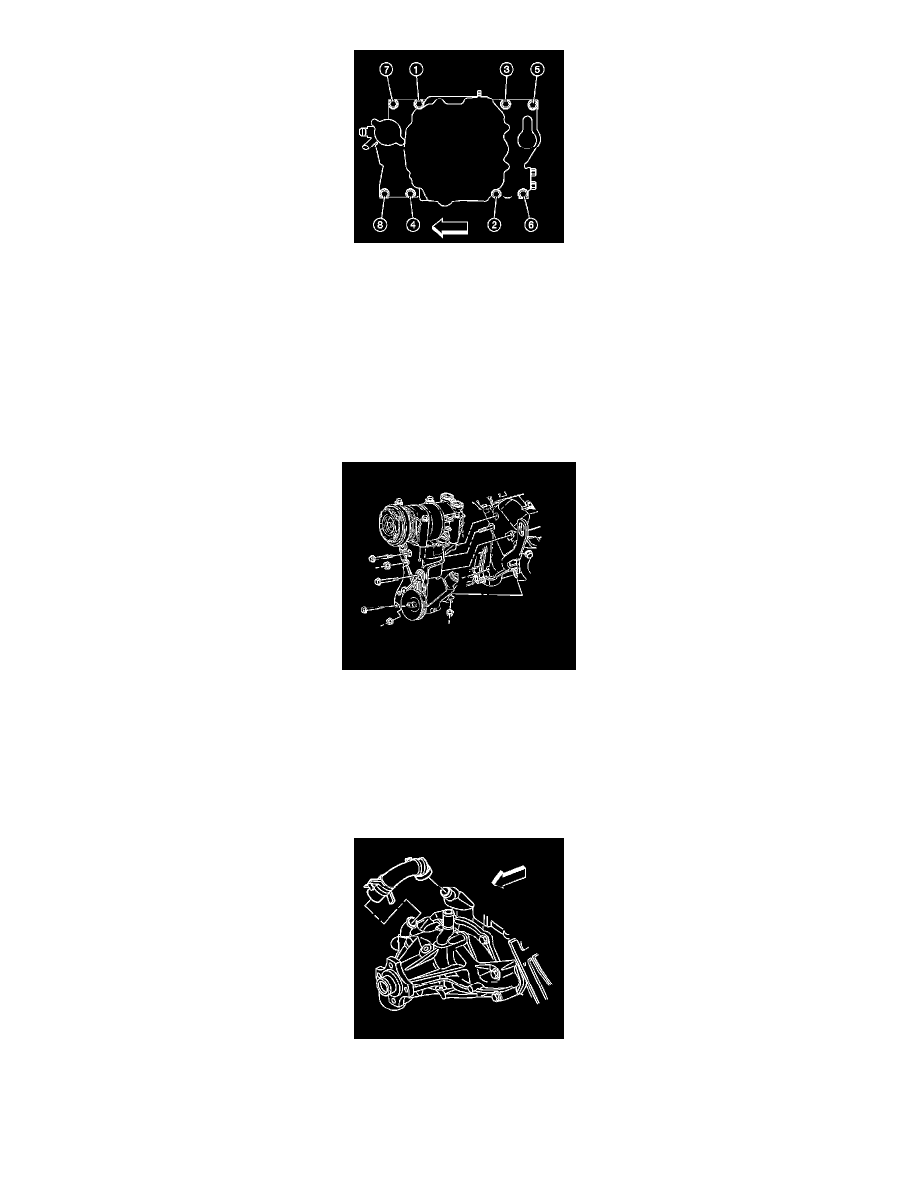
Notice: Proper lower intake manifold fastener tightening sequence and torque is critical. Always follow the tightening sequence, and torque the
intake manifold bolts using the 3 step method. Failing to do so may distort the crankshaft bearing bore alignment and cause damage to the
crankshaft bearings.
Notice: Refer to Fastener Notice.
10. Tighten the intake manifold - lower bolts in the sequence shown.
1. Tighten the bolts a first pass to 3 N.m (27 lb in).
2. Tighten the bolts a second pass to 12 N.m (106 lb in).
3. Tighten the bolts a final pass to 15 N.m (11 lb ft).
11. Slide the P/S pump bracket rearward.
12. Install the bolts and the nut for the P/S pump bracket.
13. Install the P/S pump rear bracket front nut.
14. Tighten the P/S pump rear bracket nut.
Tighten the bolts and nuts to 41 N.m (30 lb ft).
15. Install the drive belt.
16. Install the water pump inlet hose.
17. Position the water pump inlet hose clamps.