
Silverado 1500 2WD V8-4.8L (2010)
Fluid - A/T: Service and Repair
Automatic Transmission Fluid and Filter Replacement
Removal Procedure
1. Raise and suitably support the vehicle. Refer to Lifting and Jacking the Vehicle (See: Maintenance/Vehicle Lifting/Service and Repair).
2. Place a drain pan under the transmission oil pan.
3. Remove the oil pan drain plug, if equipped.
4. If necessary, remove the bolts and position aside the range selector cable bracket for clearance while lowering the pan. It is not necessary to
remove the cable from the lever or bracket.
5. Remove the catalytic converter. Refer to Catalytic Converter Replacement (LY6 with Exhaust Flange) (See: Engine, Cooling and
Exhaust/Exhaust System/Catalytic Converter/Service and Repair)Catalytic Converter Replacement (L9H with Exhaust Flange) (See: Engine,
Cooling and Exhaust/Exhaust System/Catalytic Converter/Service and Repair)Catalytic Converter Replacement (Gen IV Engines with Exhaust
Clamp) (See: Engine, Cooling and Exhaust/Exhaust System/Catalytic Converter/Service and Repair)Catalytic Converter Replacement (LFA with
Exhaust Clamp) (See: Engine, Cooling and Exhaust/Exhaust System/Catalytic Converter/Service and Repair)Catalytic Converter Replacement
(LMM) (See: Engine, Cooling and Exhaust/Exhaust System/Catalytic Converter/Service and Repair).
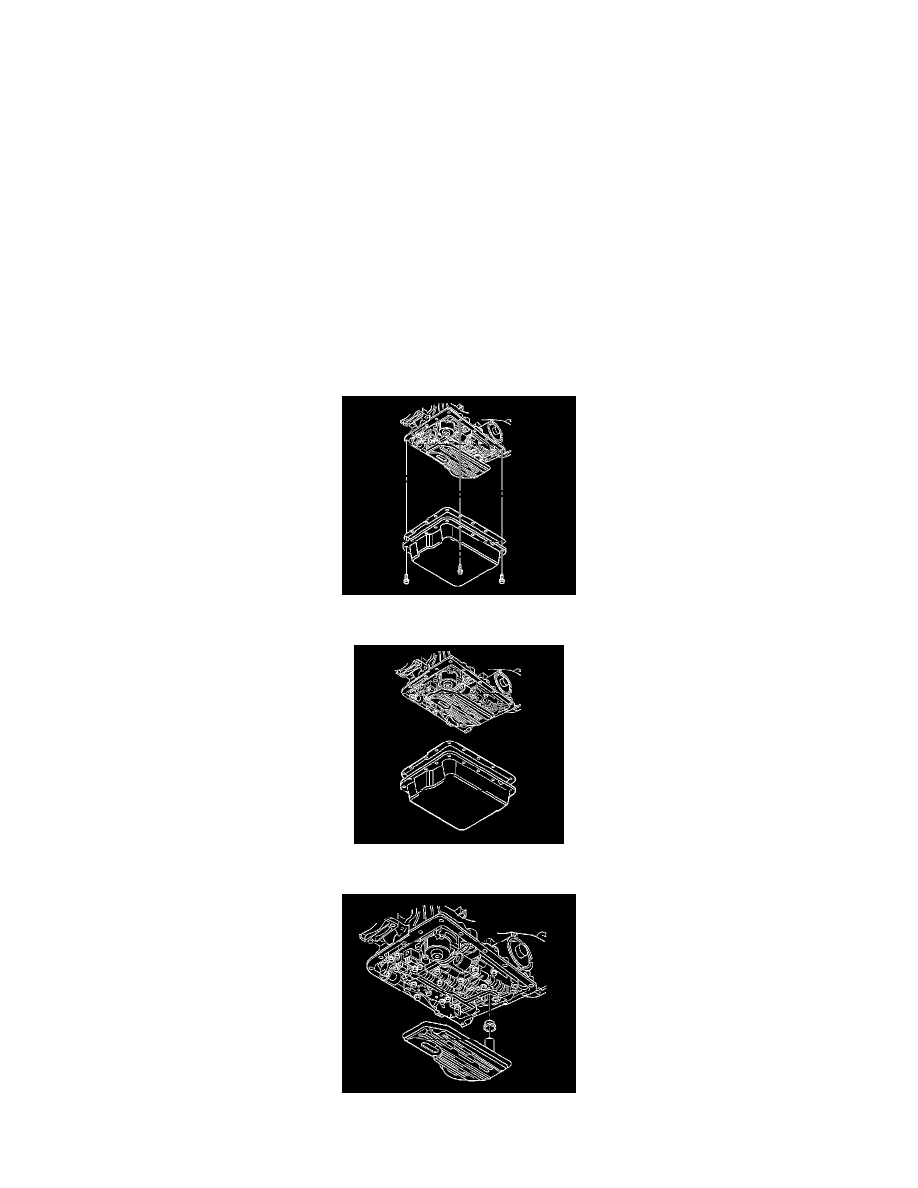
6. Remove the oil pan bolts from the front and sides of the pan only.
7. Loosen the rear oil pan bolts approximately 4 turns.
8. Lightly tap the oil pan with a rubber mallet in order to loosen the pan to allow the fluid to drain.
9. Remove the remaining oil pan bolts.
10. Remove the oil pan and the gasket.
11. Grasp firmly while pulling down with a twisting motion in order to remove the filter.