
Silverado 1500 2WD V8-6.0L Hybrid (2009)
Engine Mount: Service and Repair
Engine Mount Replacement - Left
Engine Mount Replacement - Left Side (2WD)
Removal Procedure
Caution: When raising or supporting the engine for any reason, do not use a jack under the oil pan, any sheet metal, or the crankshaft pulley. Due to the
small clearance between the oil pan and the oil pump screen, jacking against the oil pan may cause the pan to be bent against the pump screen. This will
result in a damaged oil pickup unit.
1. Remove the air cleaner outlet duct. Refer to Air Cleaner Resonator Outlet Duct Replacement (See: Tune-up and Engine Performance Checks/Air
Cleaner Housing/Air Cleaner Fresh Air Duct/Hose/Service and Repair) .
2. Lower the vehicle.
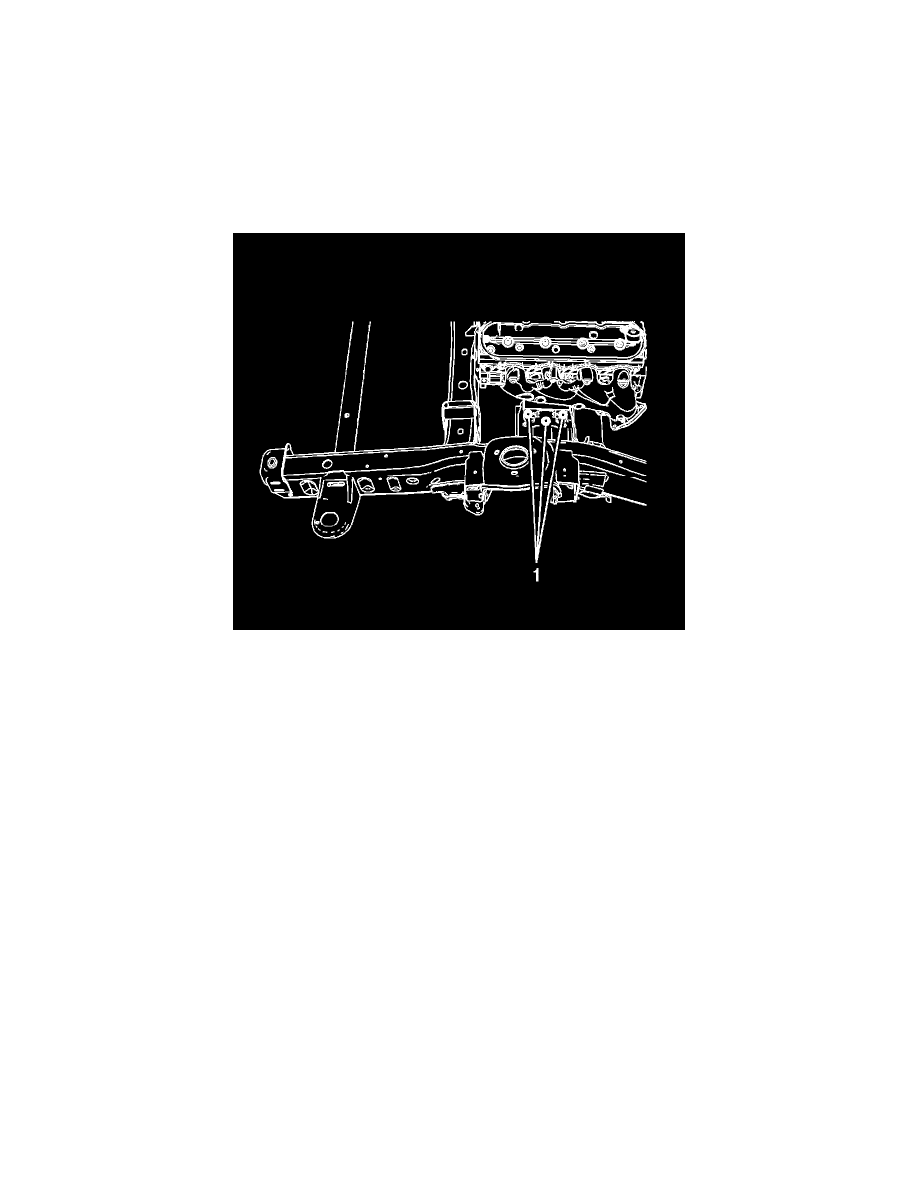
3. Remove the engine mount to frame bolts (1).
4. Raise and support the vehicle halfway. Refer to Lifting and Jacking the Vehicle (See: Maintenance/Vehicle Lifting/Service and Repair) .
5. Remove the left wheelhouse liner. Refer to Front Wheelhouse Liner Replacement - Left Side (Chevrolet) (See: Body and Frame/Fender/Front
Fender/Front Fender Liner/Service and Repair)Front Wheelhouse Liner Replacement - Left Side (GMC) (See: Body and Frame/Fender/Front
Fender/Front Fender Liner/Service and Repair) .